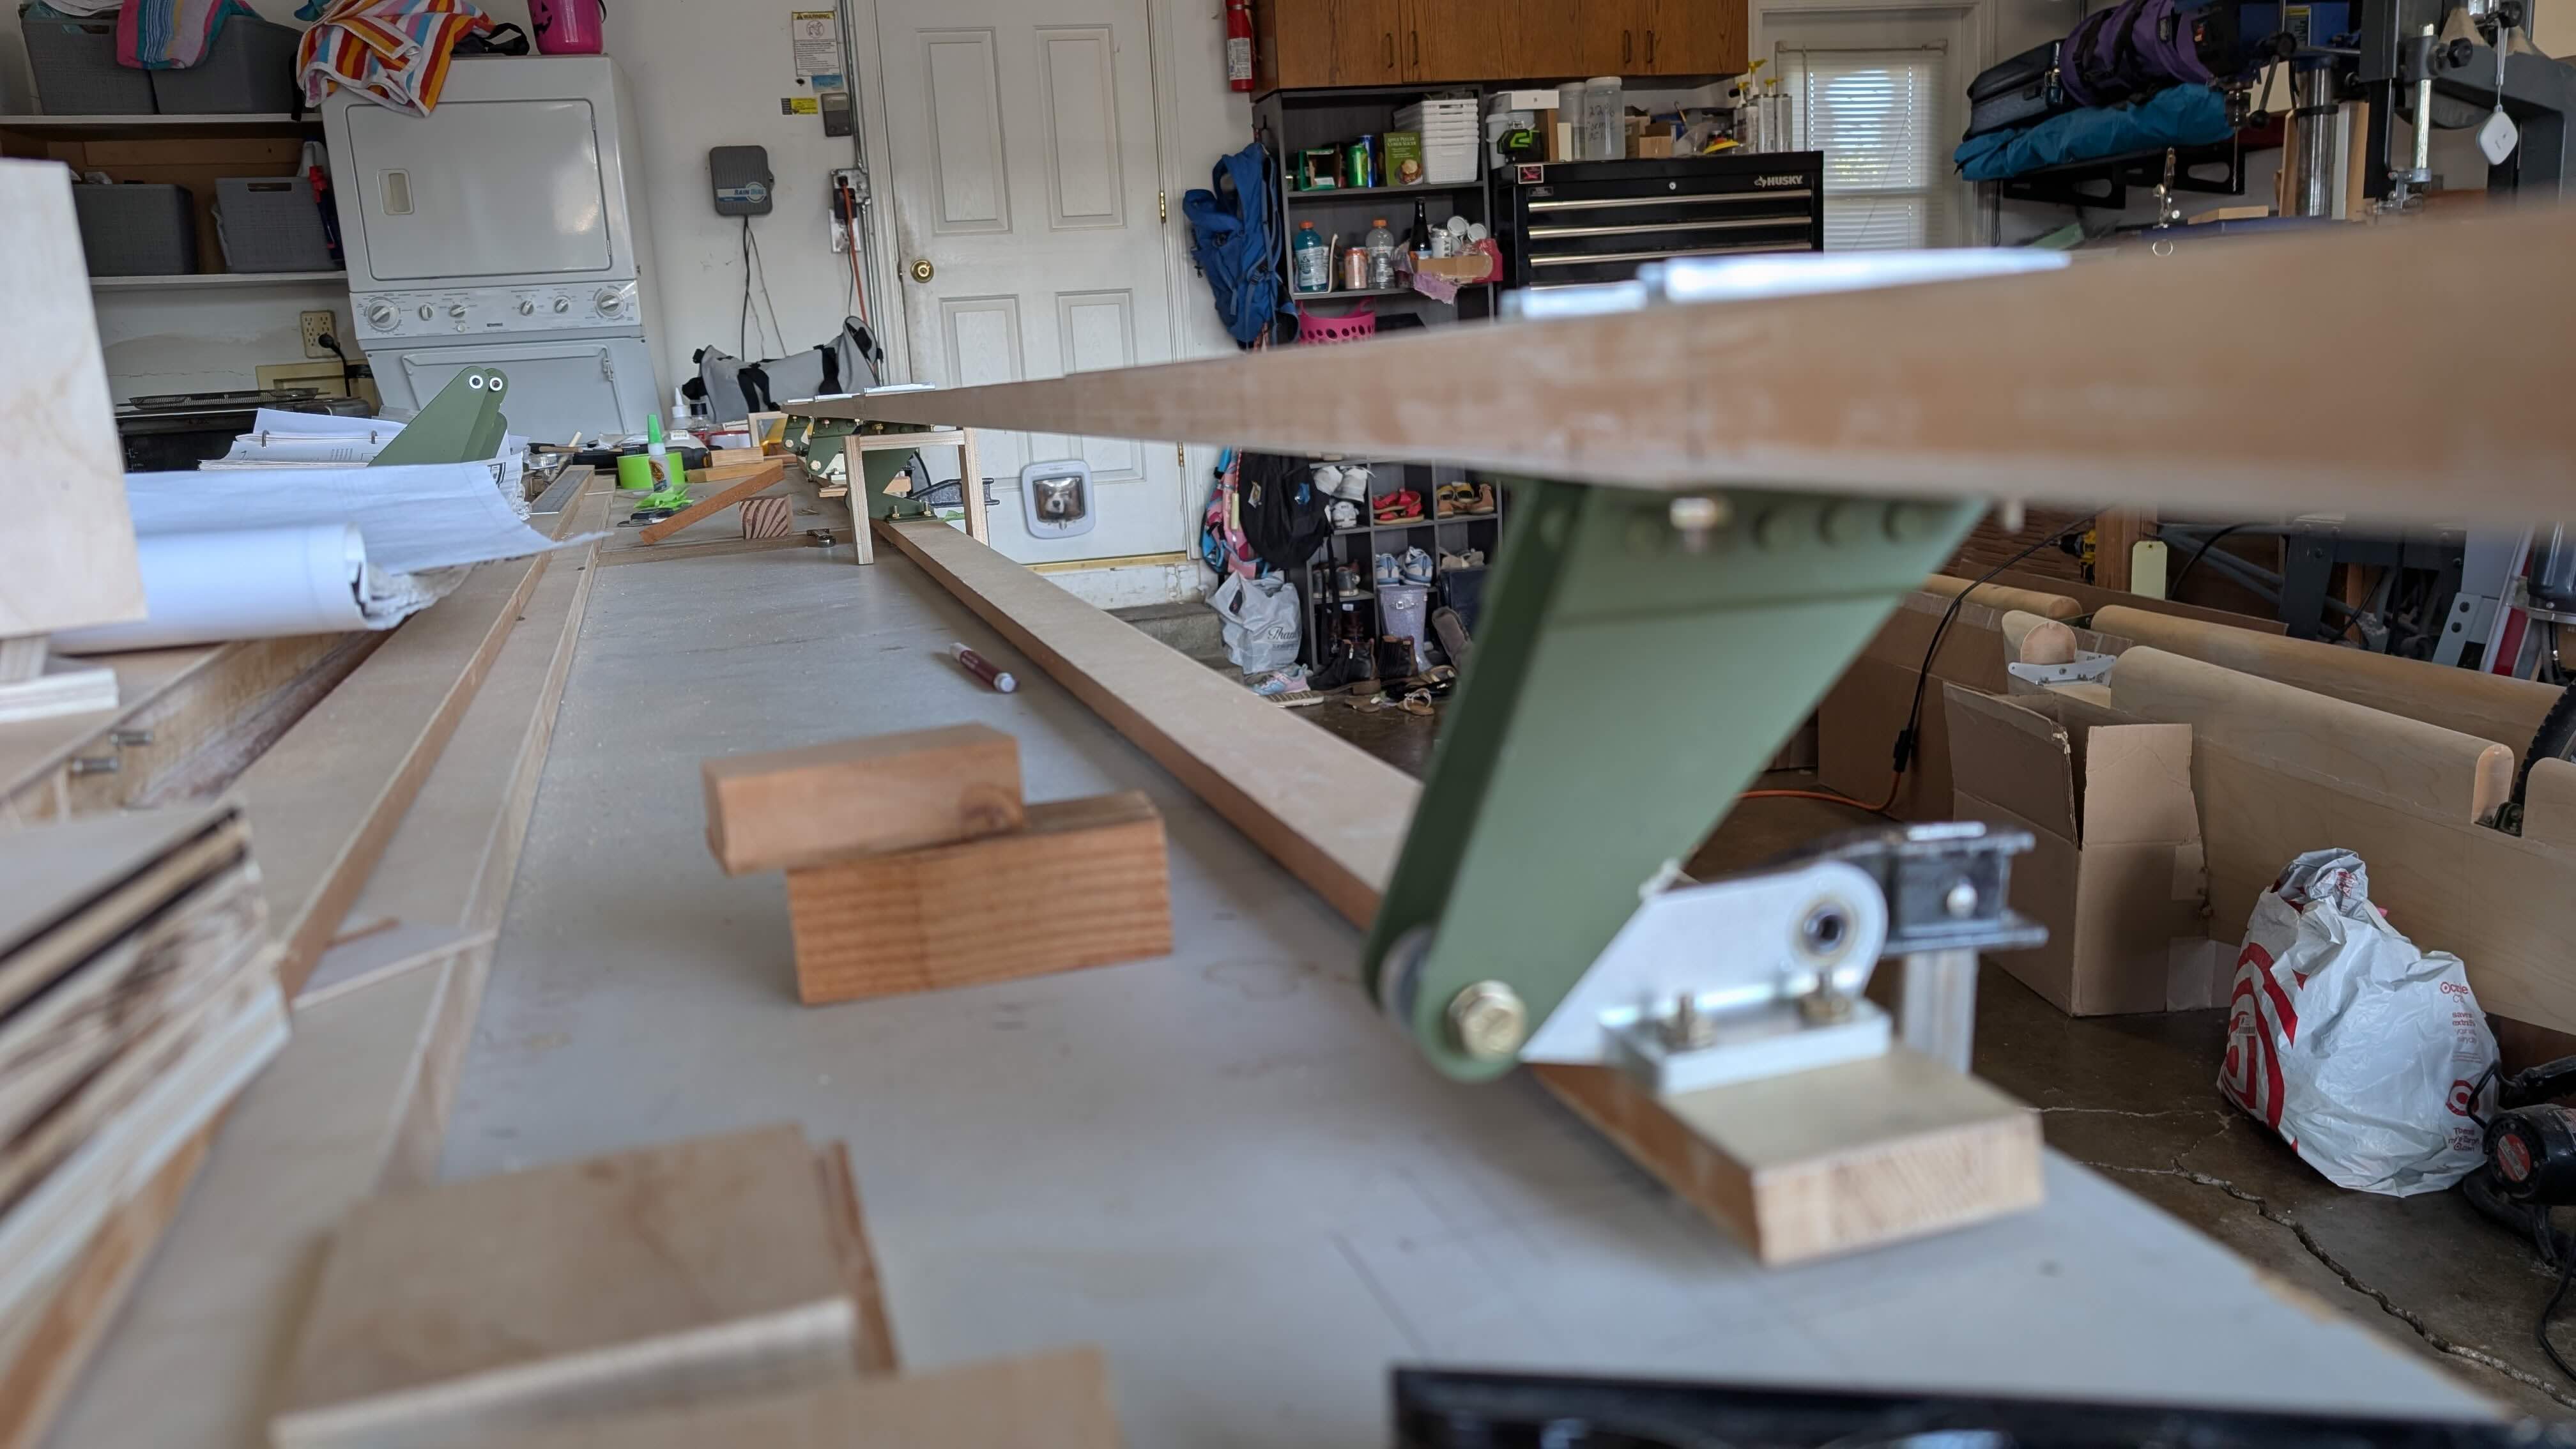
The initial steps of this build are a long list of preparing the spars, aligning and drilling holes for the hinges and building jigs to execute very precise alignments of the control surfaces to the wings and within the structure itself. It took some time to figure out a method that would work for me to be able to take all the required measurements and perform the alignments and drilling holes for maintaining that alignment. The first step is to add some very thin angled shims to the aft wing spar to ensure the correct alignment between the aft wing spar and the aileron/flap spar. The manual says to make these out of plywood so that's what I did. I'm sure there are other ways to make these but I figured out a way using a slightly angled wood block with the plywood stapled to it and my belt sander. It was tricky and there may have been some blood at one point.
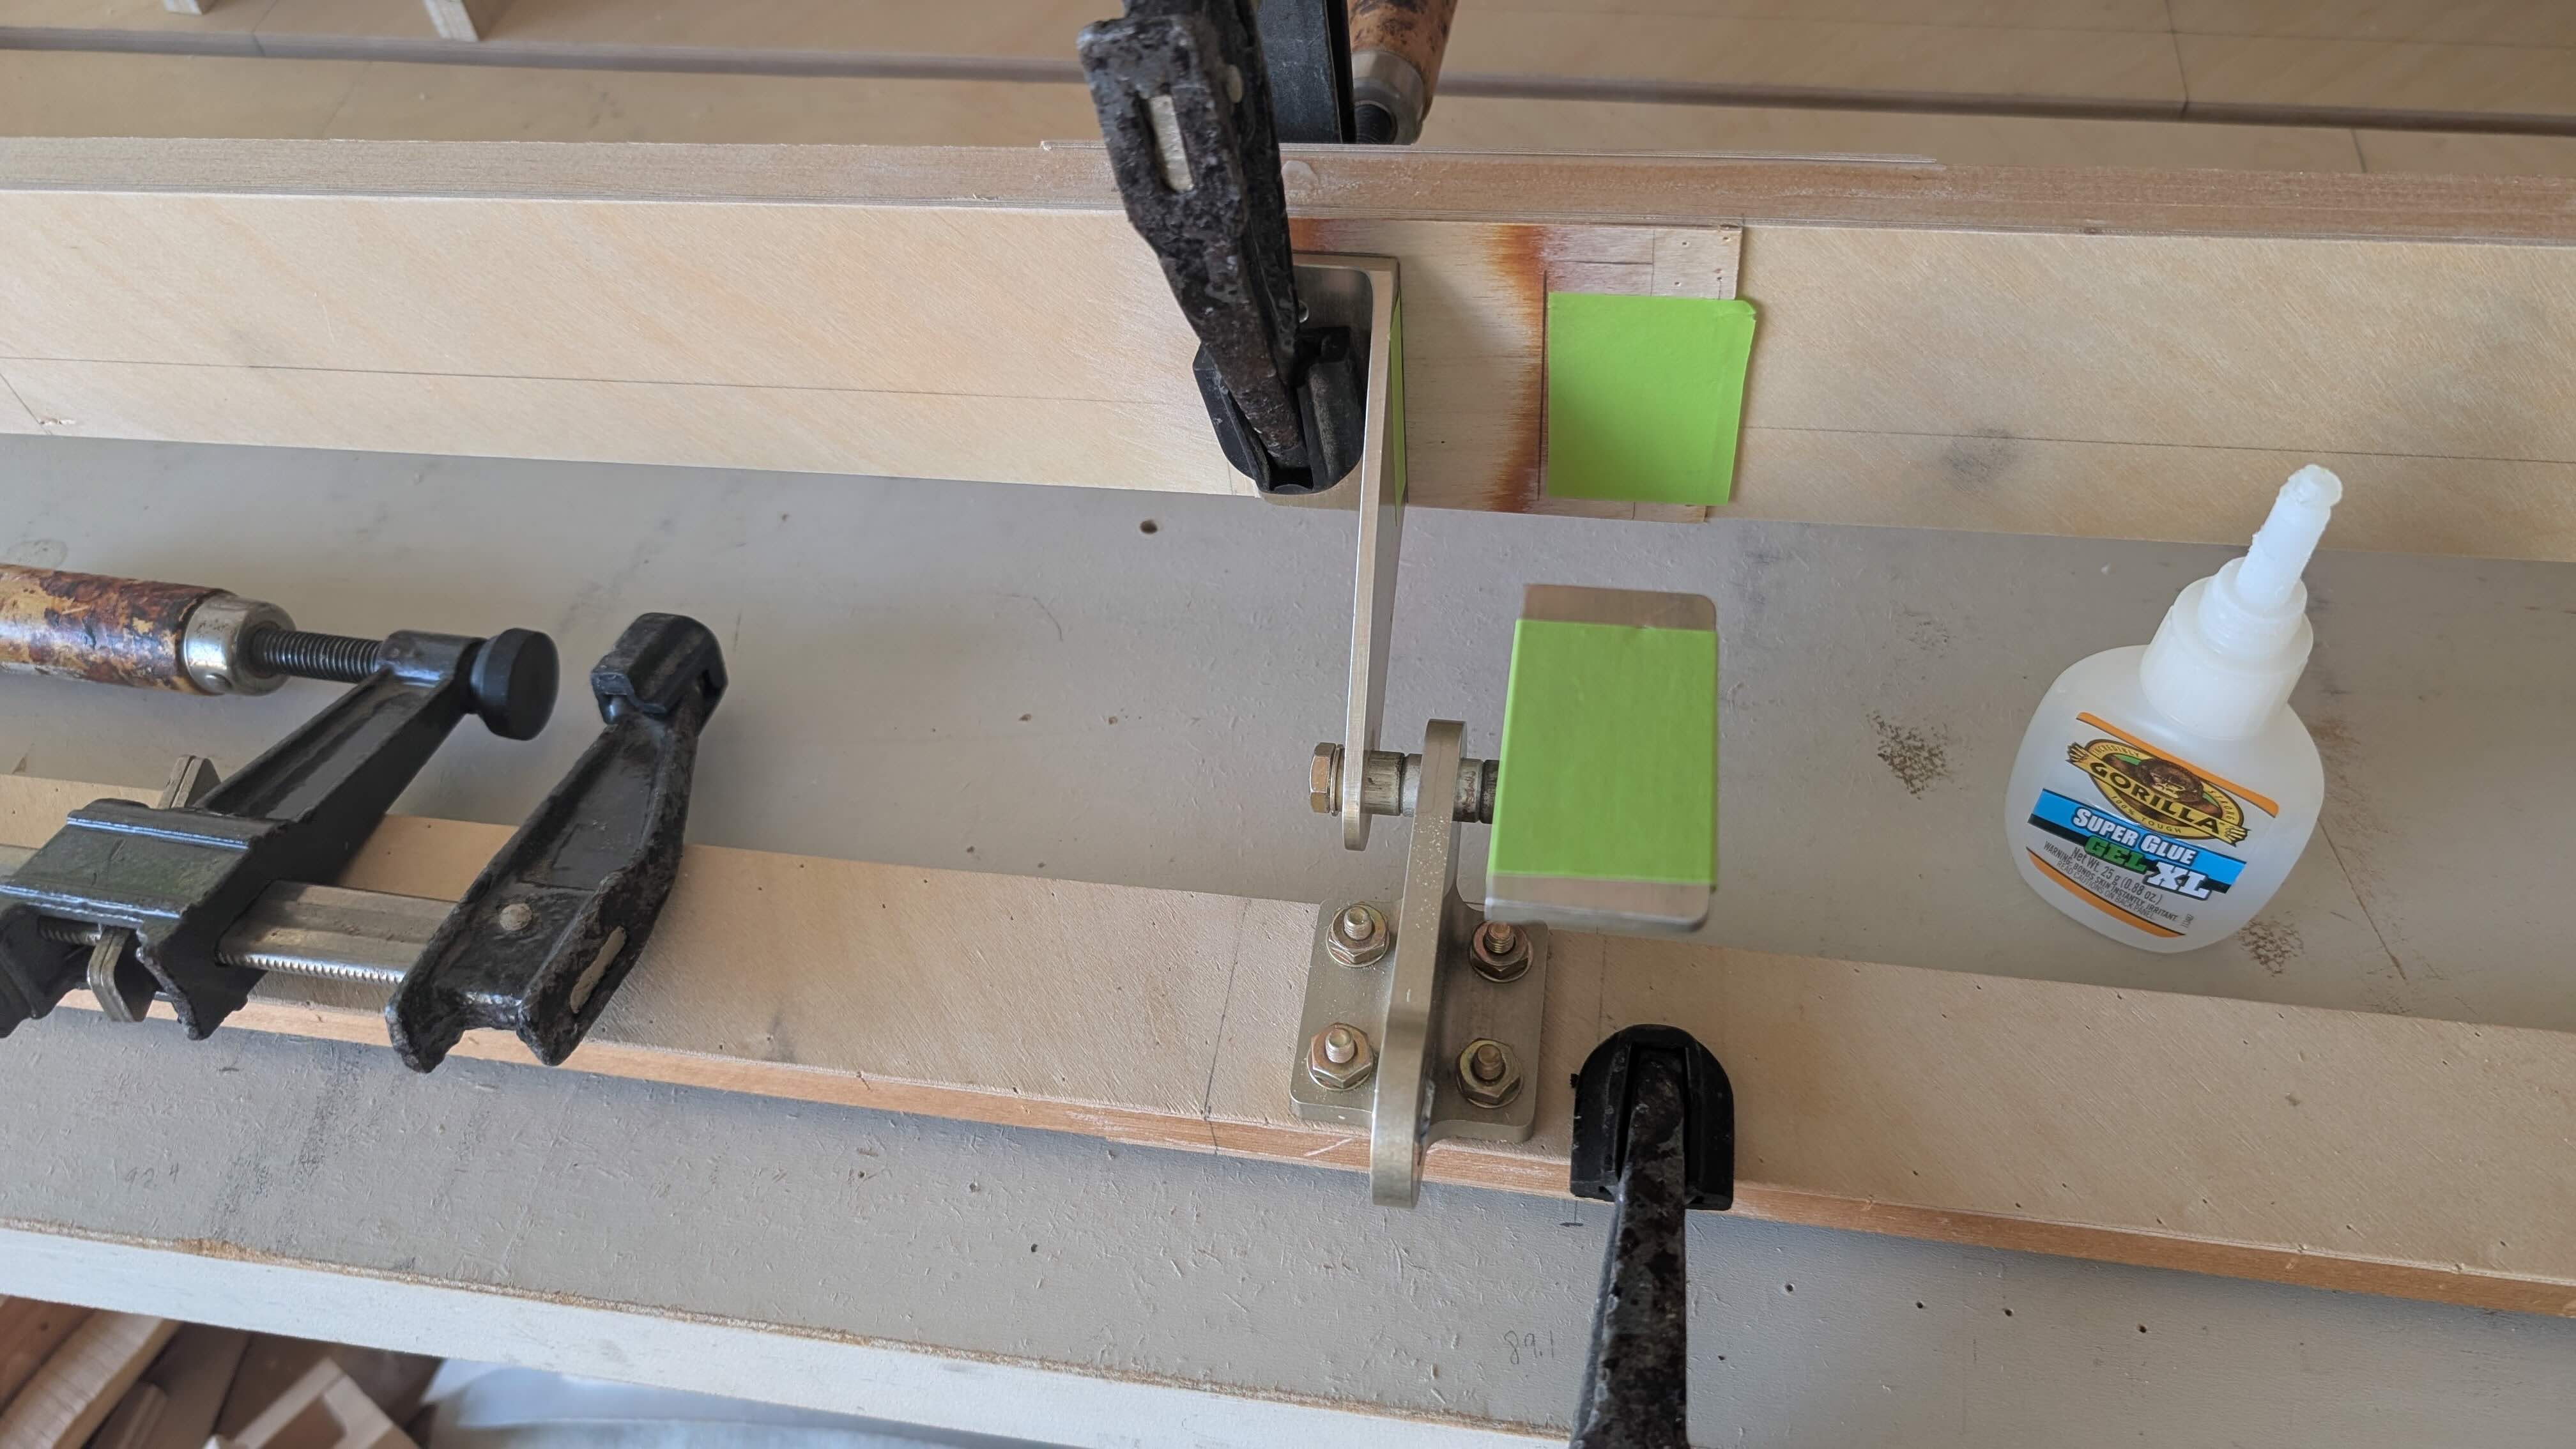
After getting those glued on the spars, I was able to start measuring out the positions and aligning the hinges. I used a long 1/4 inch steel rod to keep the hinge line straight across the length of the spar.
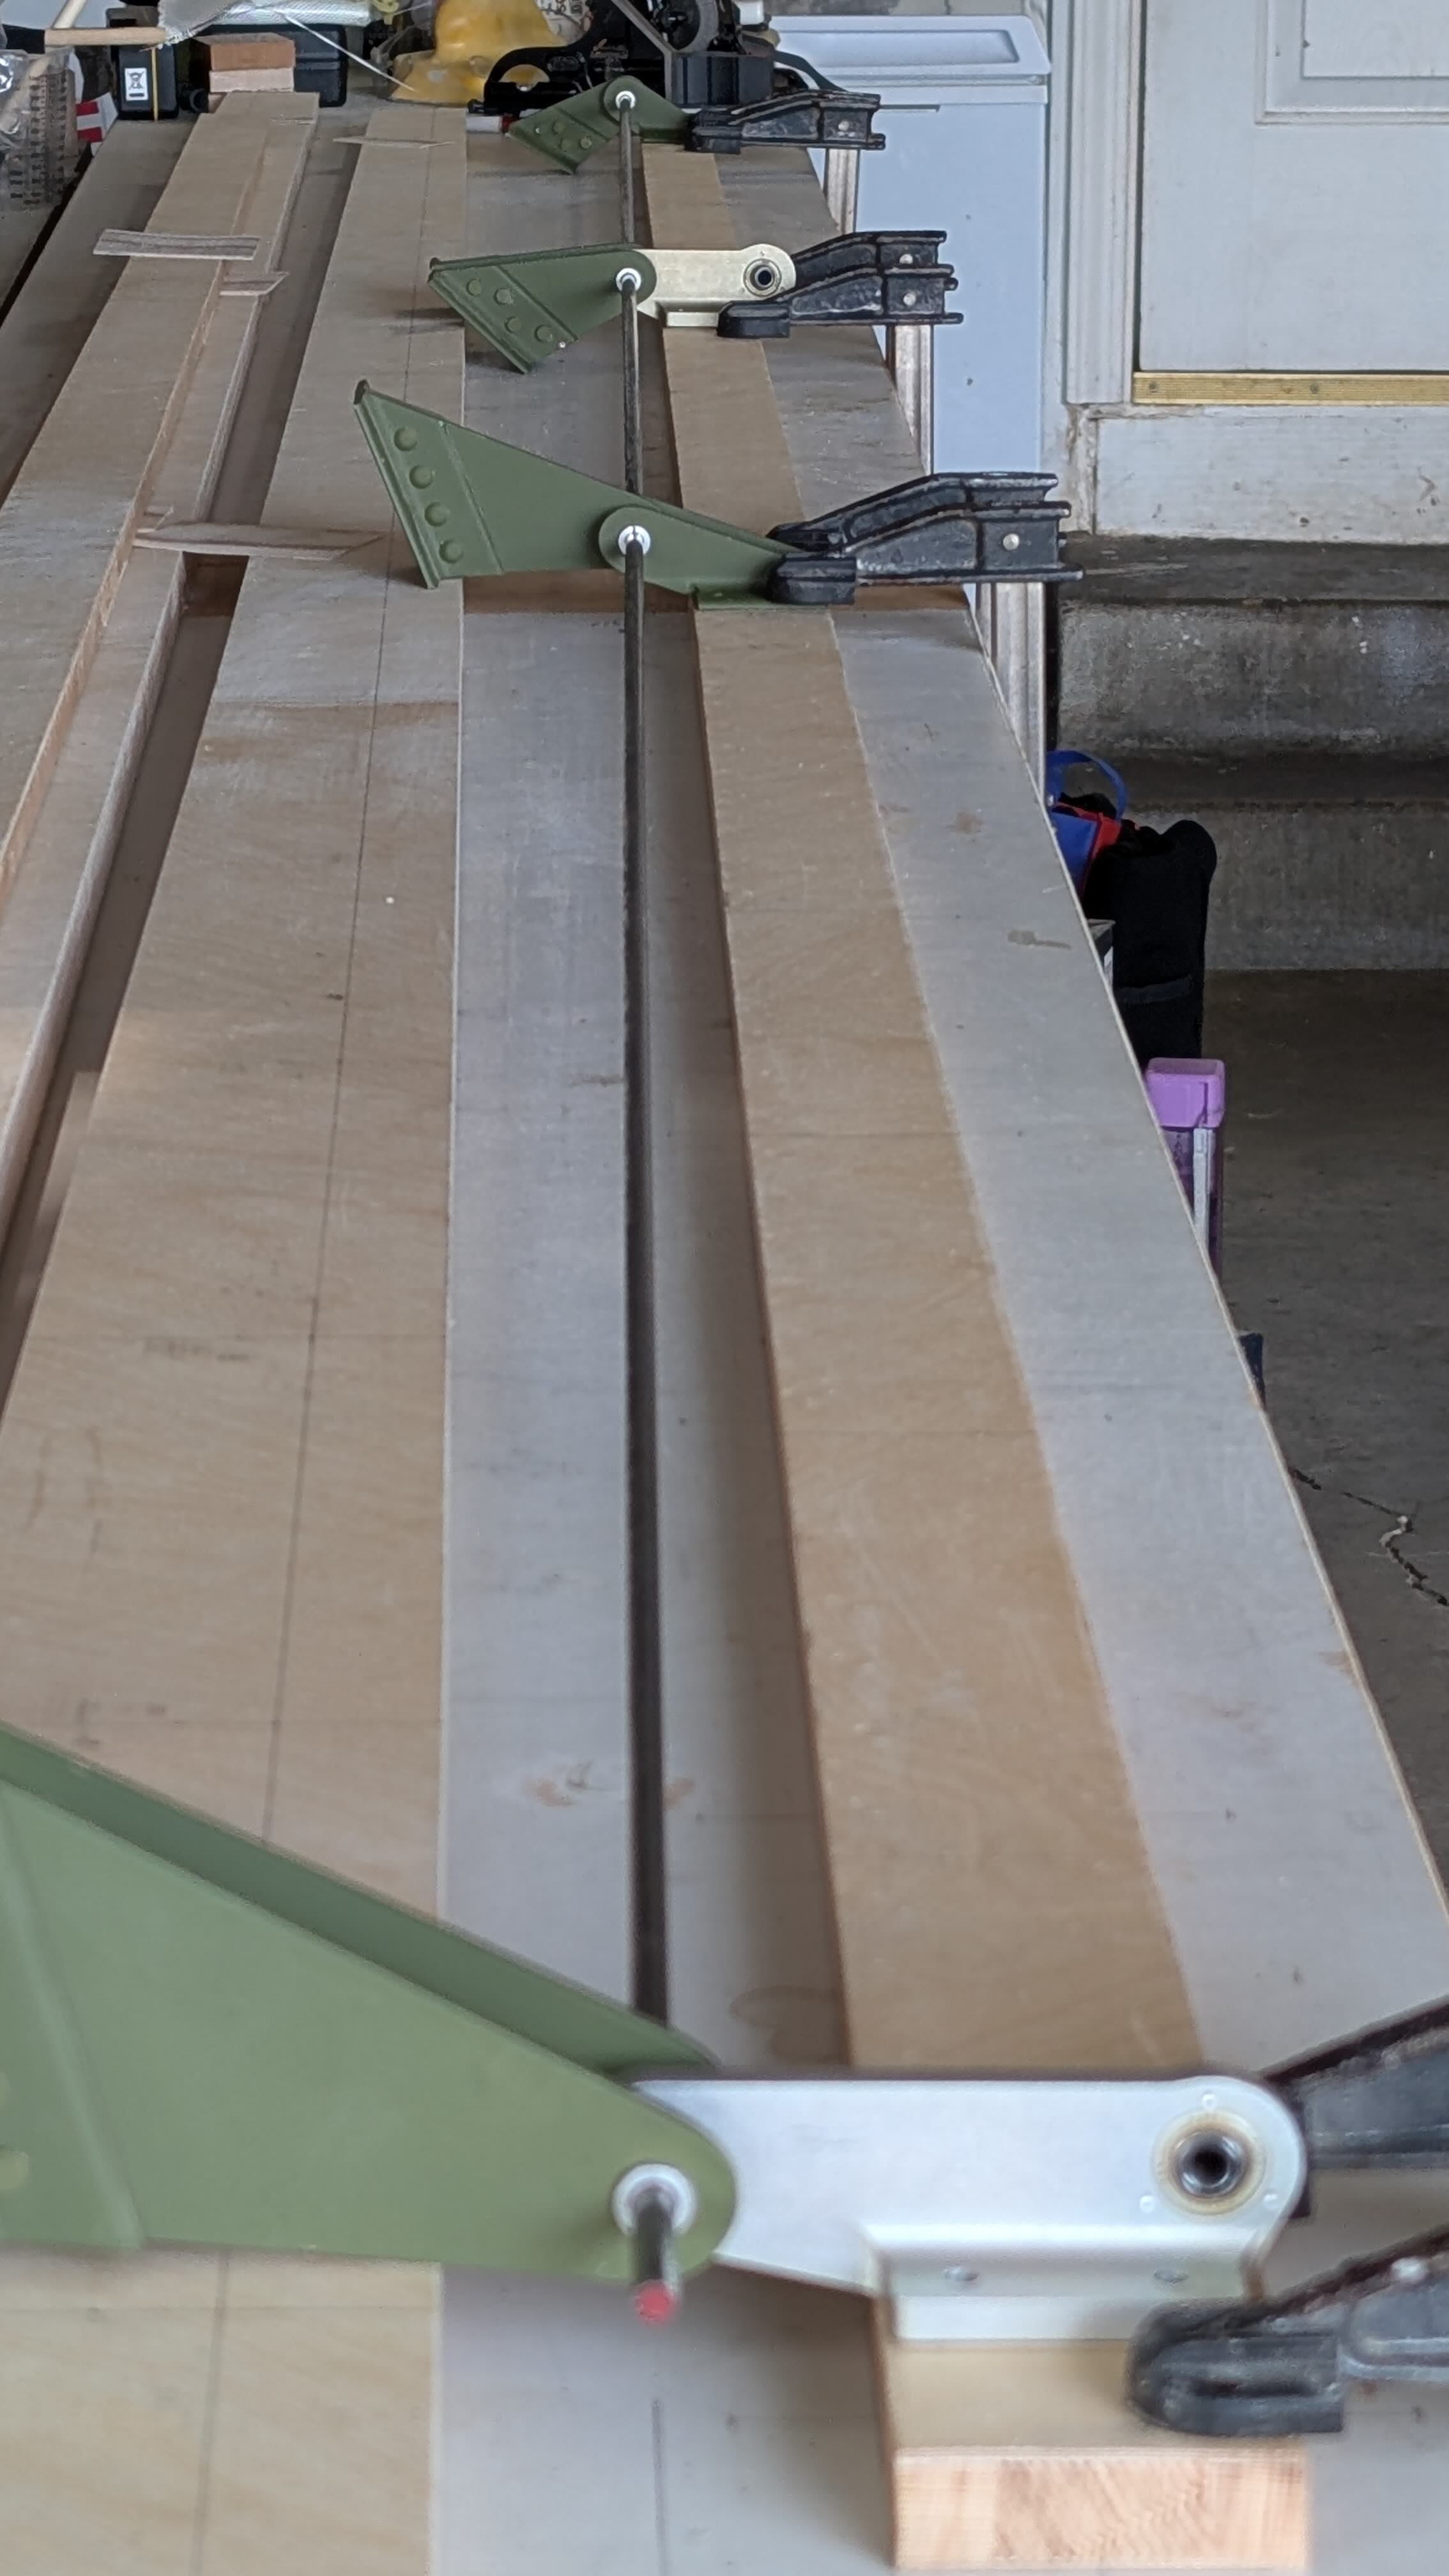
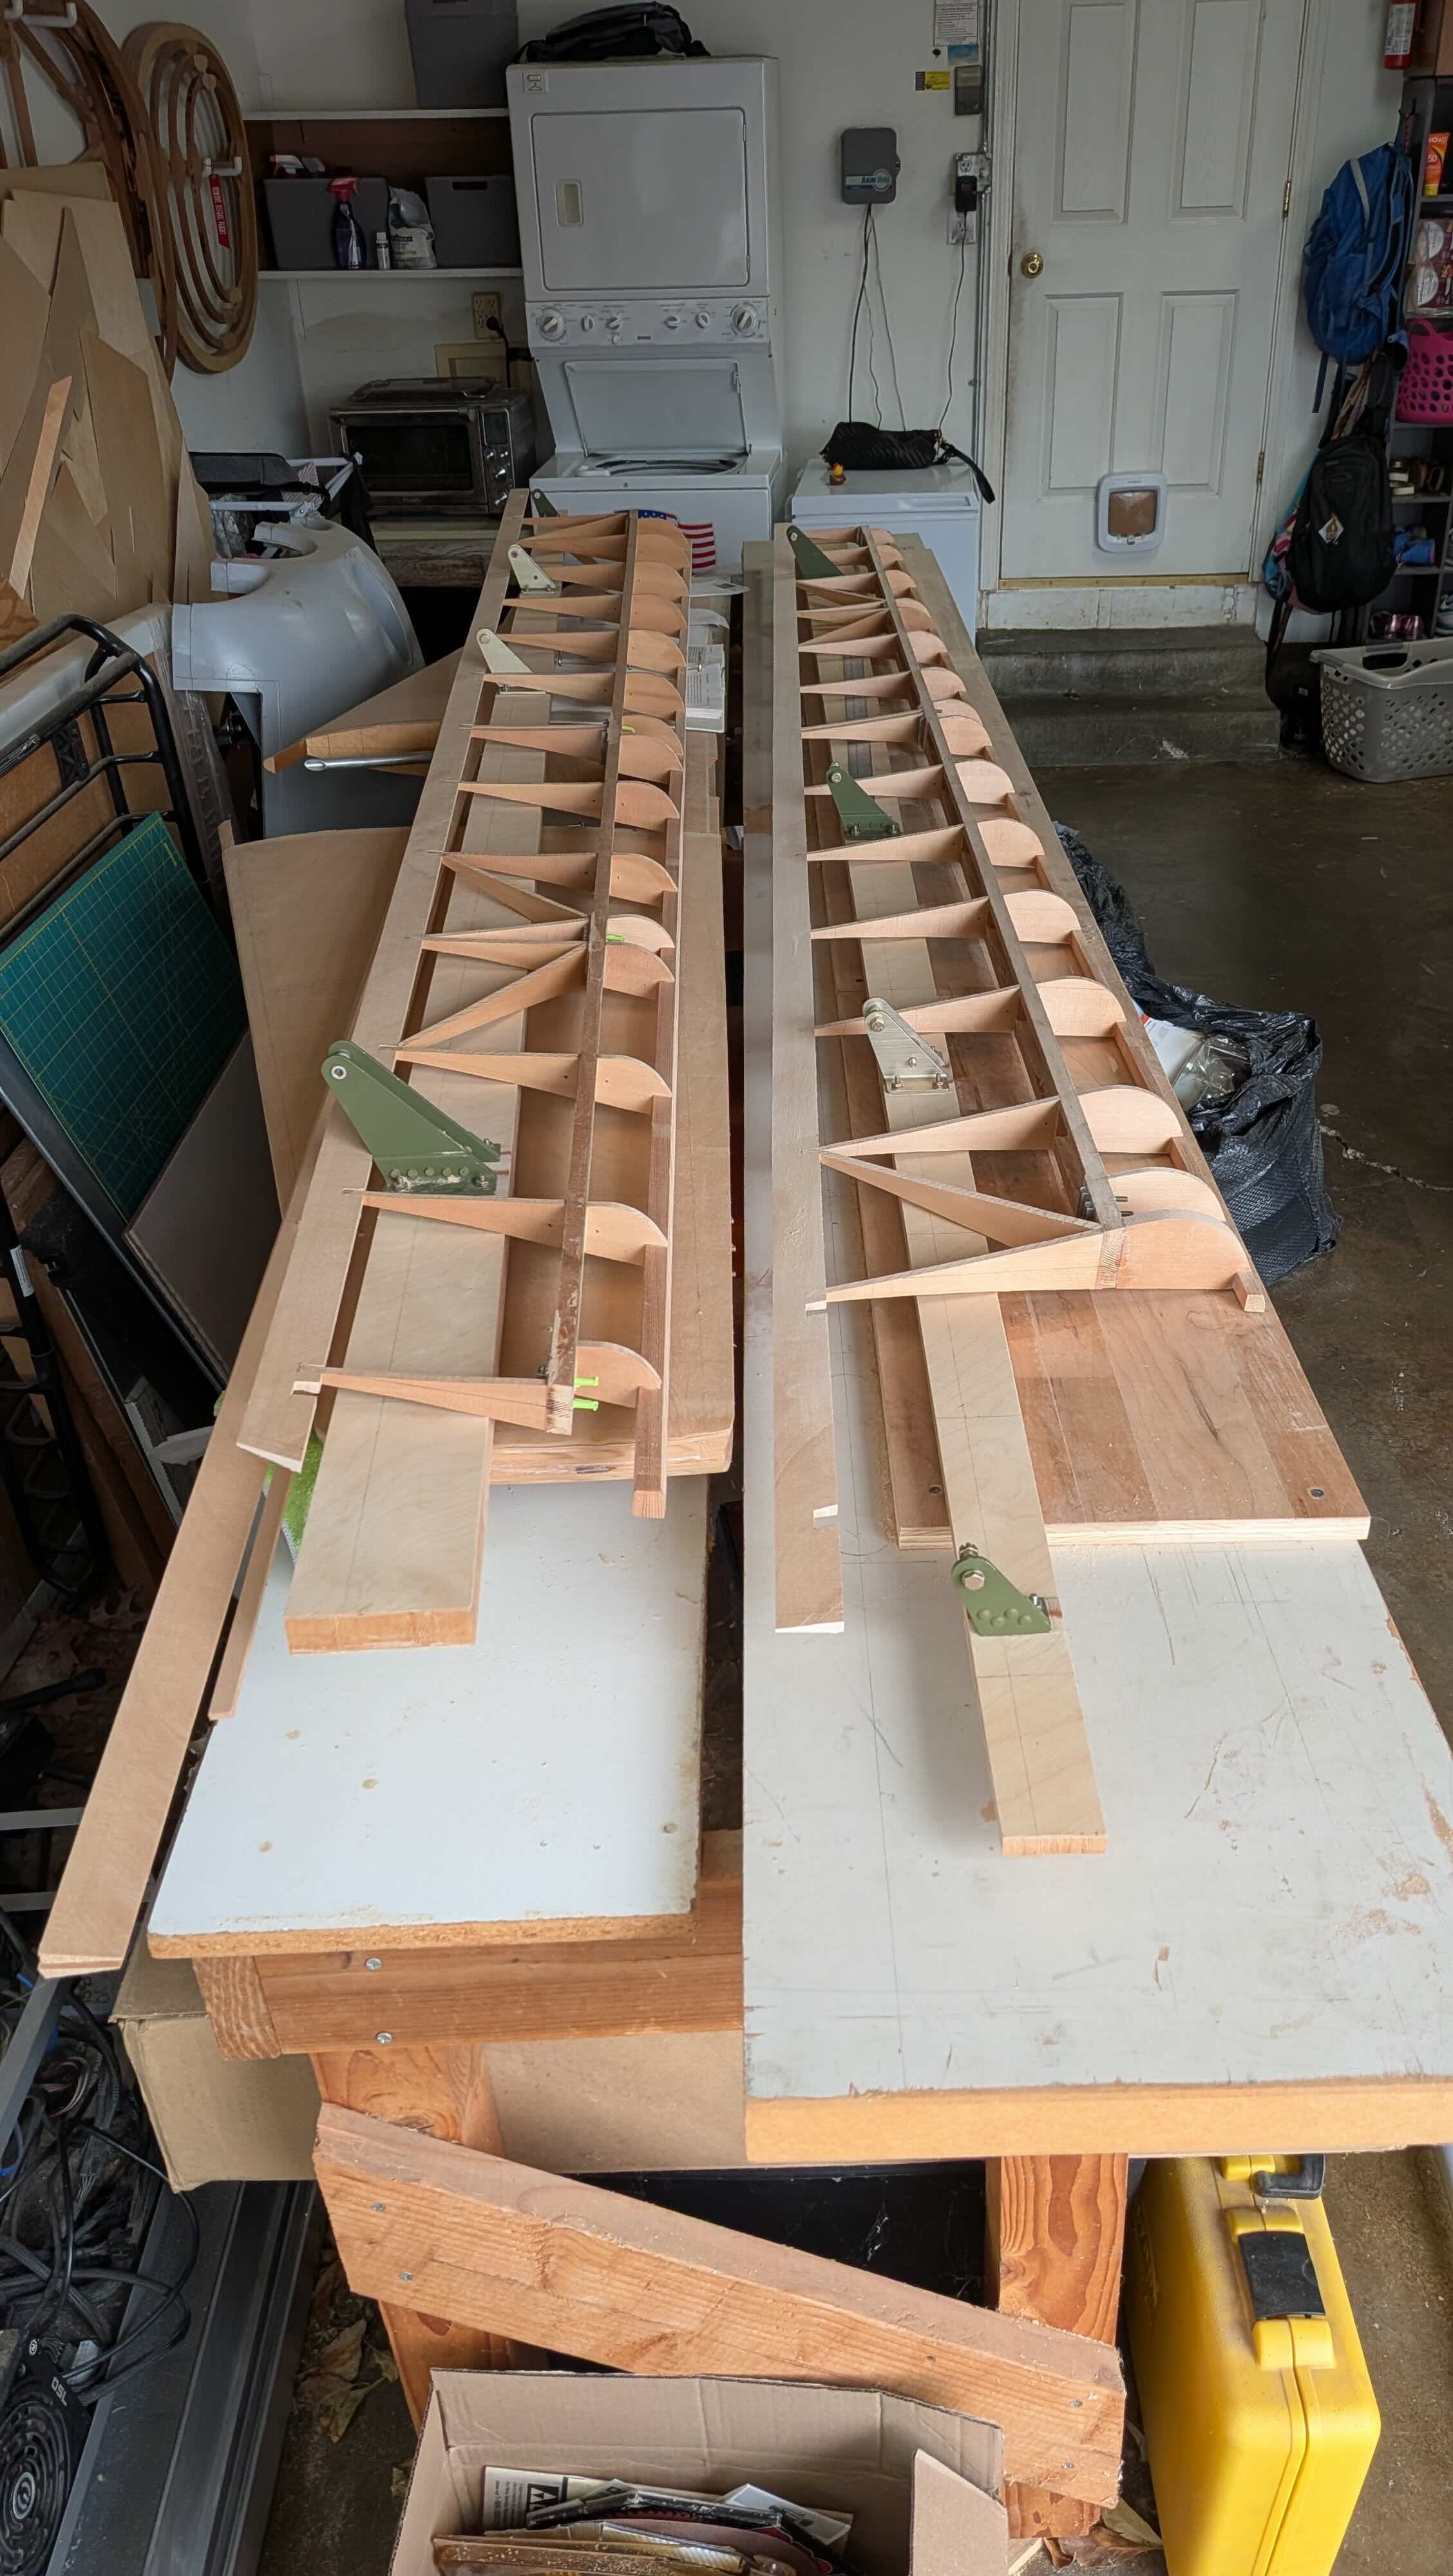
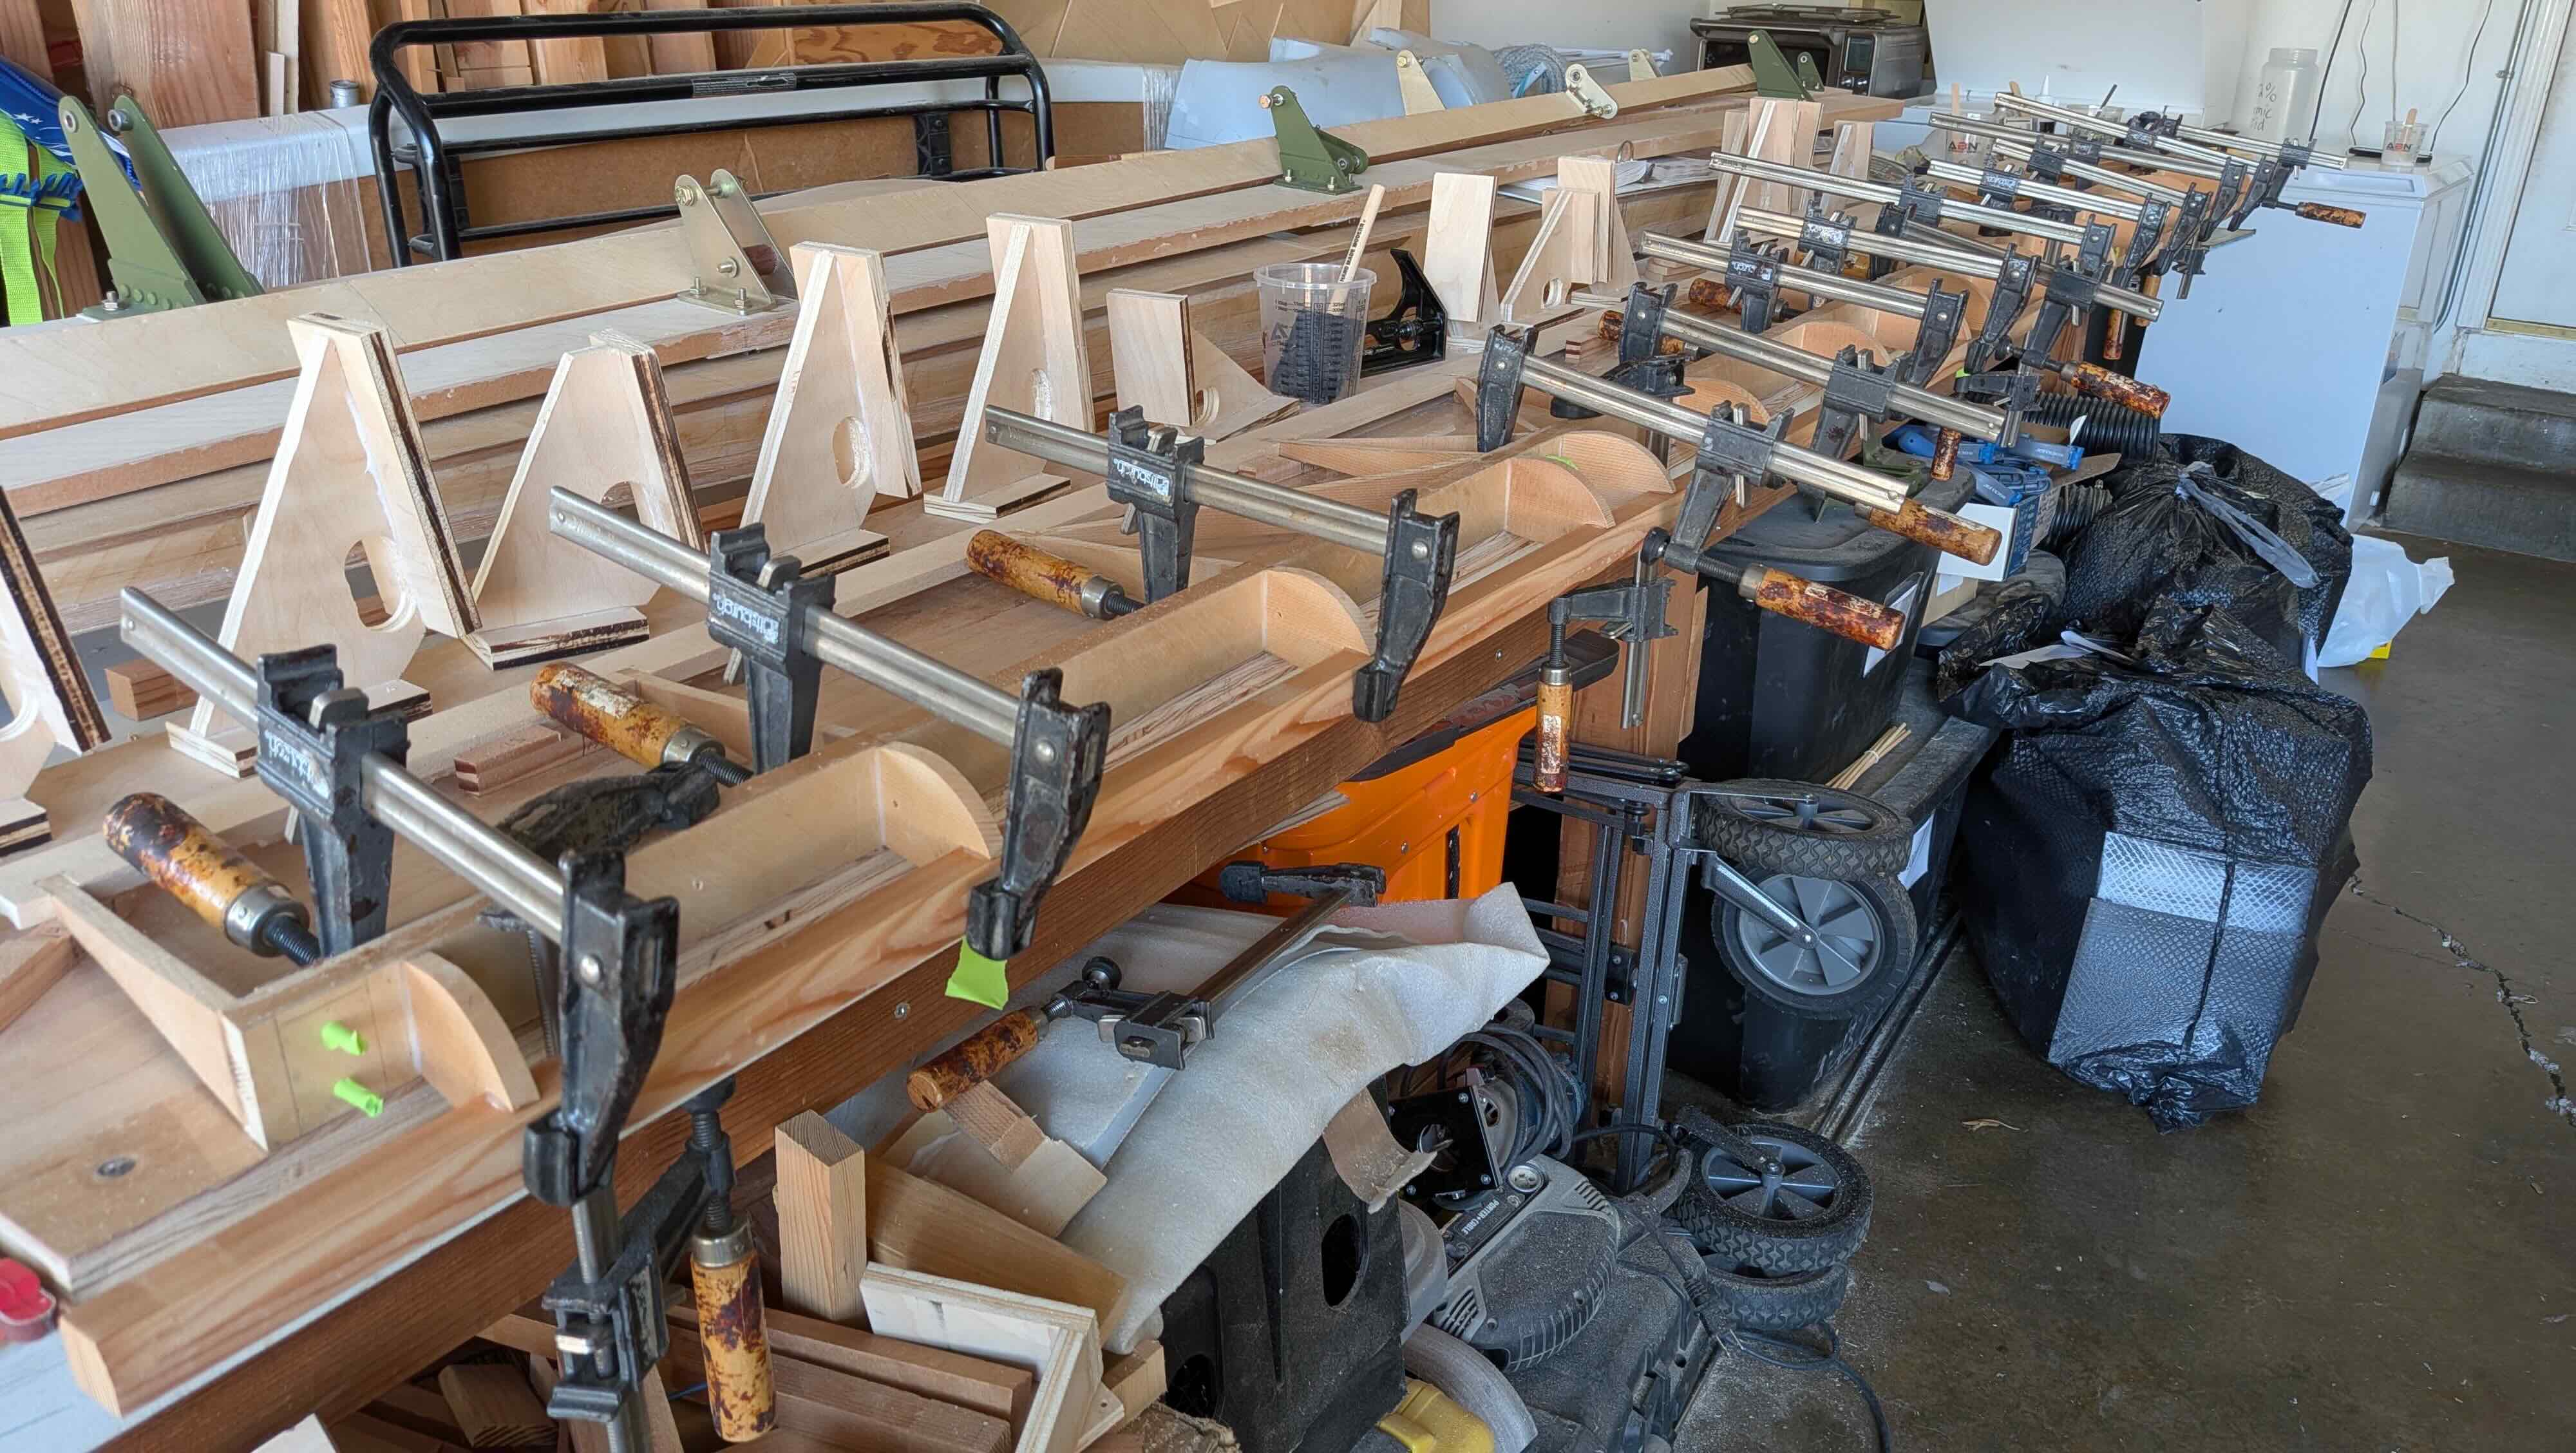
The blueprints are fairly good at constraining the dimensions of the two spars with respect to one another. These dimensions are set by the placement of the hinges on each spar so lining everything up for drilling the holes for the hinges is critical. I'm sure there are other methods but I used the table top as my reference surface and projected down from the spars to ensure the dimensions were correct while clamping the hinges on the spars to set the alignment. I created some little table standoffs to allow the aft wing spar to rotate up above the aileron/flap spar so it was parallel to it and I could make the measurement down to my table top reference.
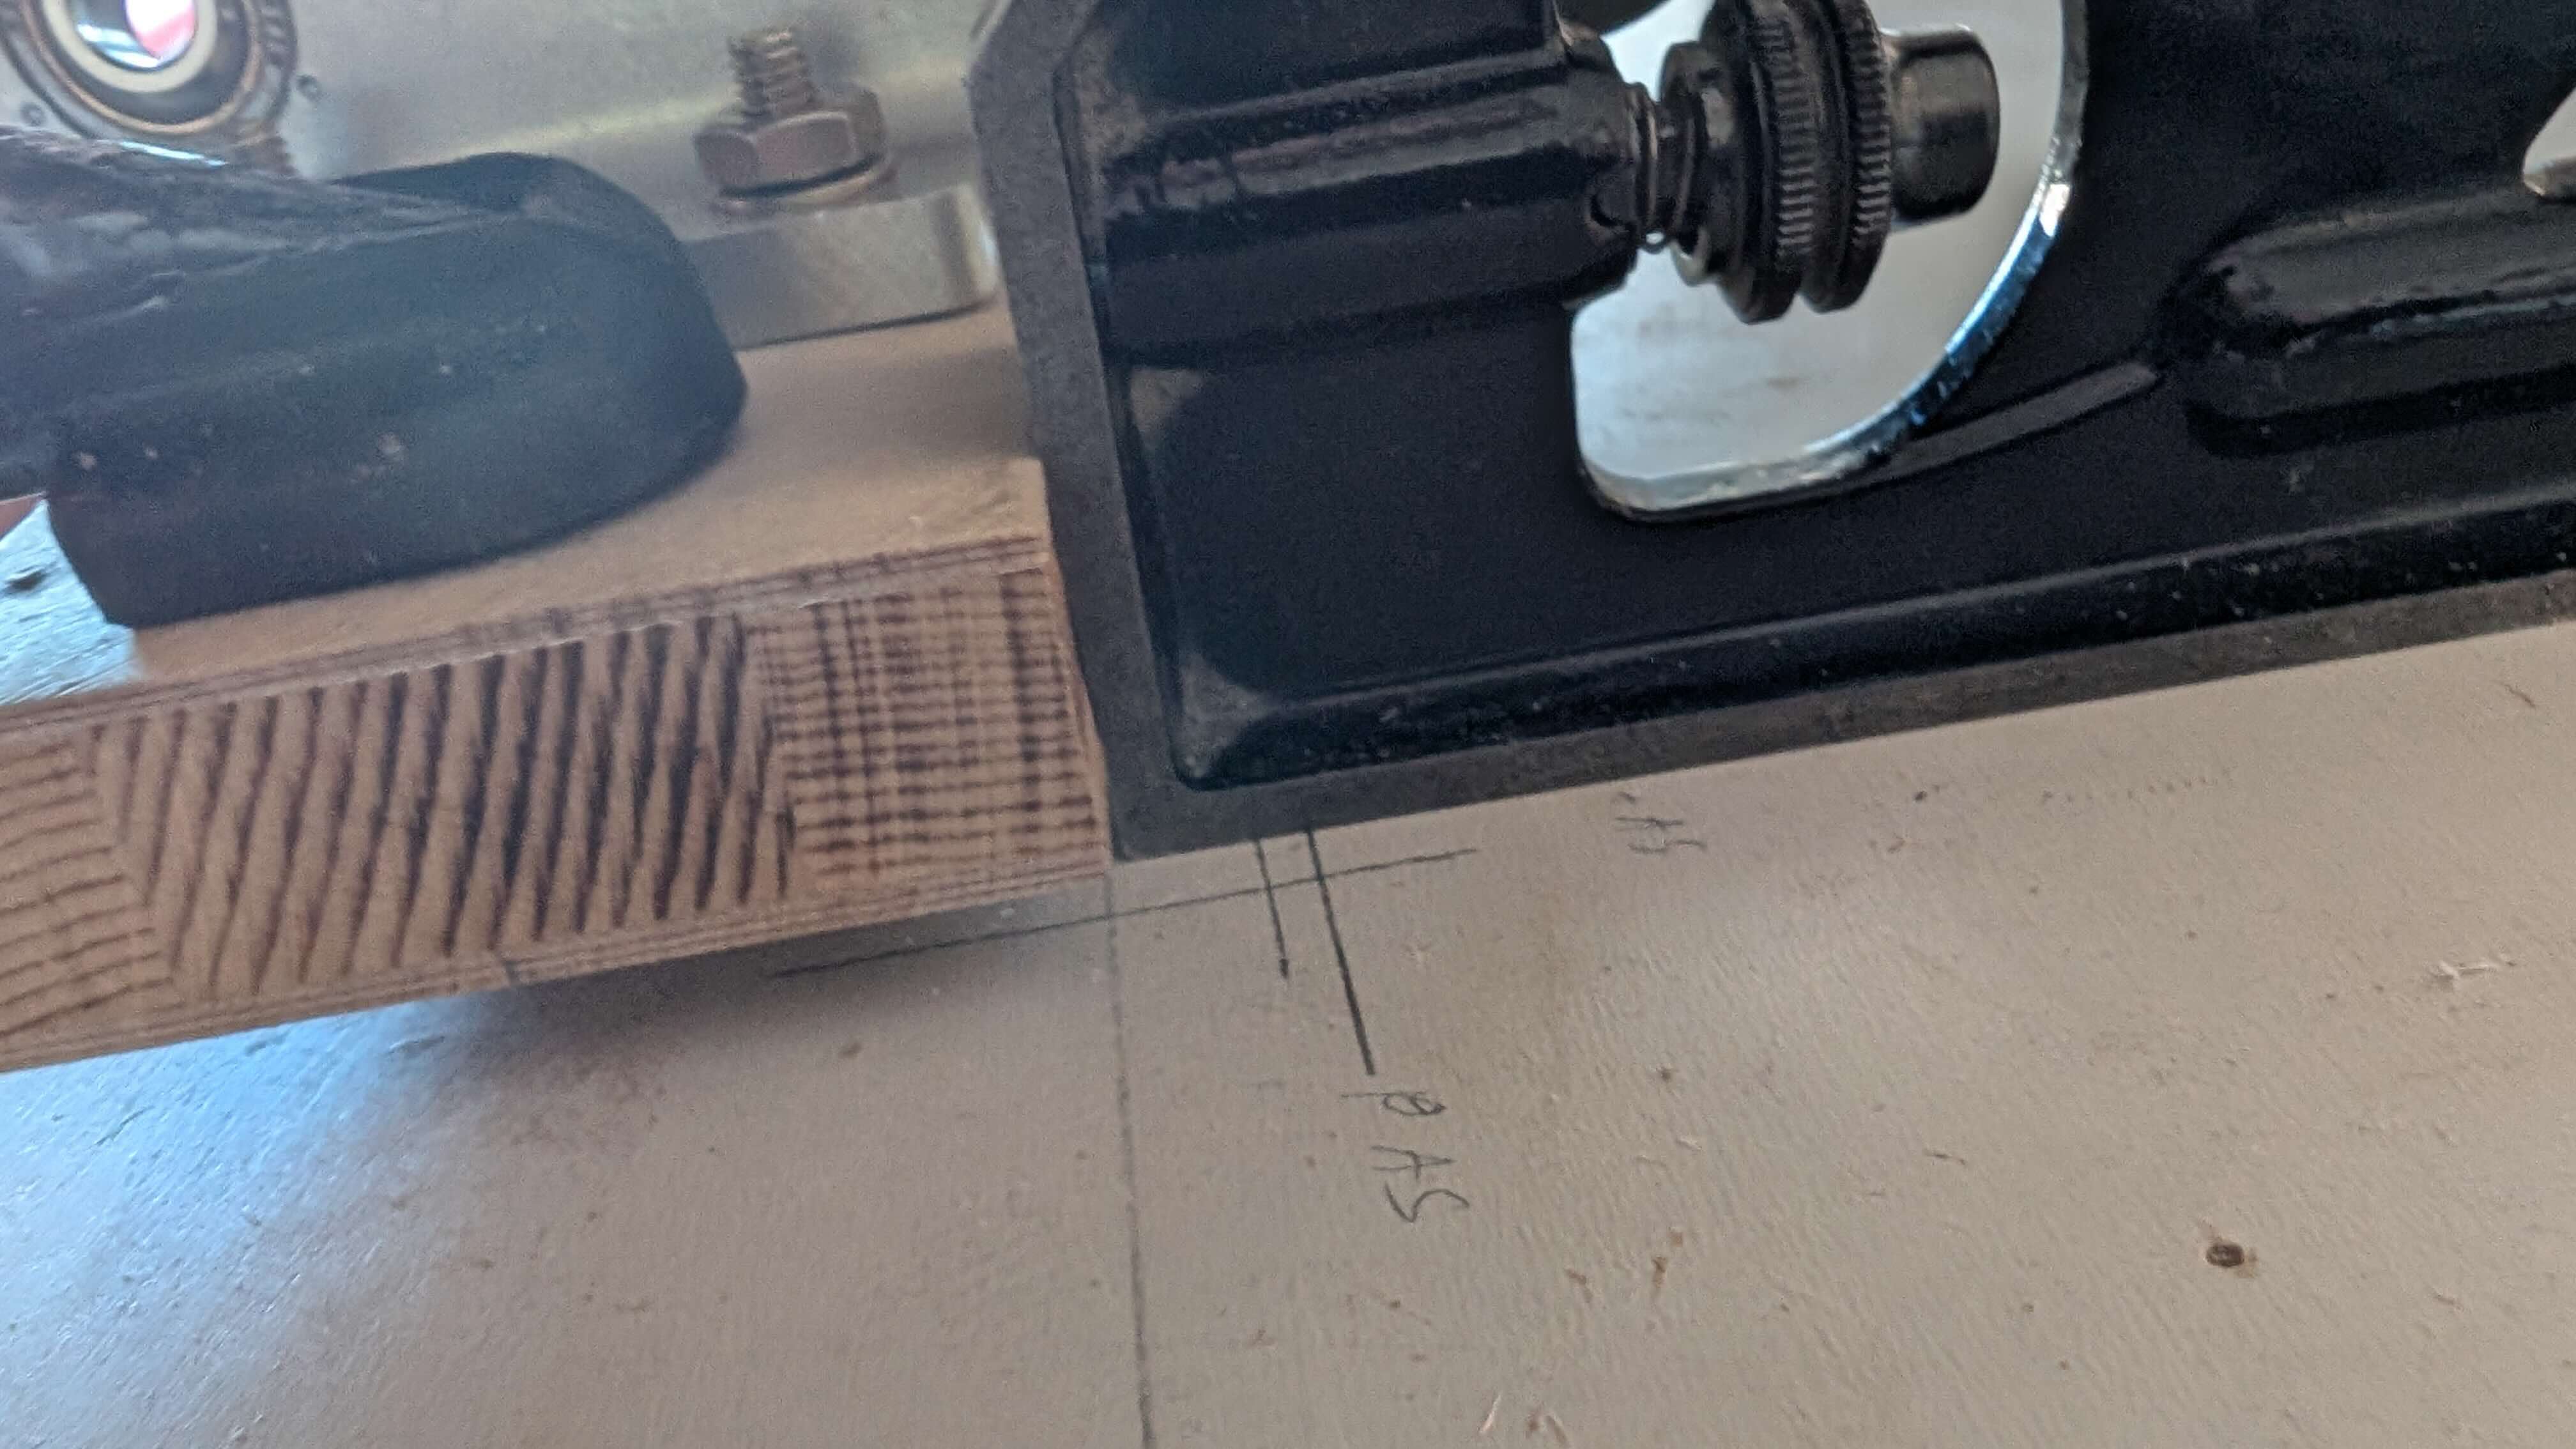
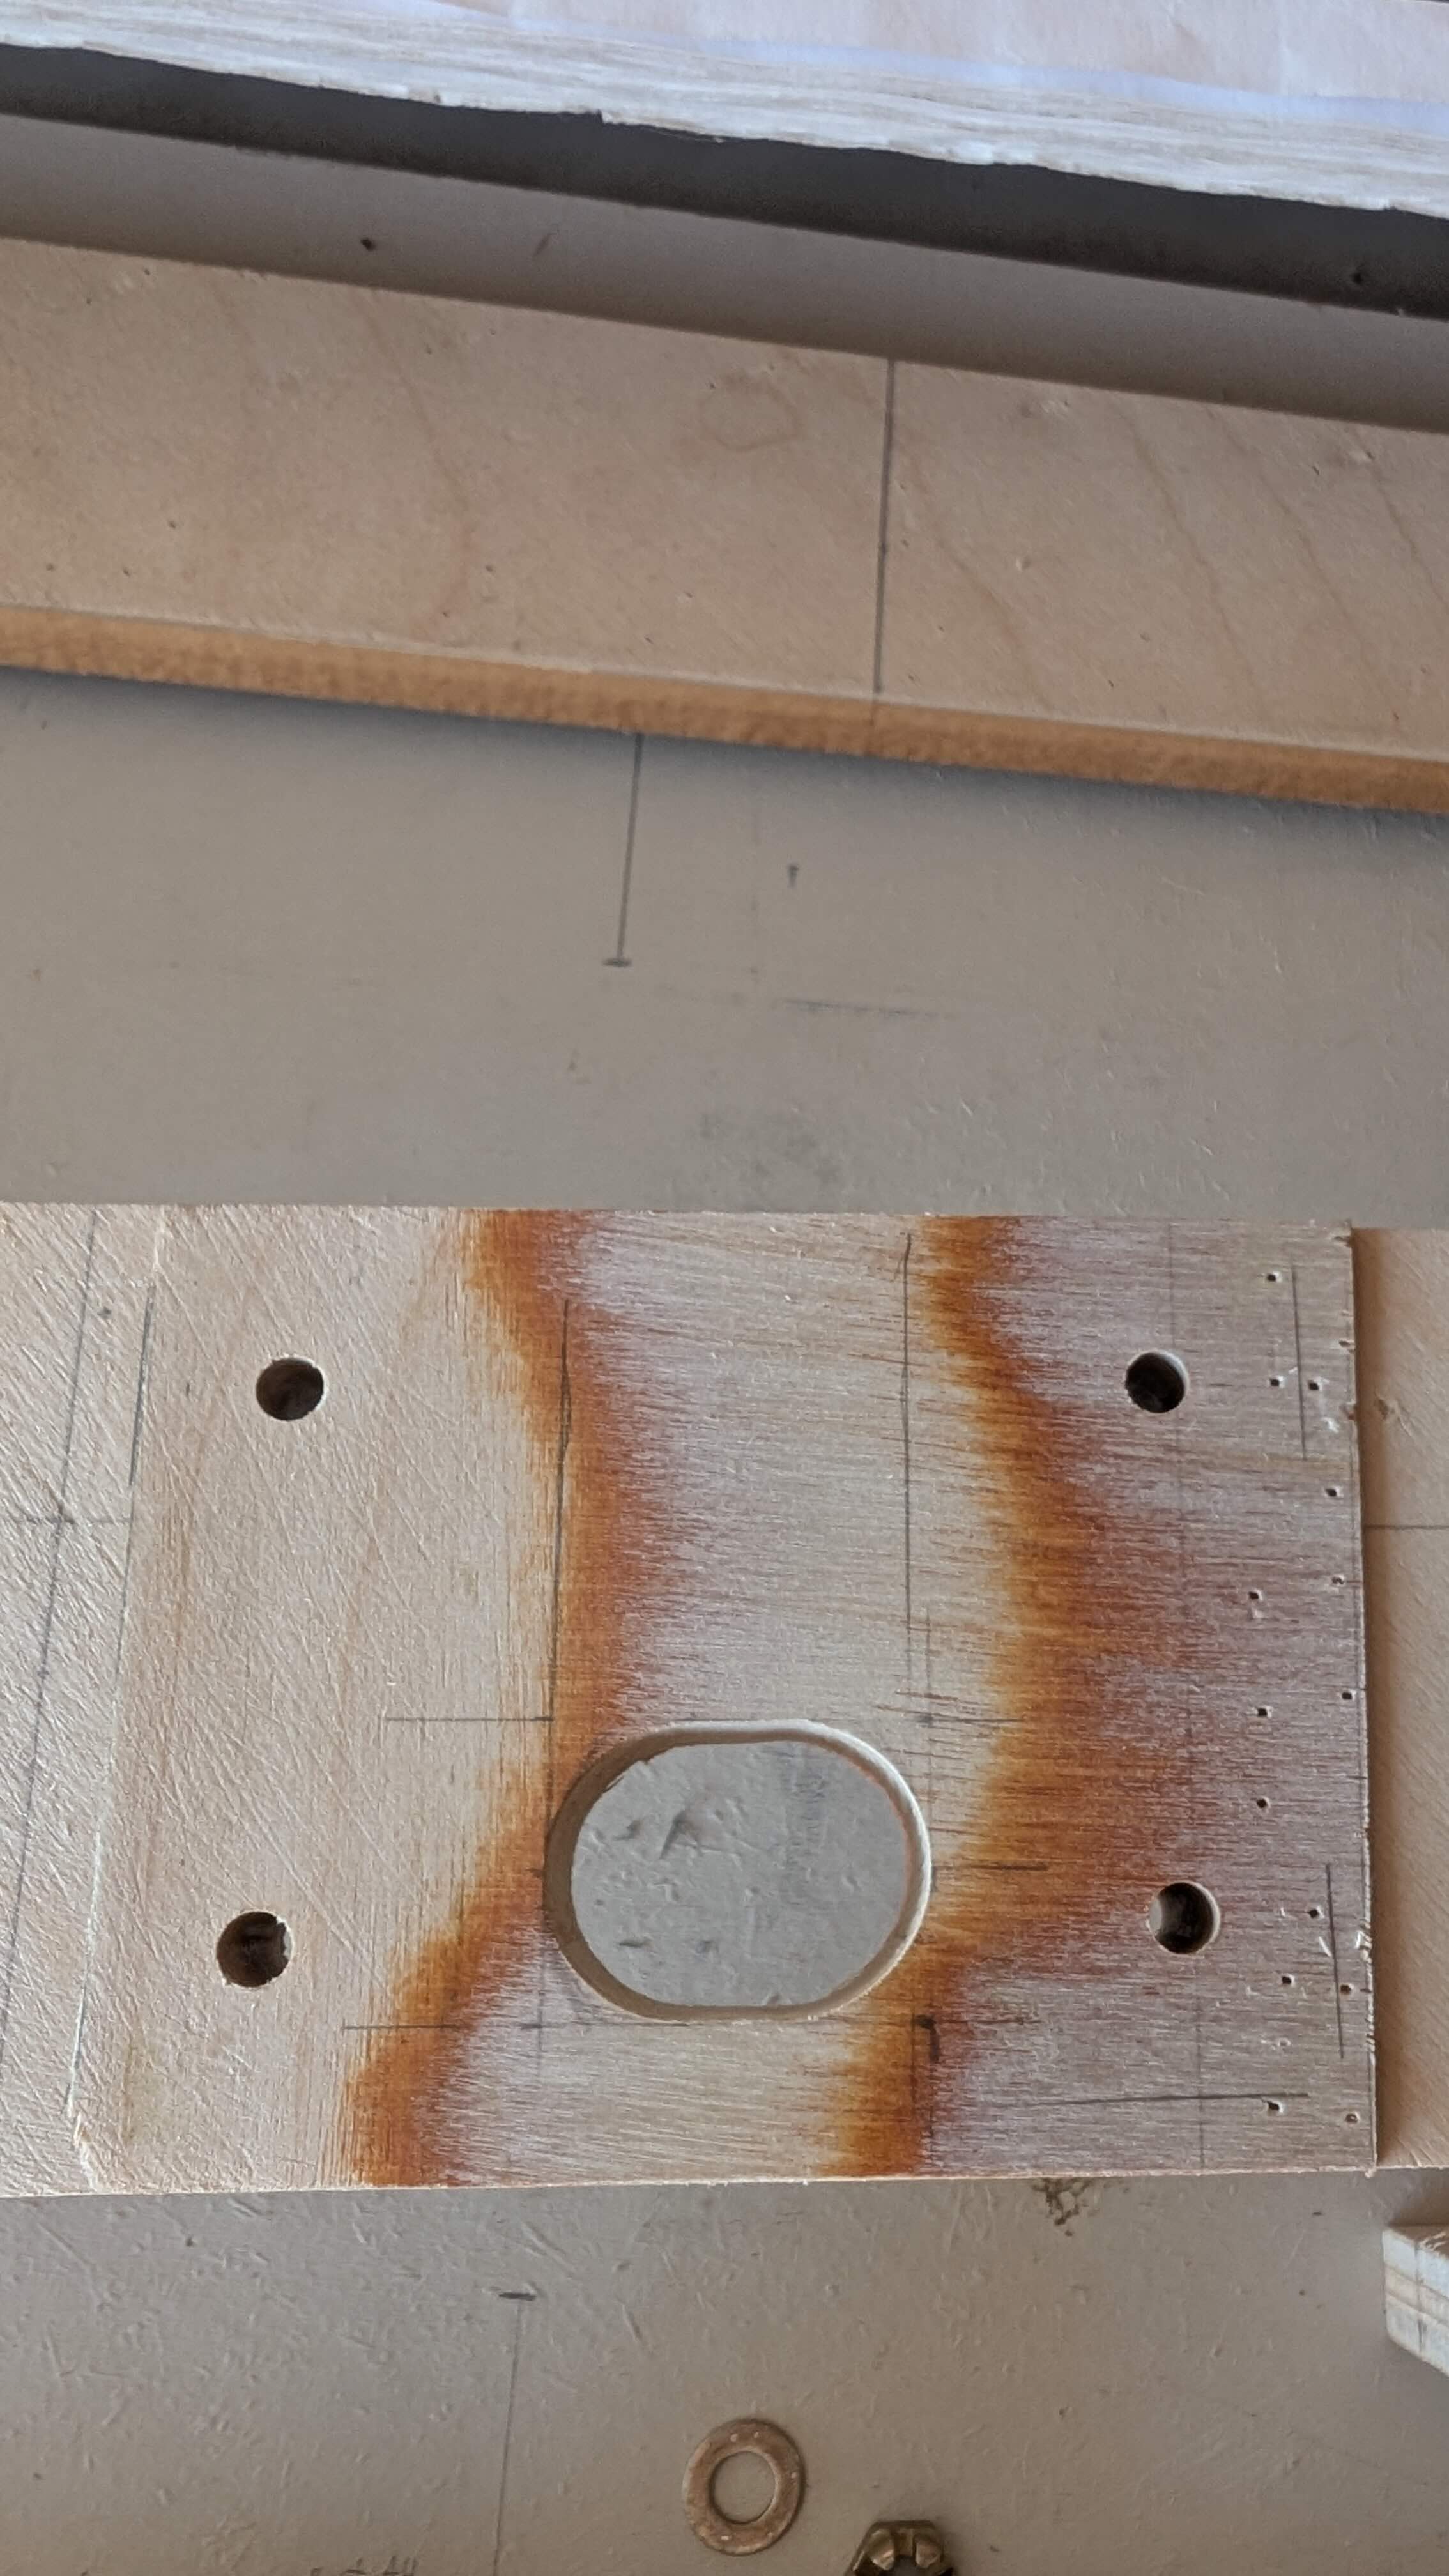
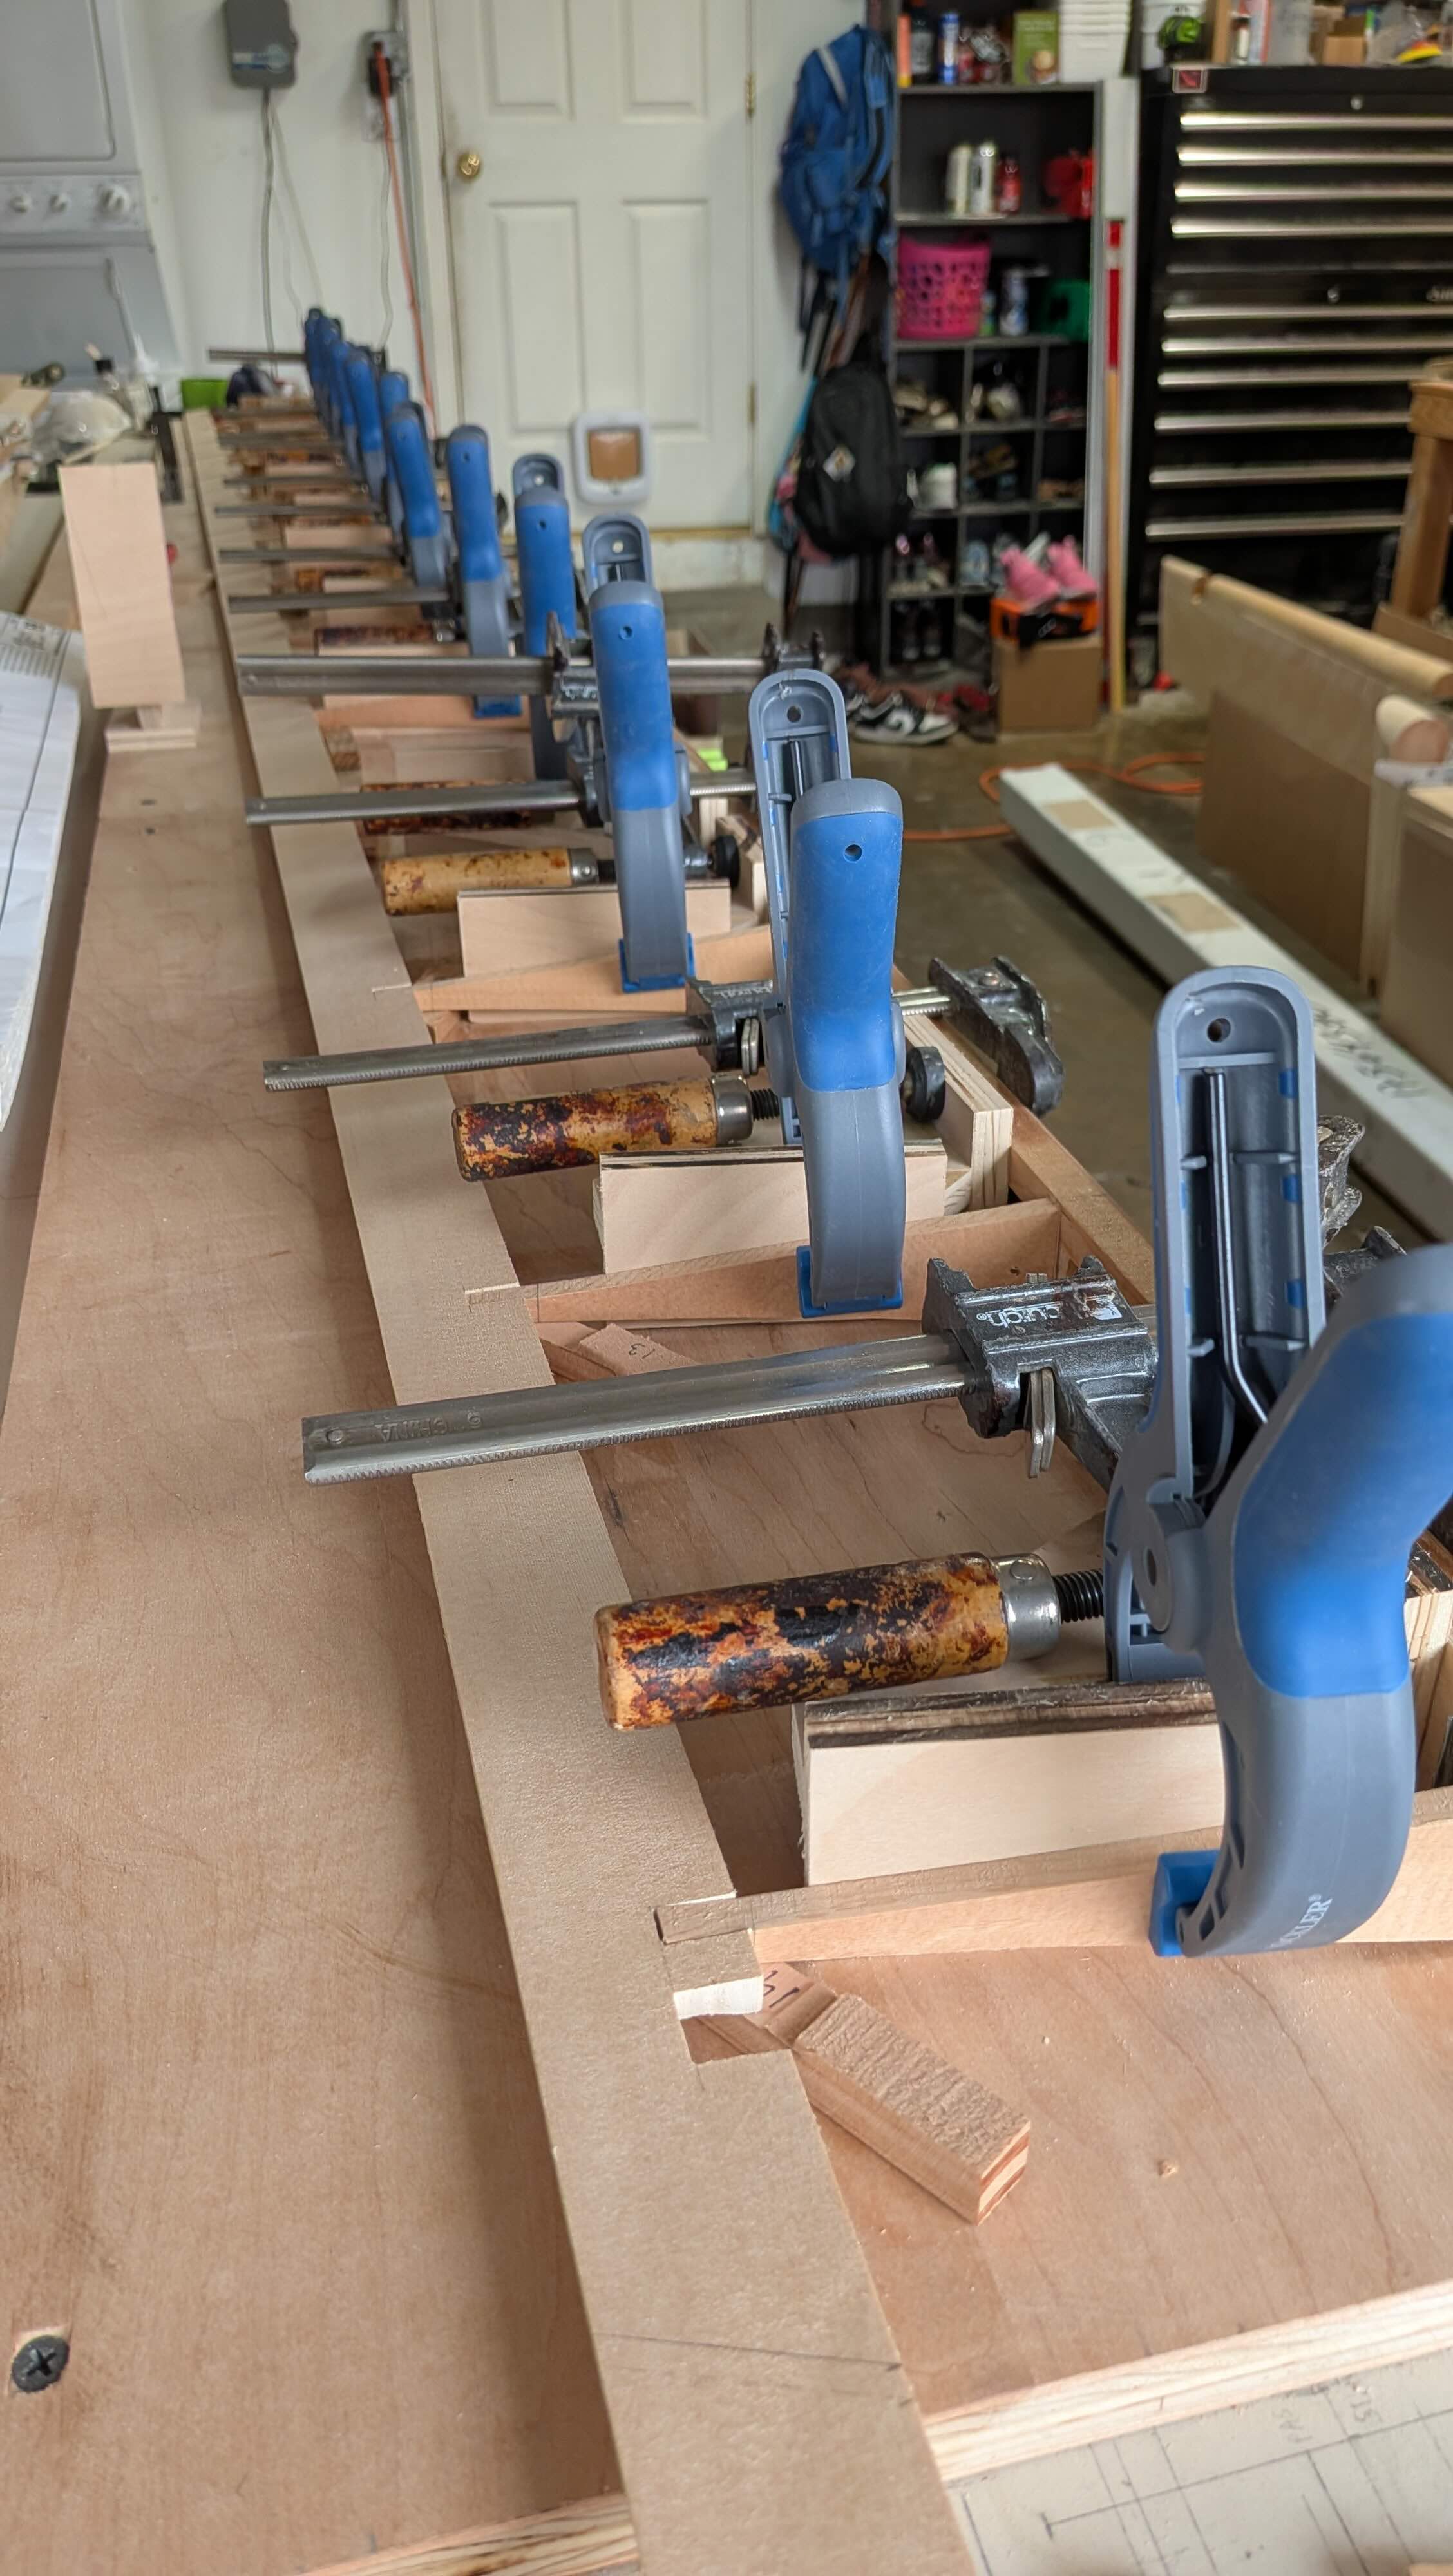
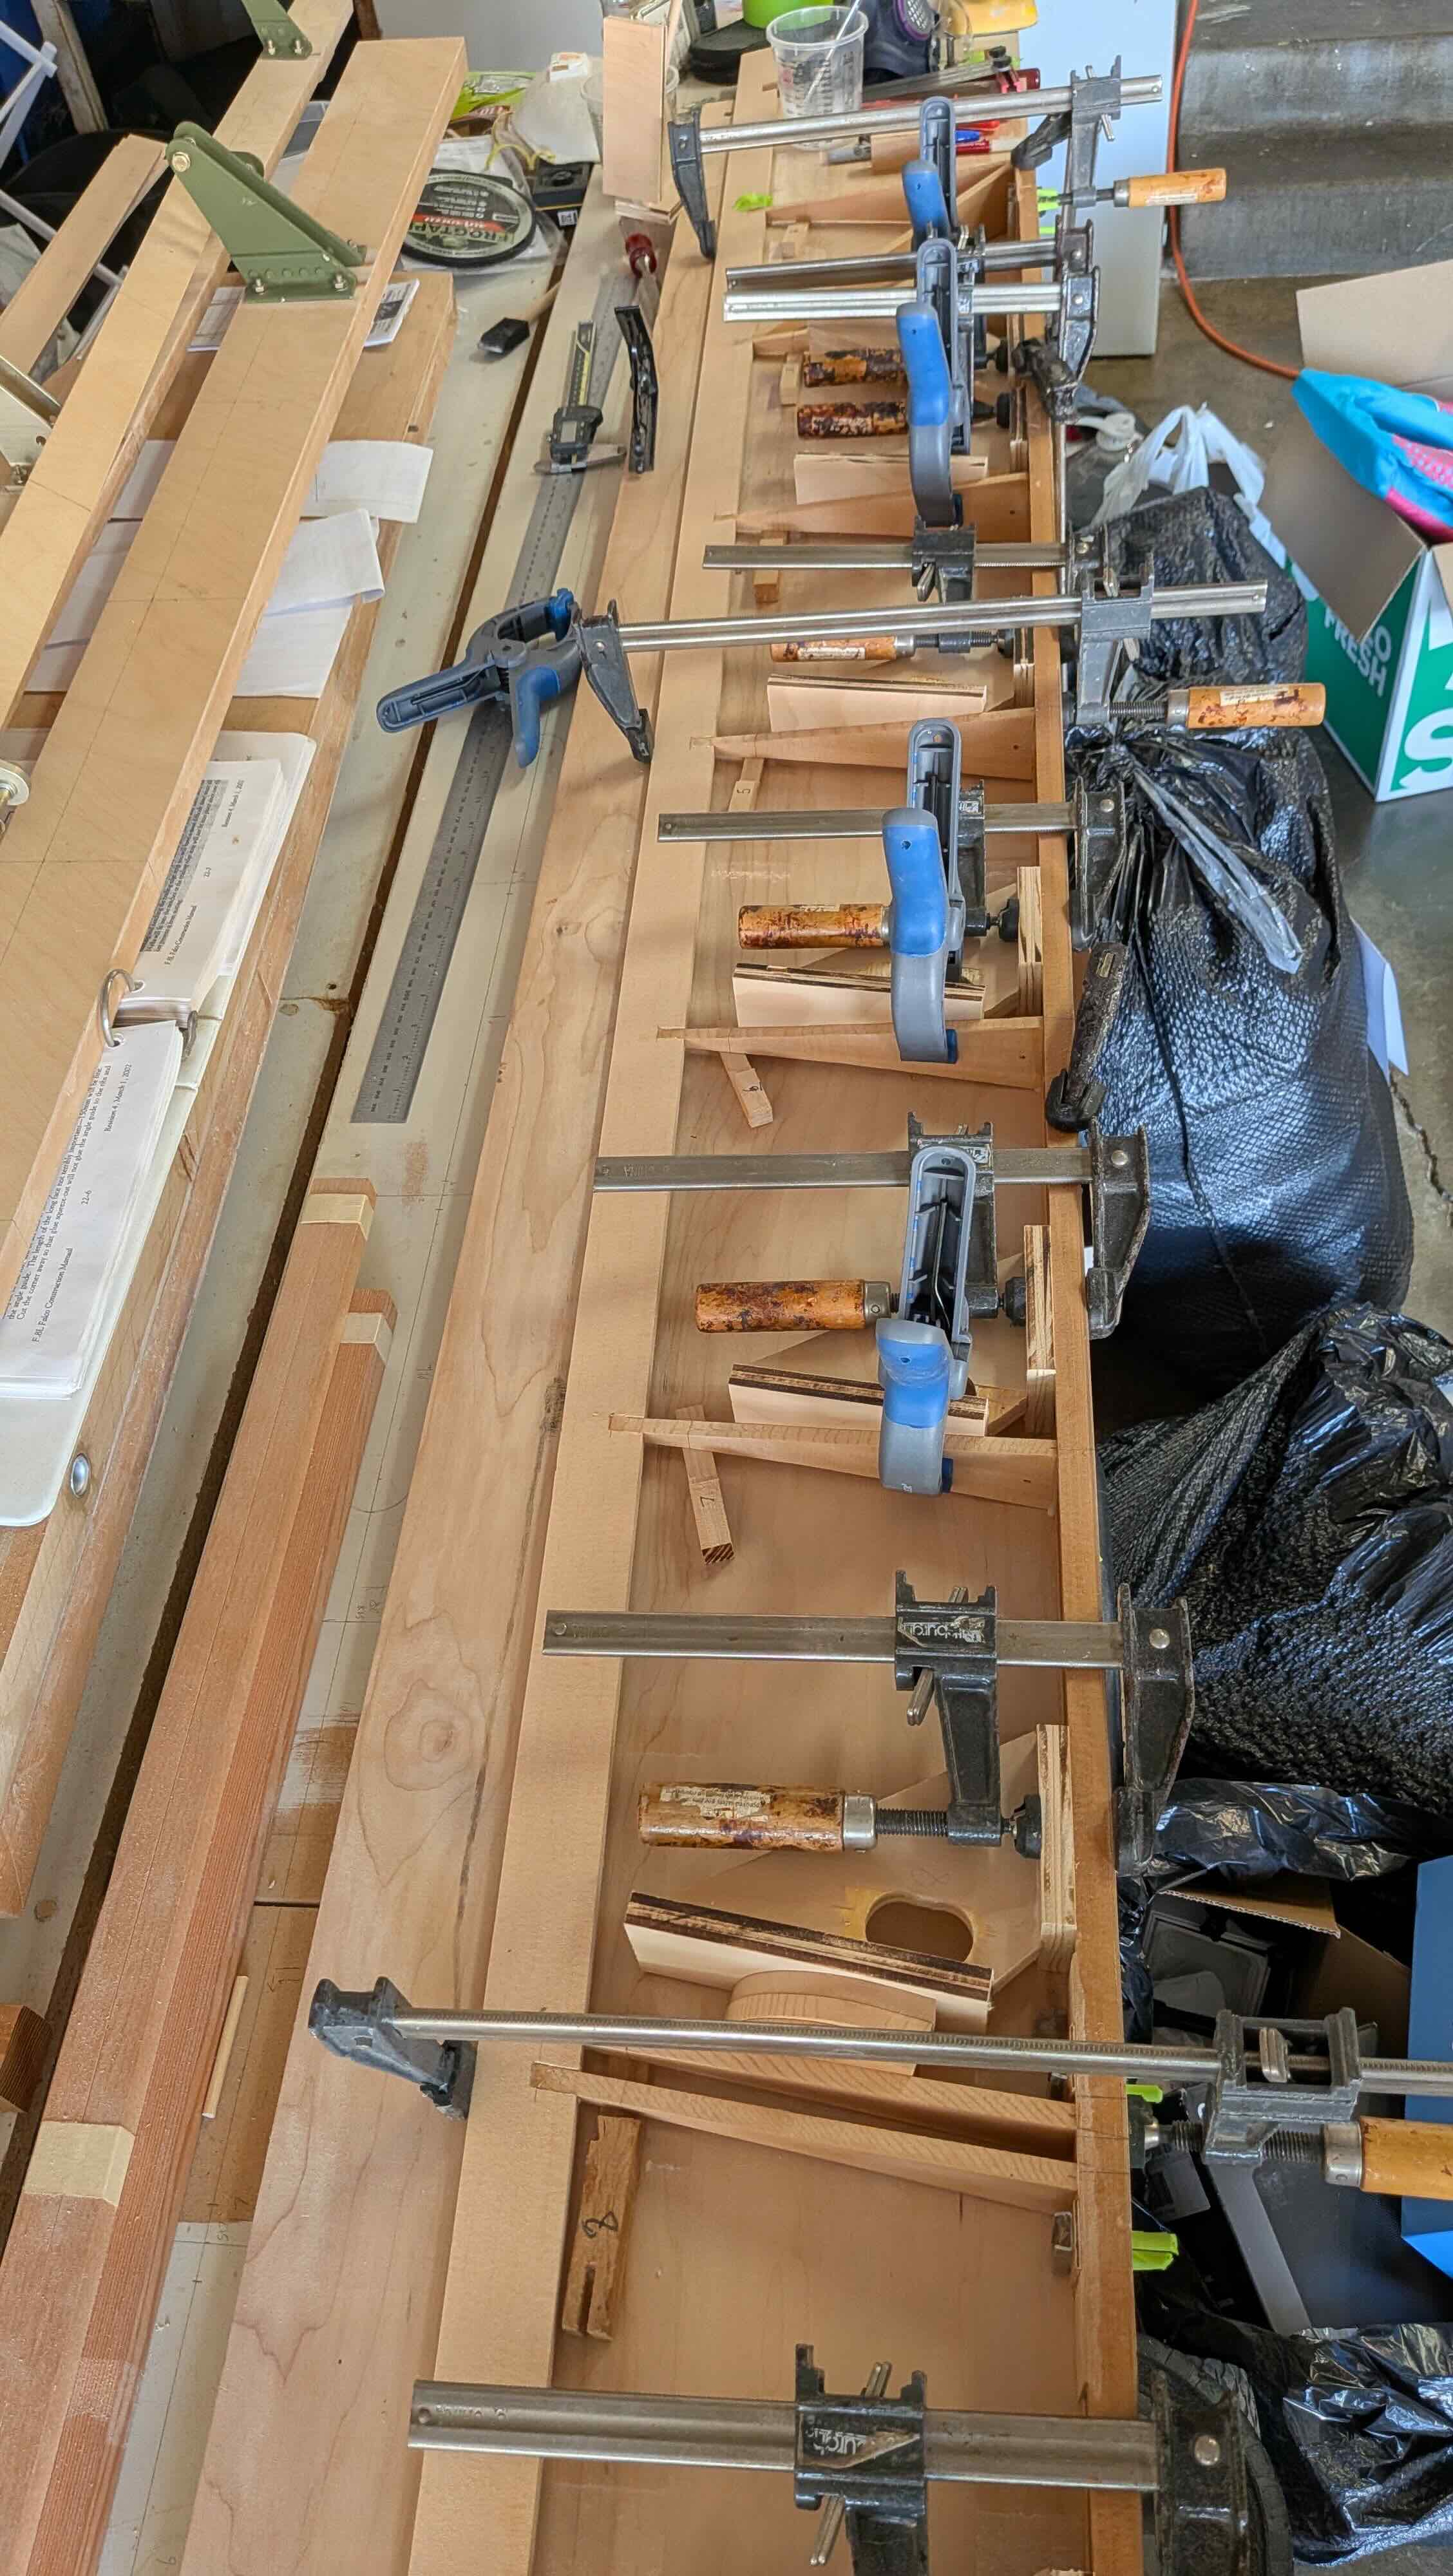
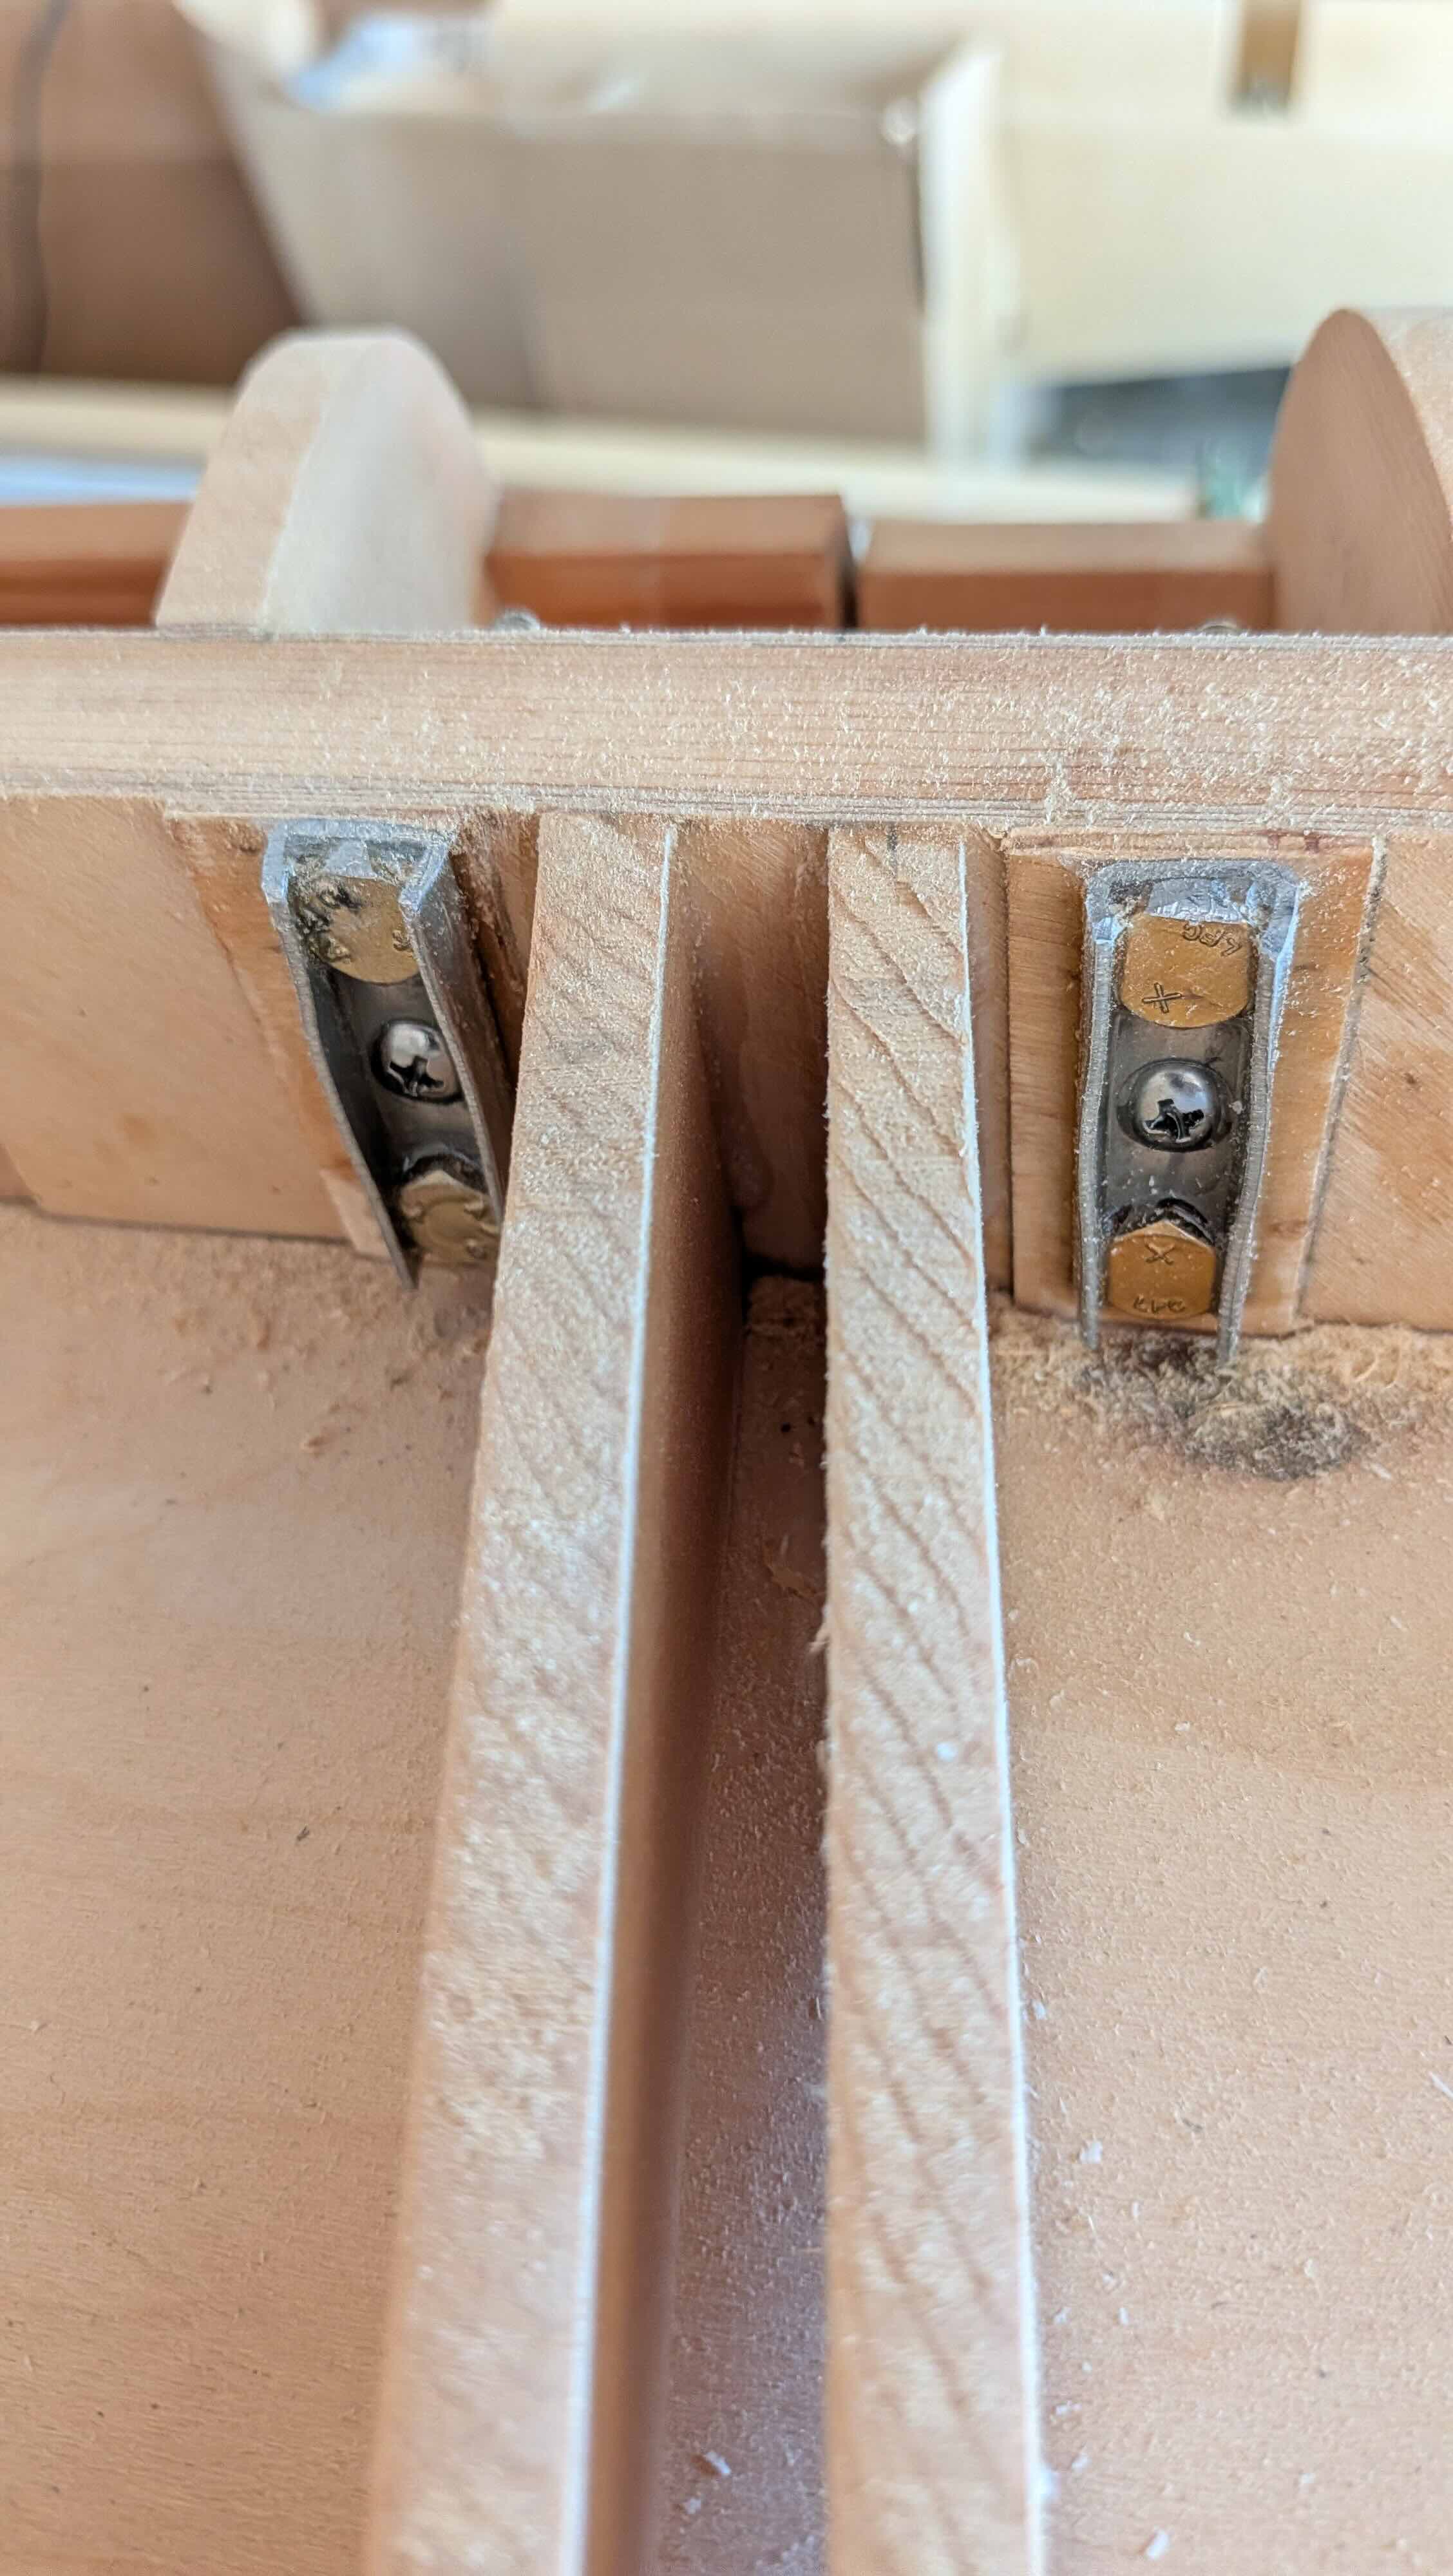
Once things were lined up, I clamped the hinges down with tape and superglue (I have good double sided tape to do this in the future) and drilled the holes for the hinges. I also made the spar pass throughs for the flap and aileron control arms.

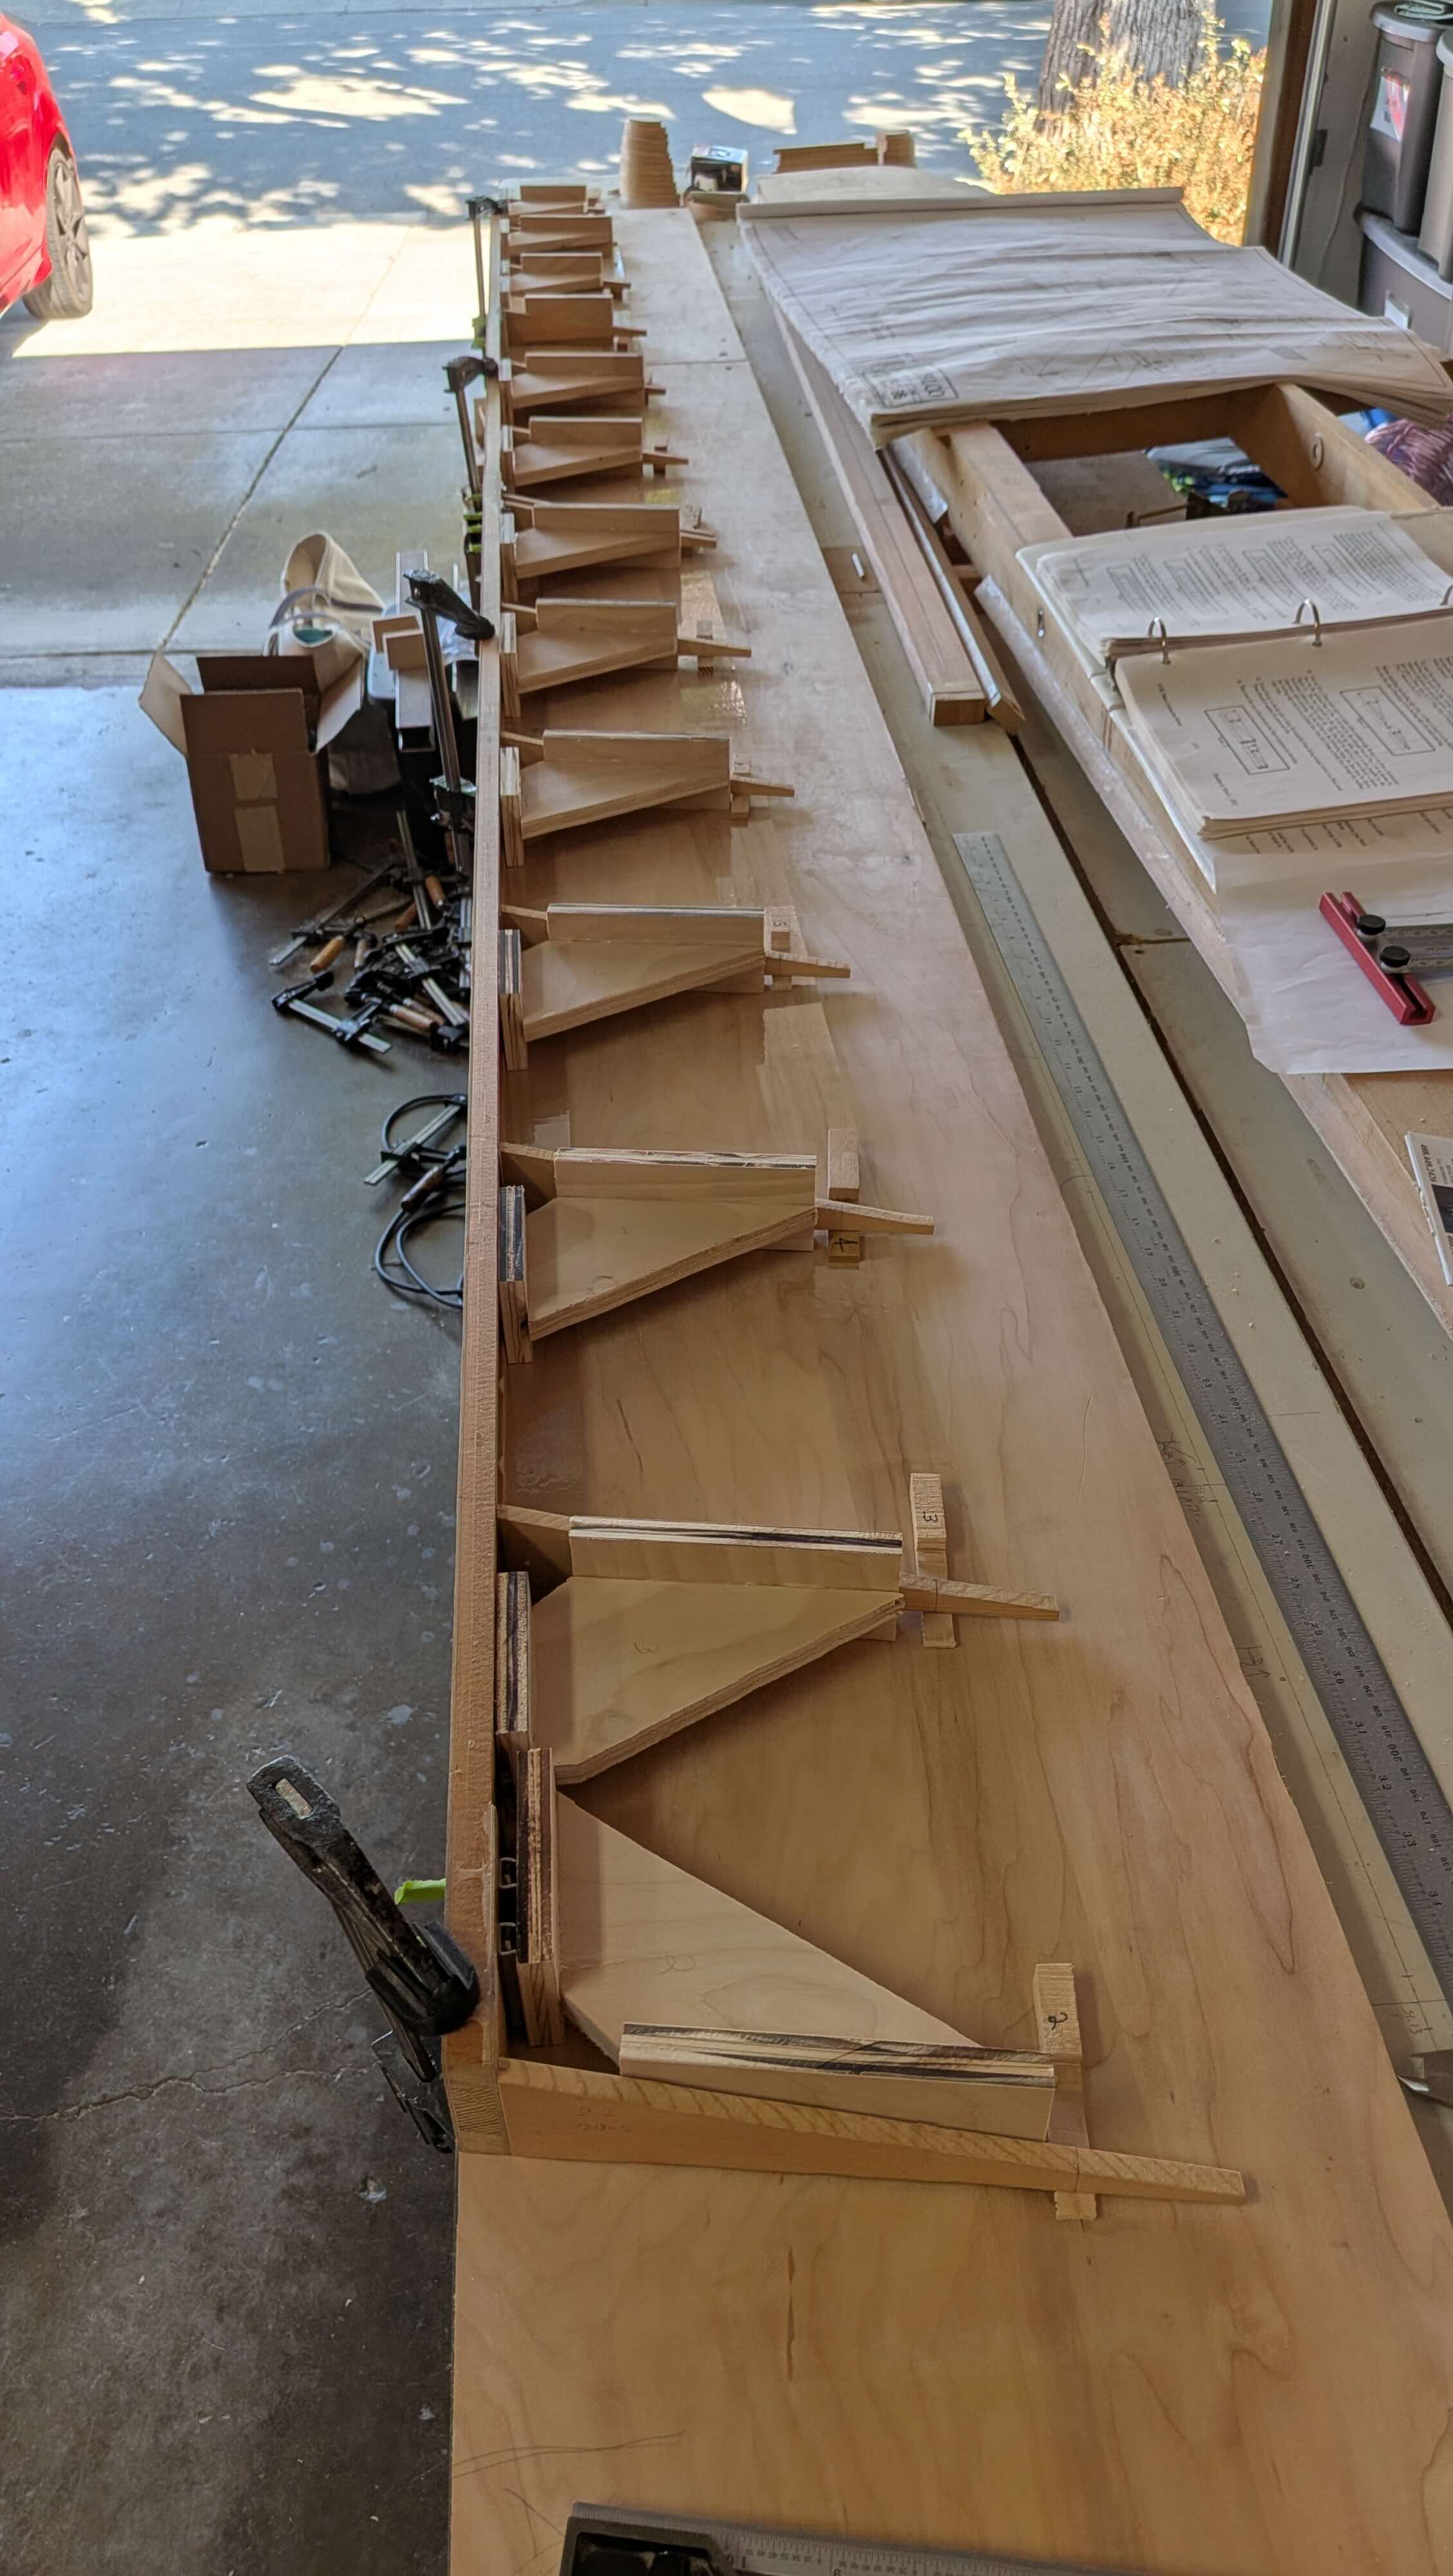
Since the ailerons/flaps have a slight twist from root to tip, The plans give the dimensions for spacers at each rib station. I made these spacers and the angle guides to hold the ribs at the correct angle against the spar and perpendicular to the table top. Since the table top is my flat reference for building the structure, I used some plywood to get a good flat surface, since my actual table top was slightly wavy give the years of abuse.
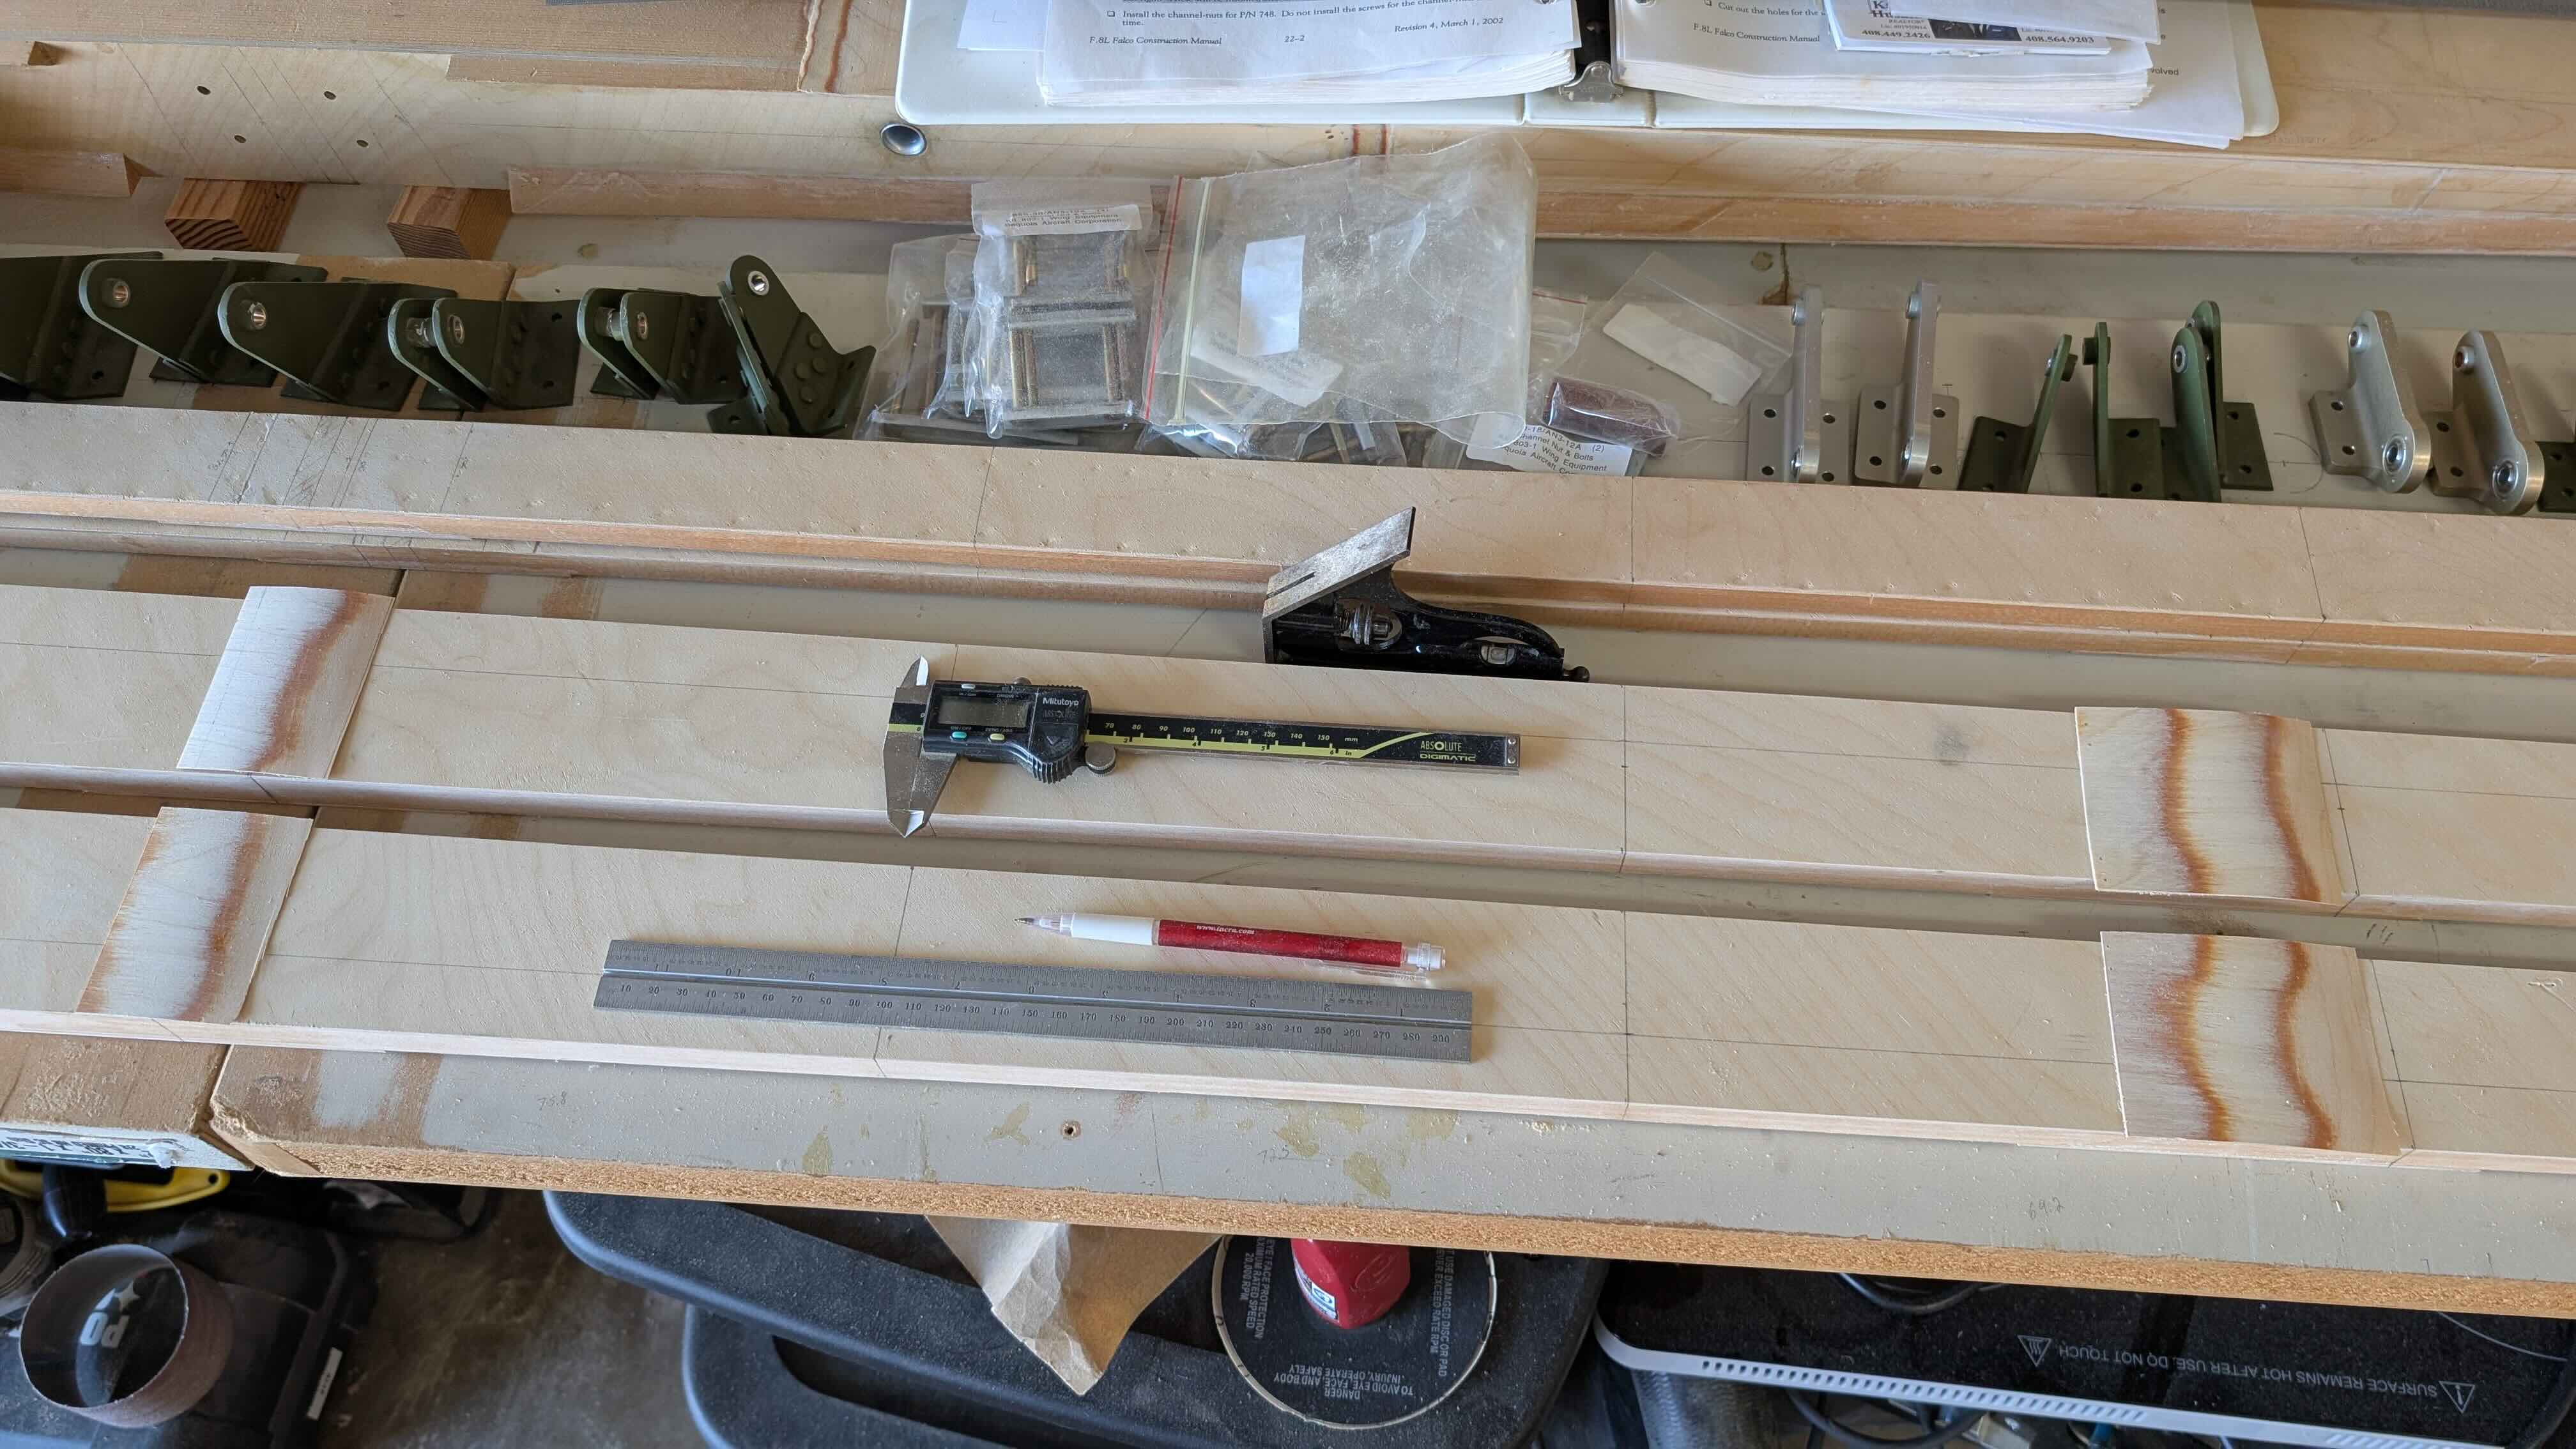
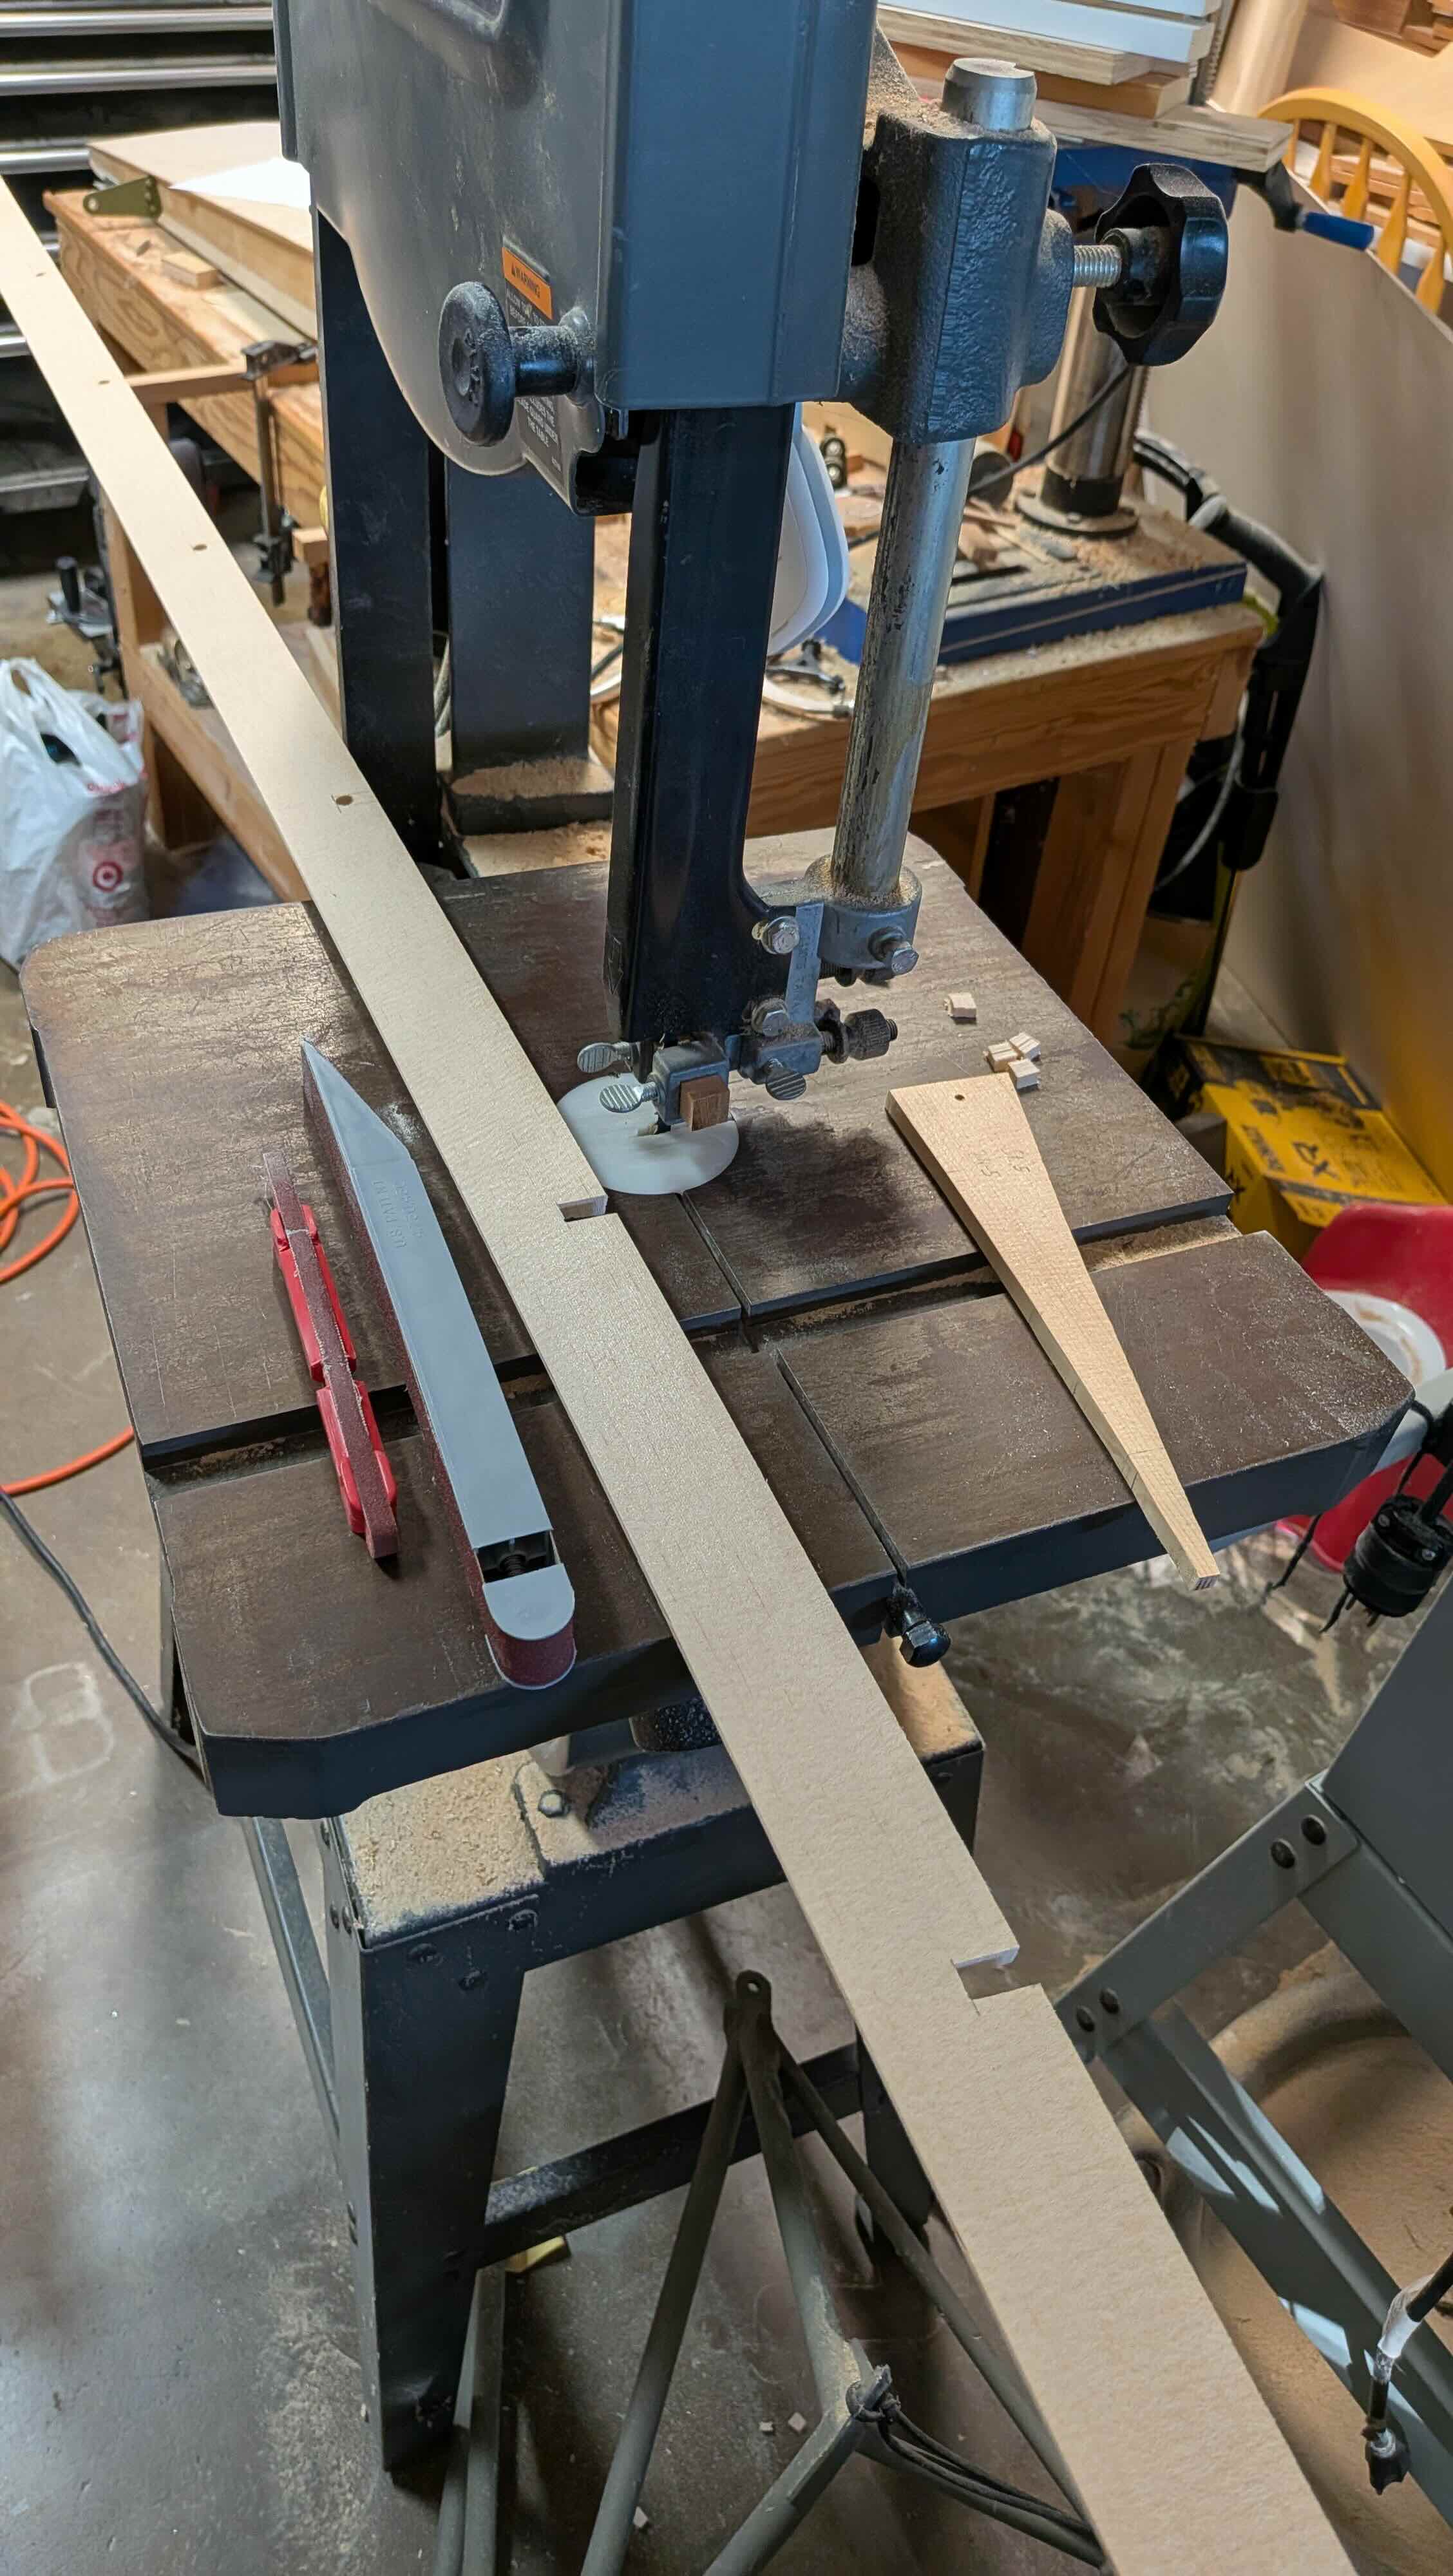
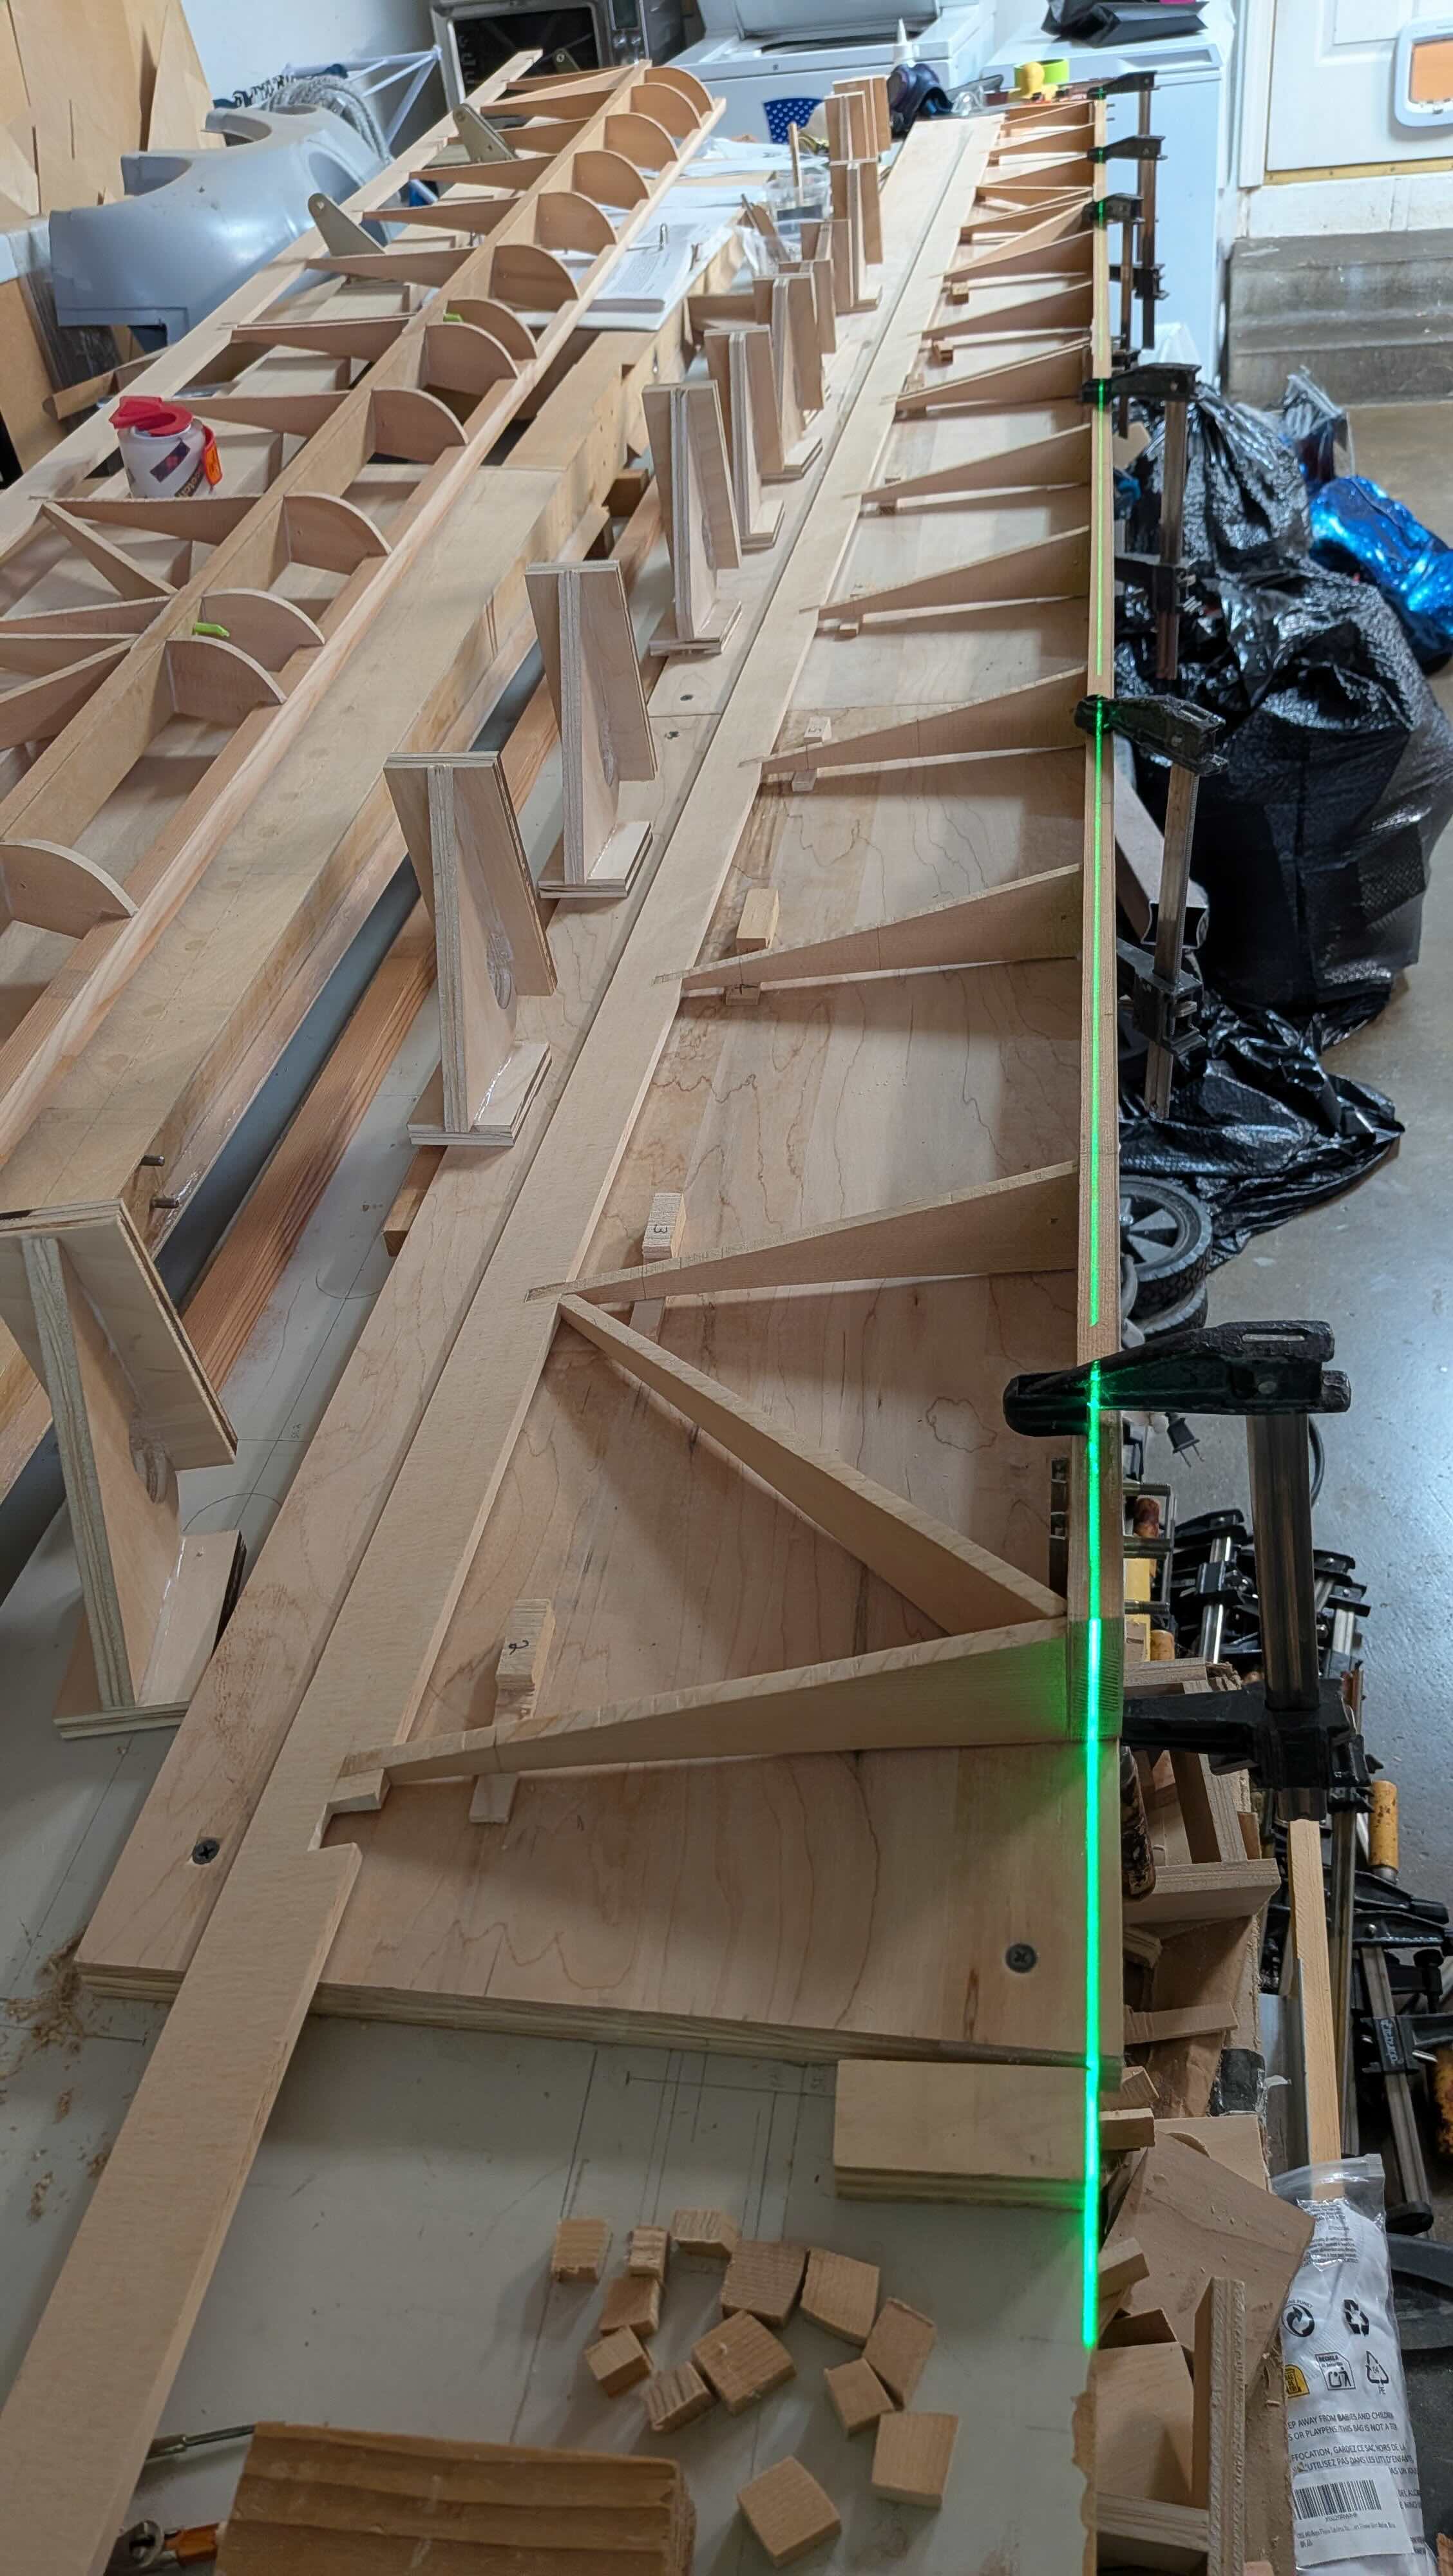
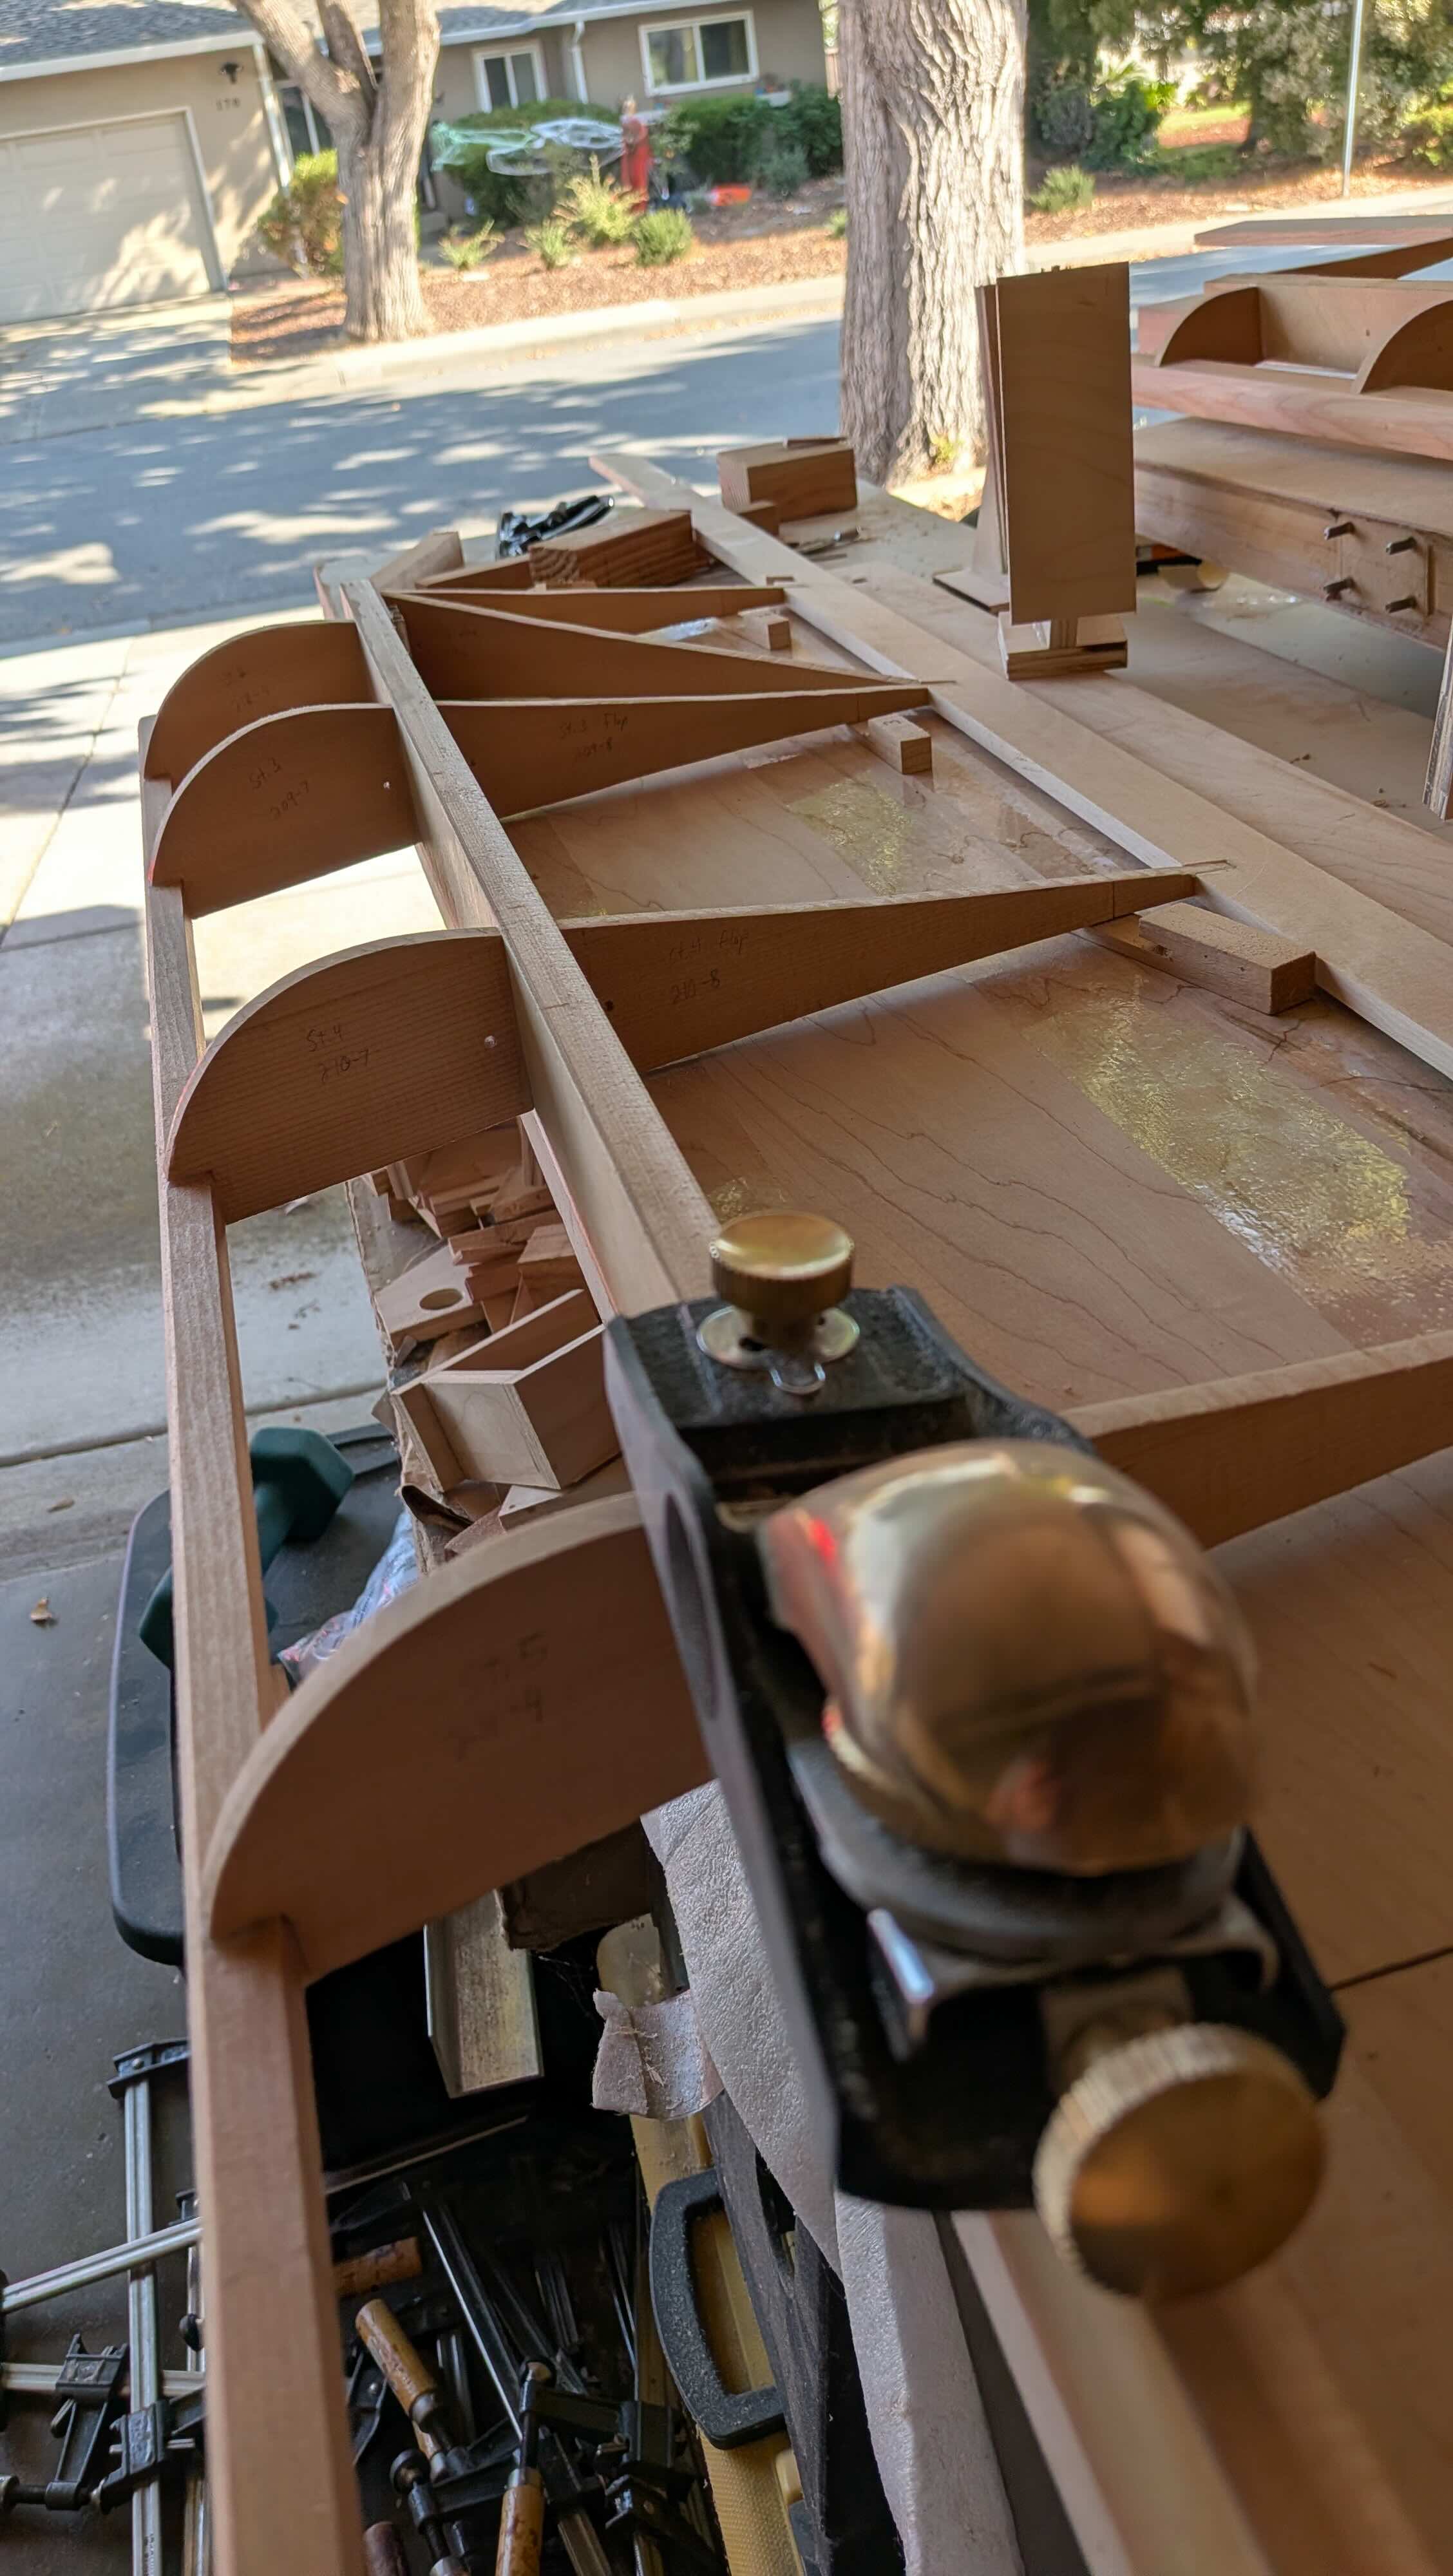
The trailing edge of the aileron/flap is notched to match the rib spacing and unify it with the overall structure. The trailing edge profile was tricky to cut down the long length of wood and I did miscalculate the angle the first time I cut them. That was a costly mistake to have to get new pieces of 12 ft long spruce spar stock. You also need to be precise in measuring and cutting out the notches but that went well for me.
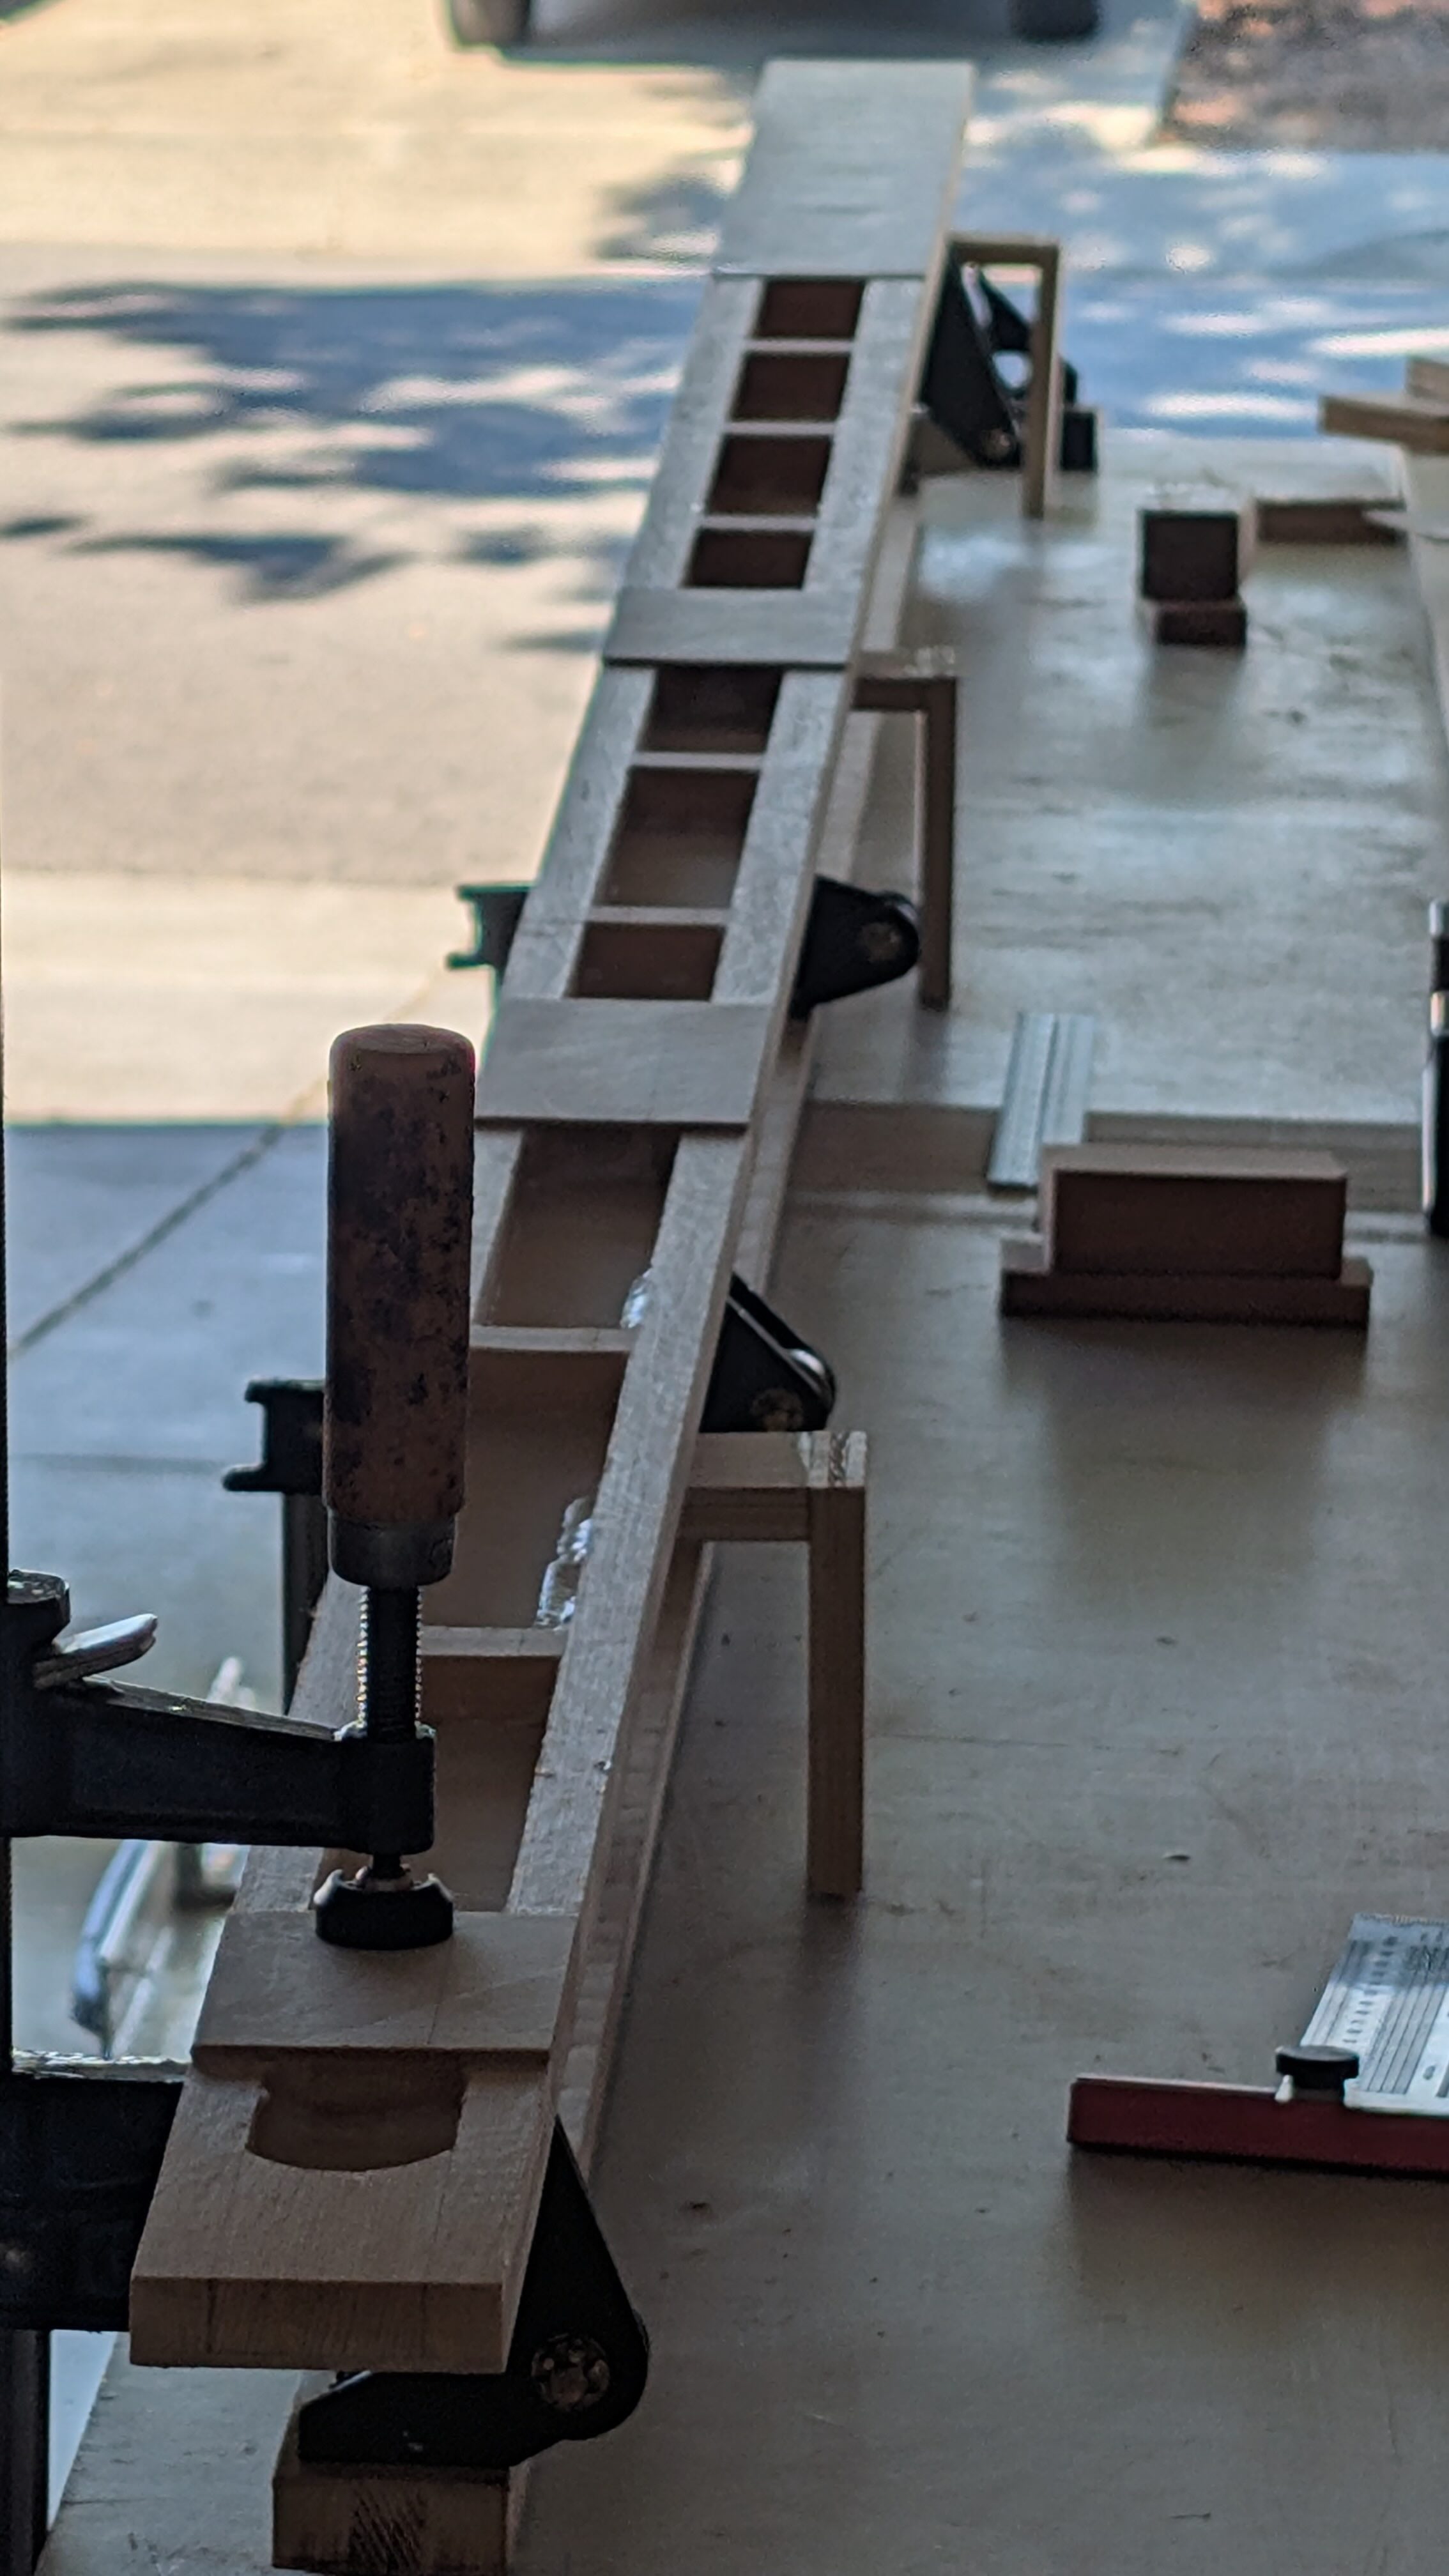
With all the jigs and pieces ready for assembly, I was finally able to glue up the structure, checking the spar for straightness along the way. Notching the leading edge ribs was tricky with all their angles. I spent a lot of time sanding and checking. The leading edge strip was pre-shaped with a block plane before gluing it to the leading edge ribs.
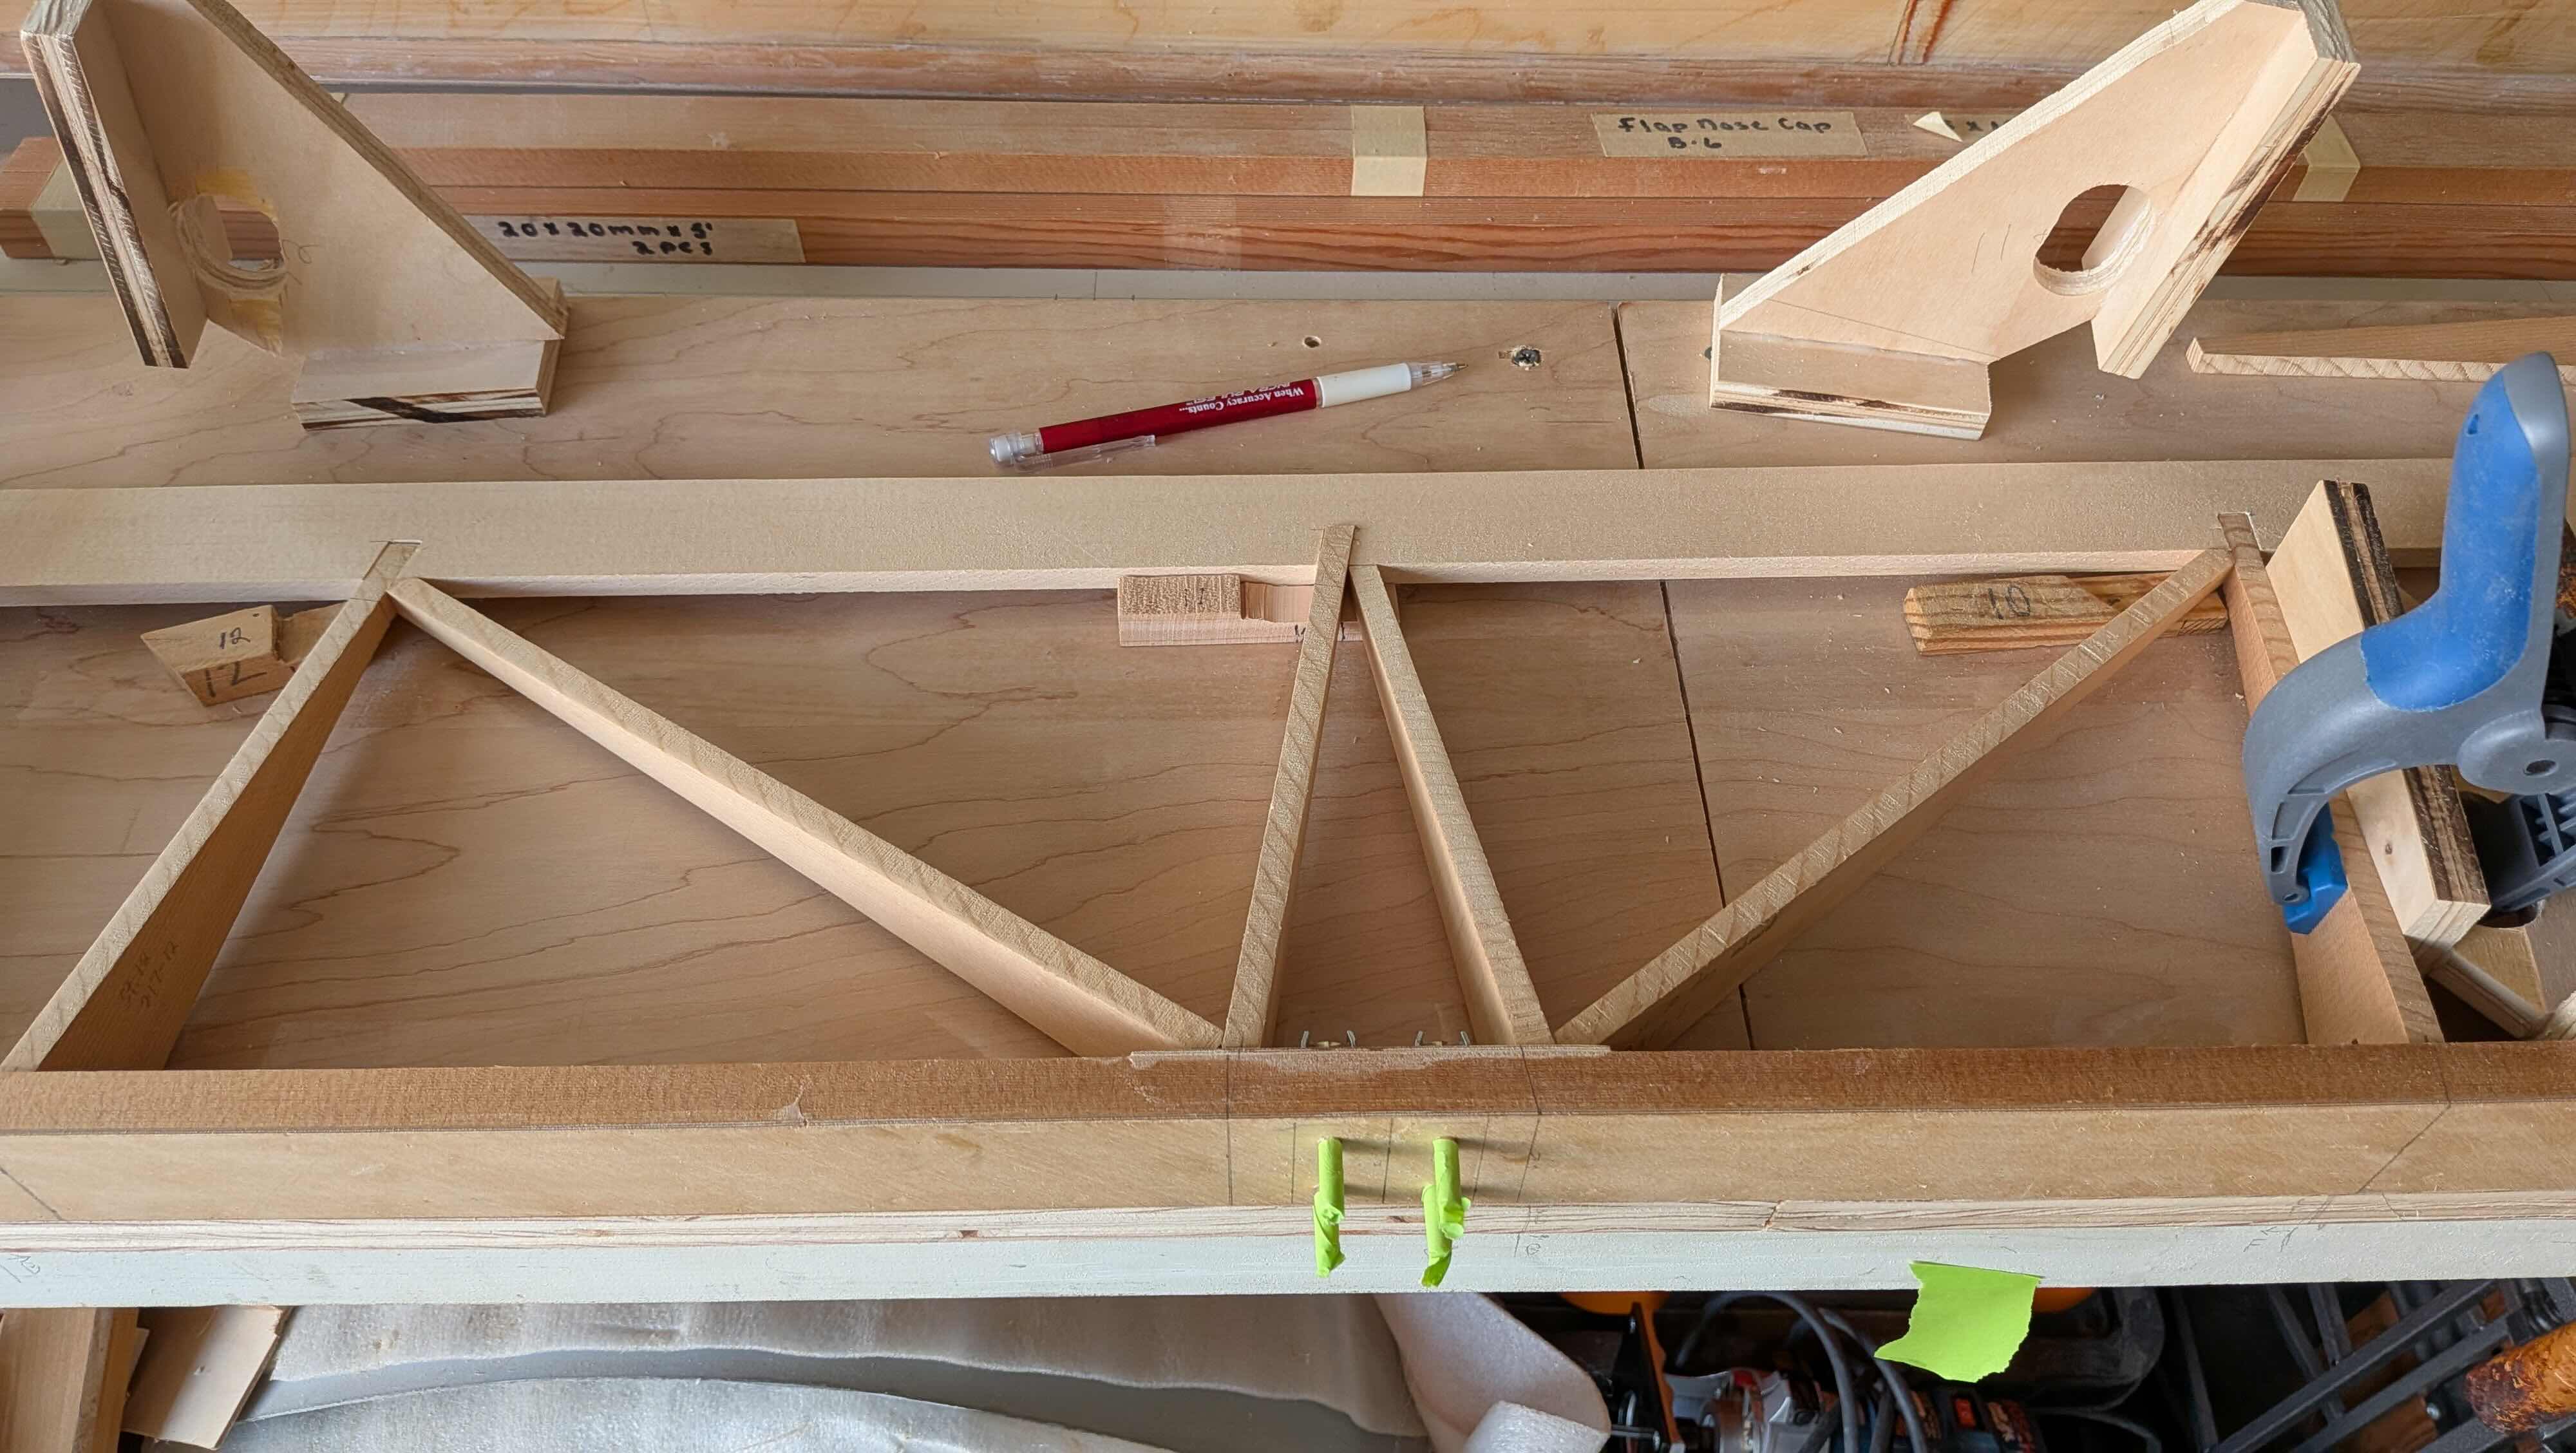
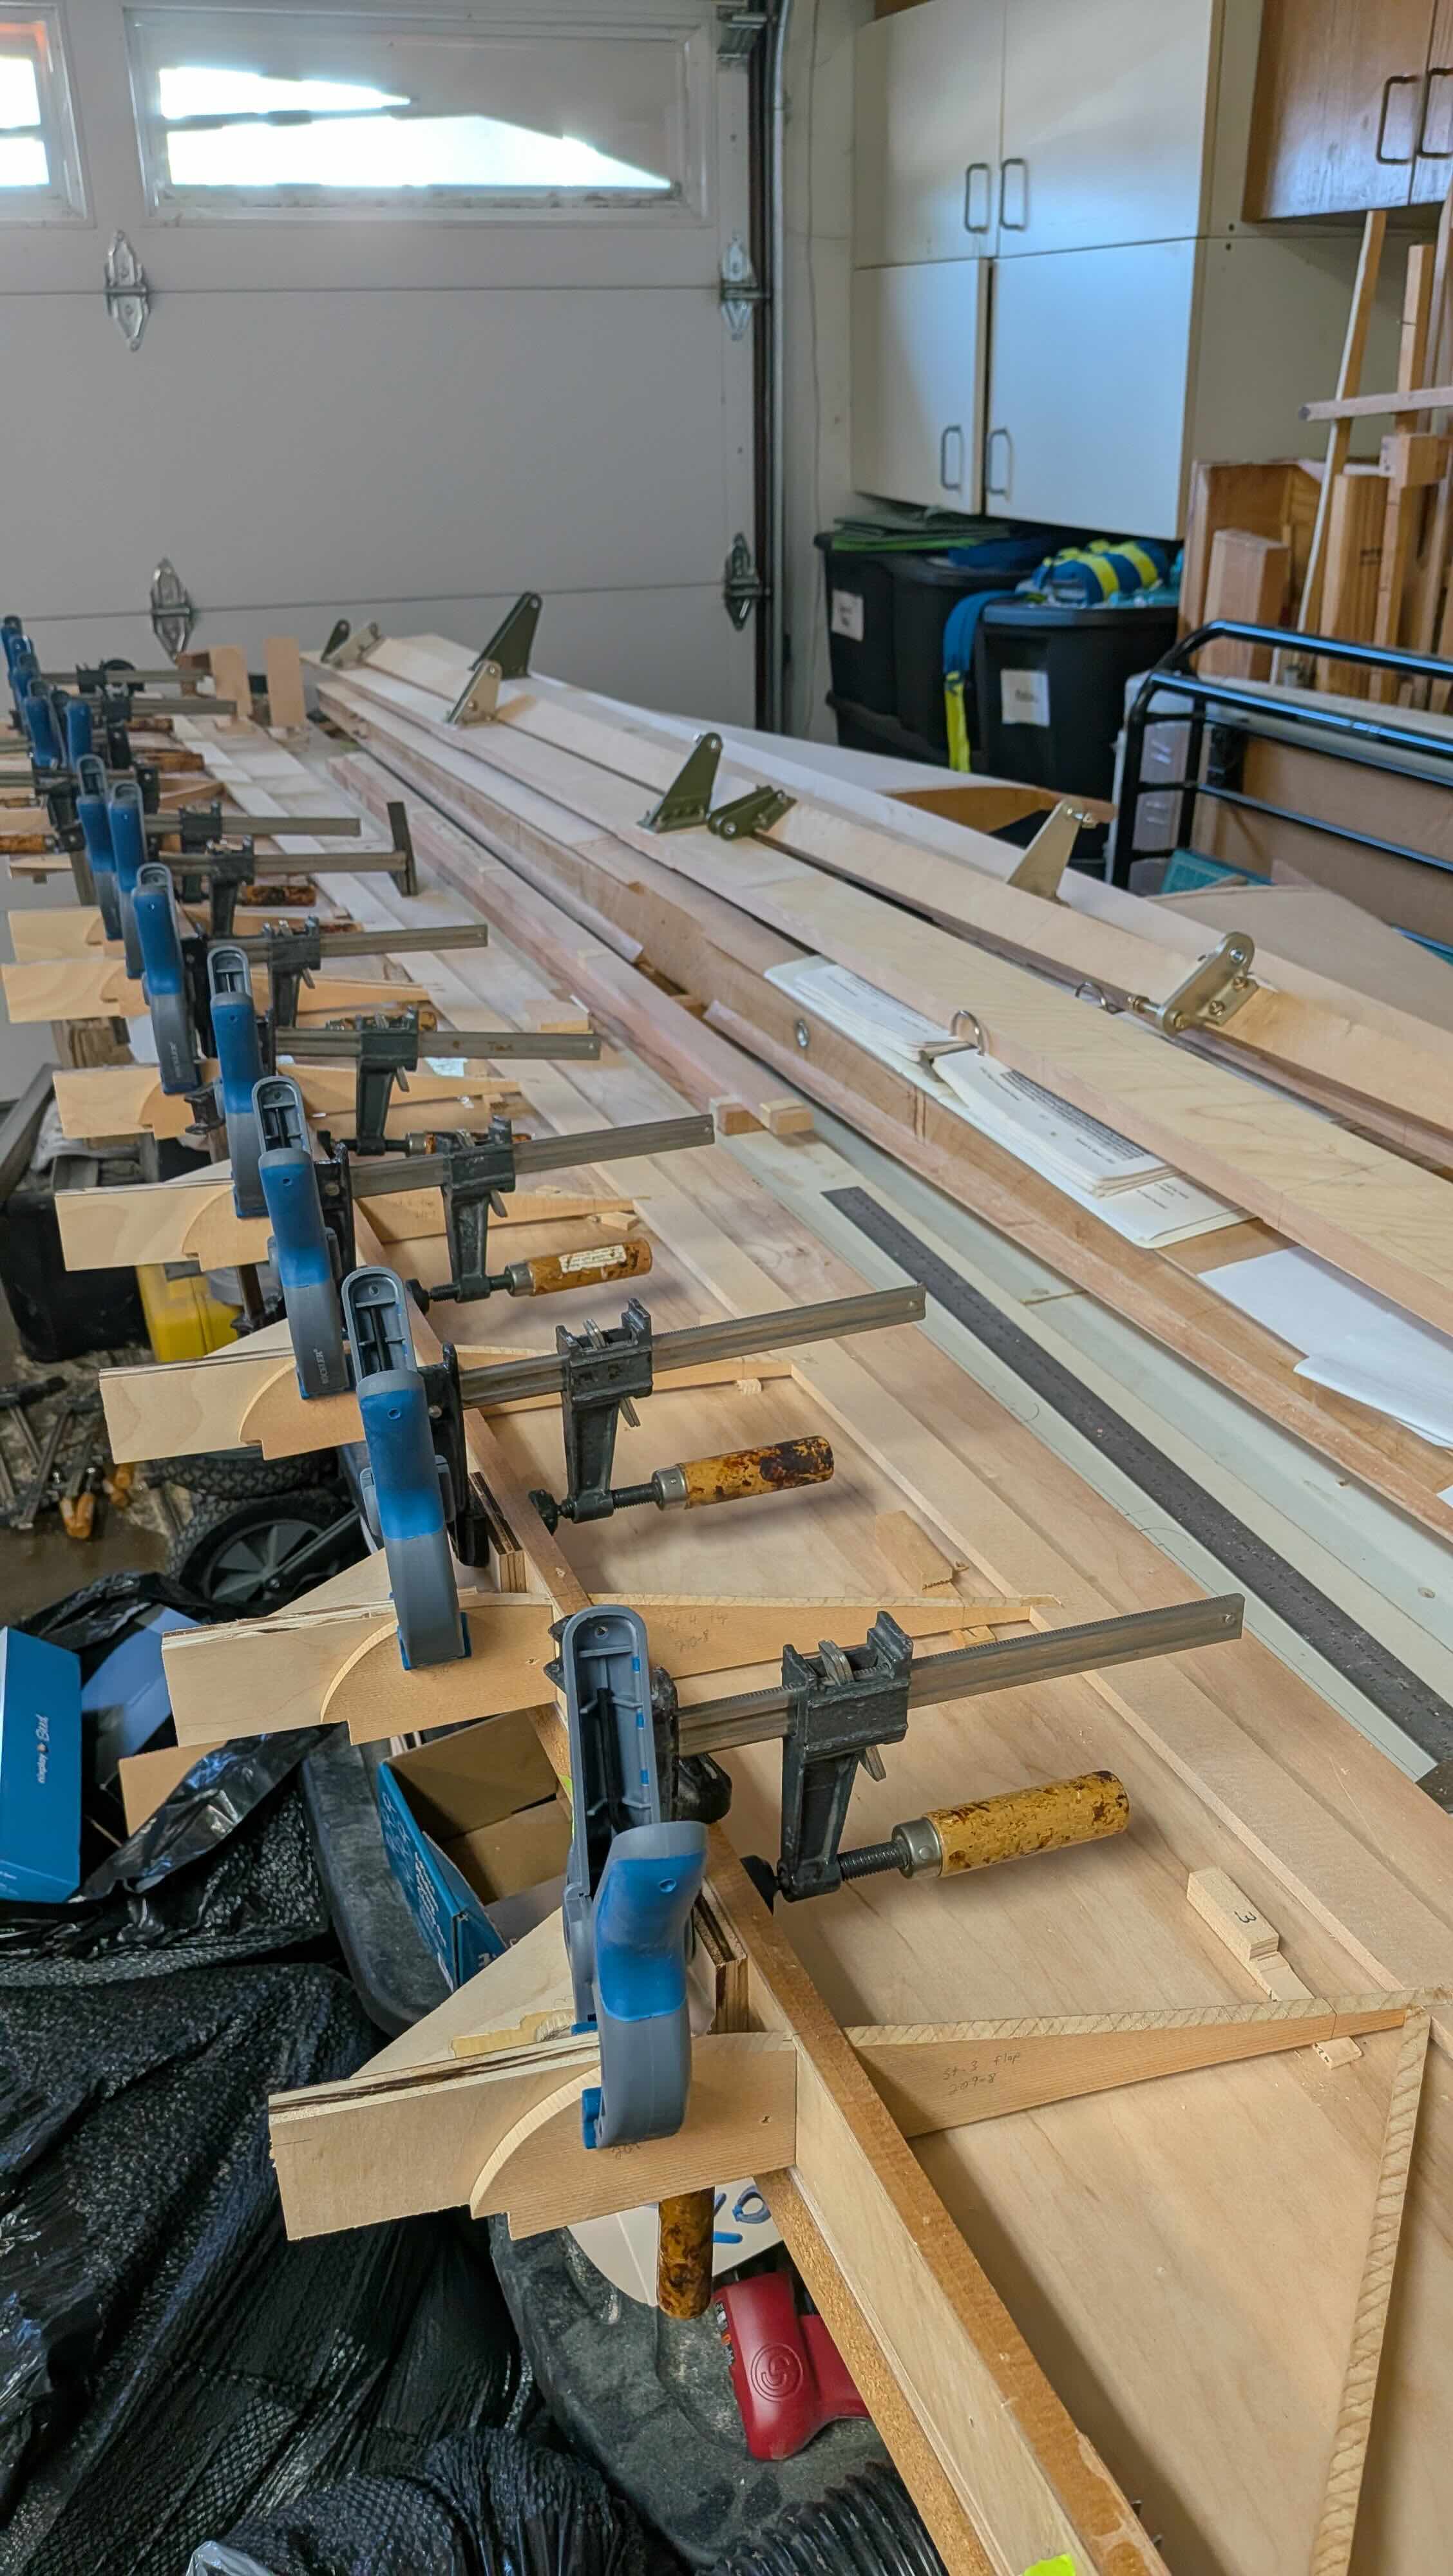
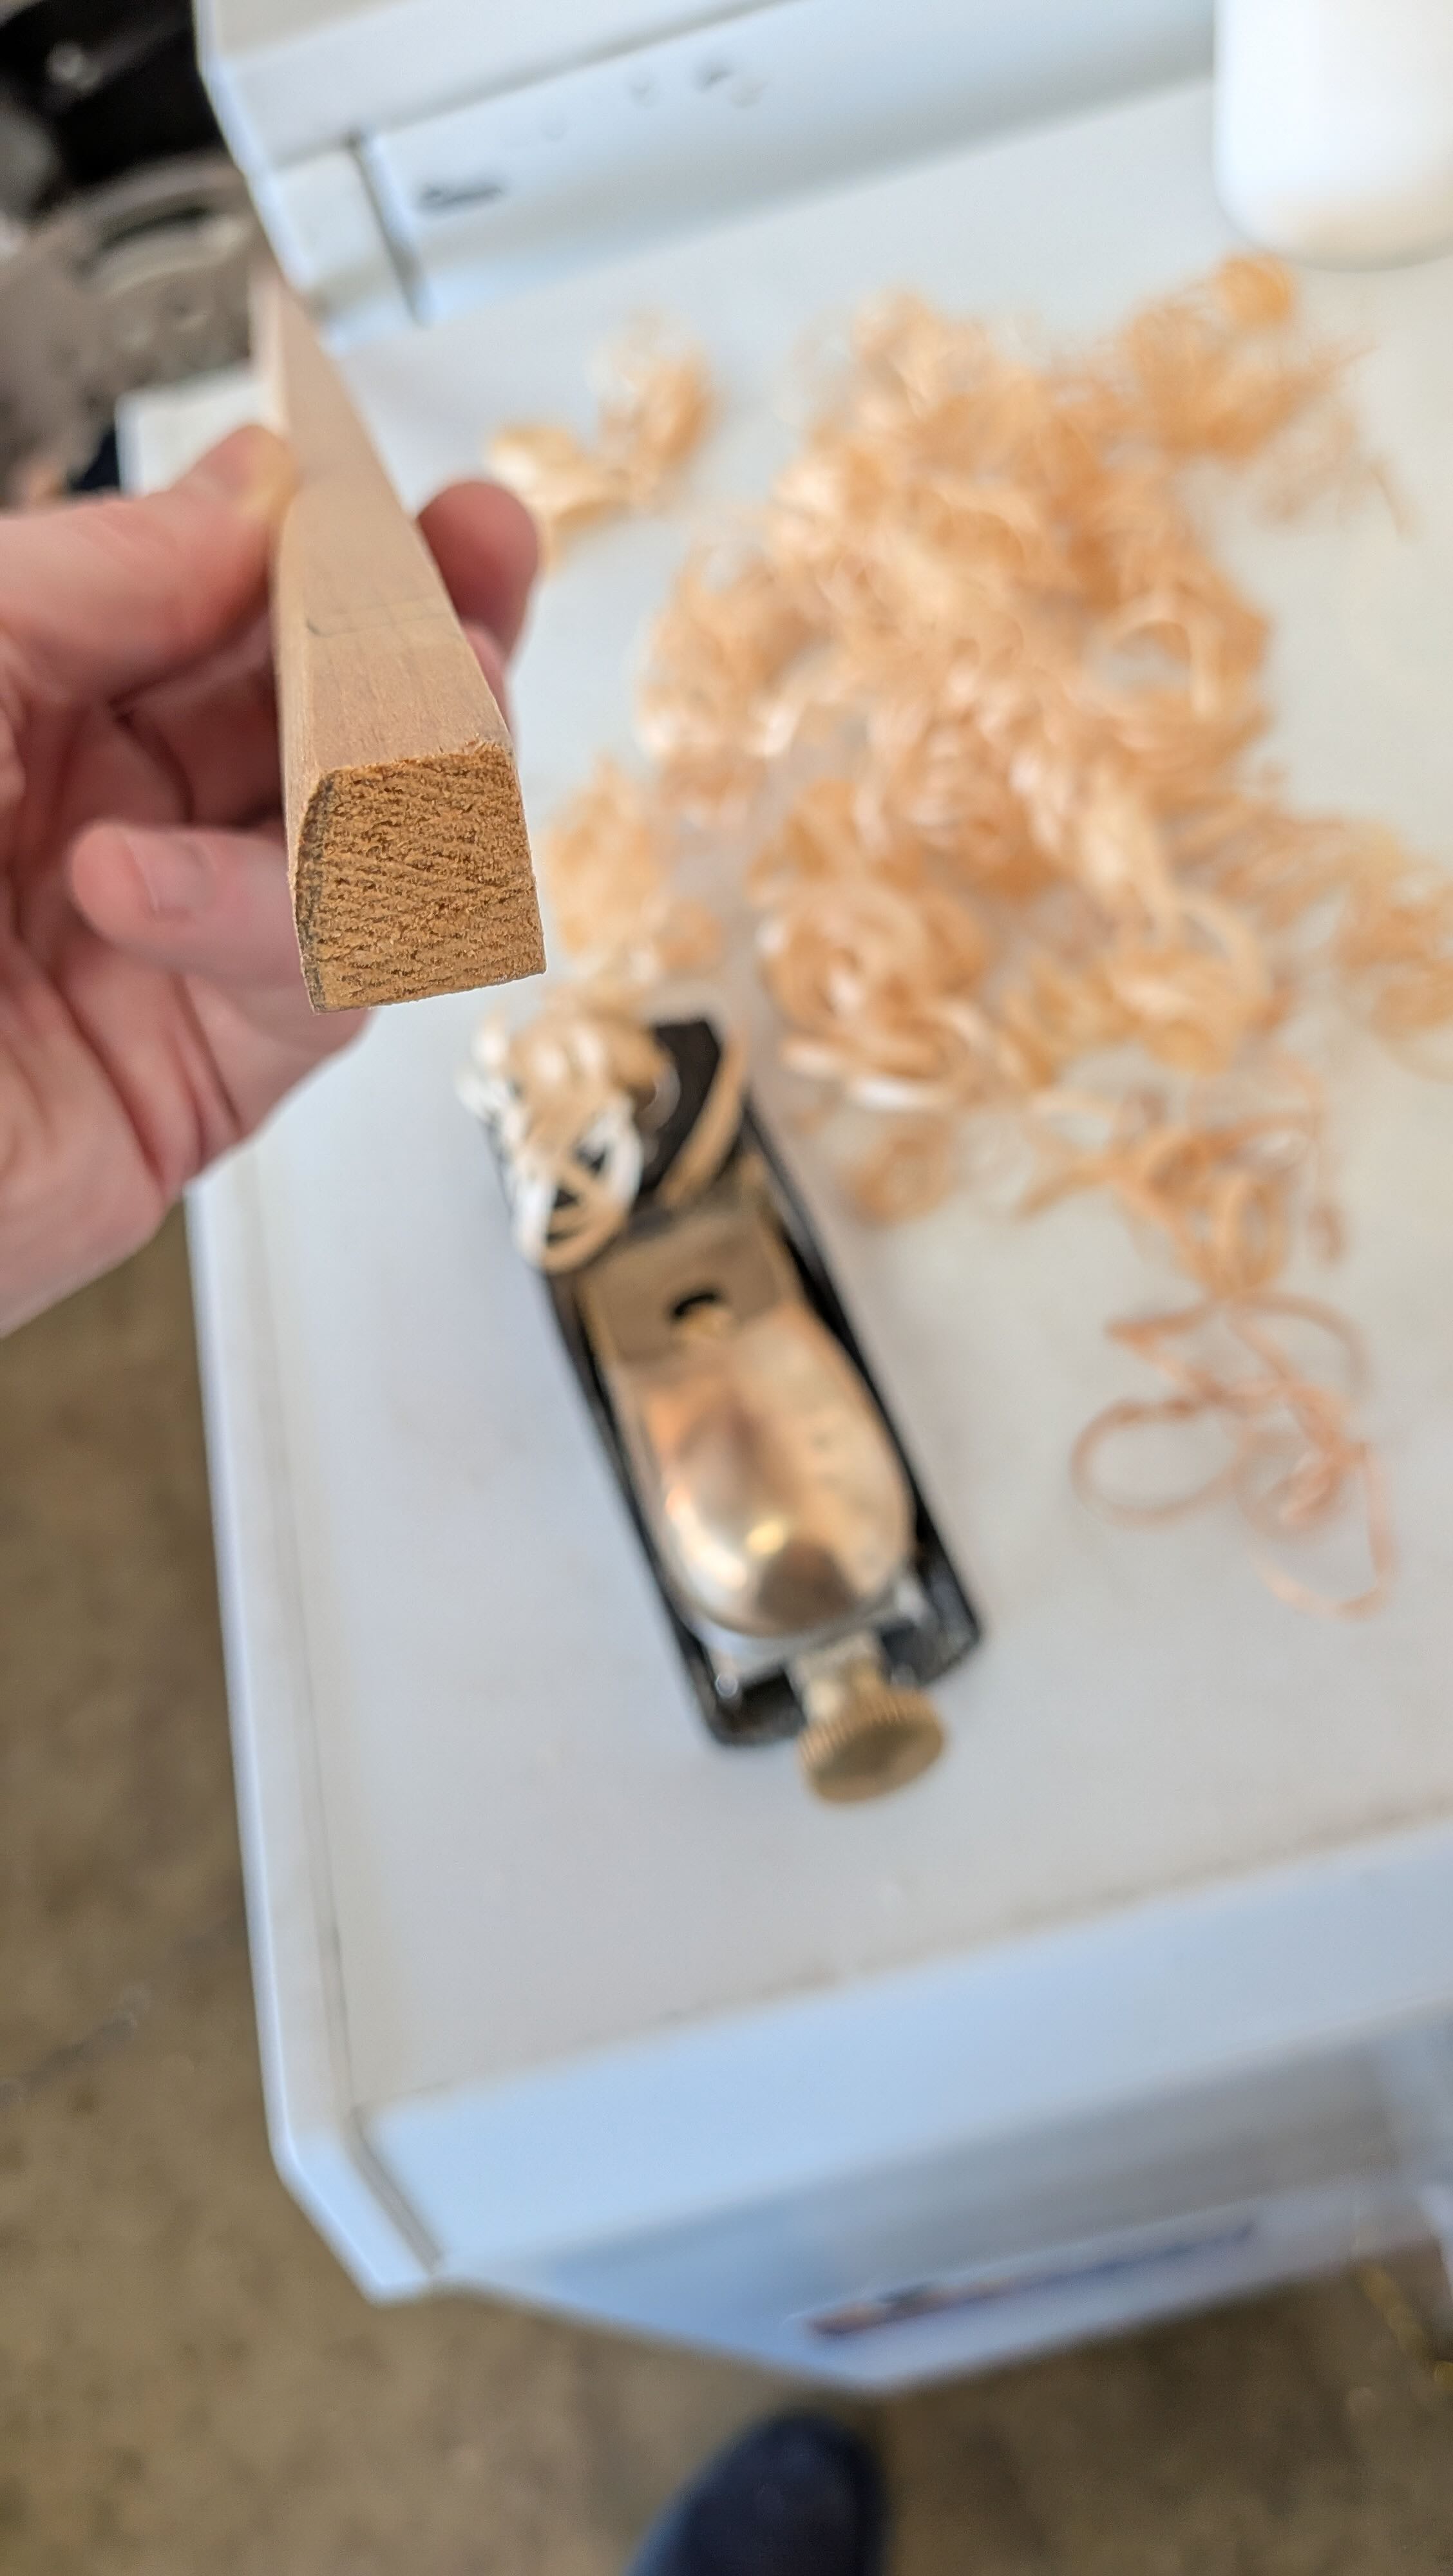
I repeated the process of building up the structure for the second aileron/flaps with no surprises. I had a little time left before the main effort of moving came so I started to float sand the top surface of one of the aileron/flaps. The block plane worked very well for shaving the spar to match the transition from the leading edge ribs to the trailing edge ribs and I had to grind away a little bit from the channel nuts/bolts to match the profile.
In chatting with Dave Nason and looking at his Falco, I intend to forgo the big cutouts in the top, leading edge skins, which doesn't generally require modifications but I added a rib at the inboard leading edge to have something for the skin to grab on to there. I can always cut it out if it ends up getting in the way of something.
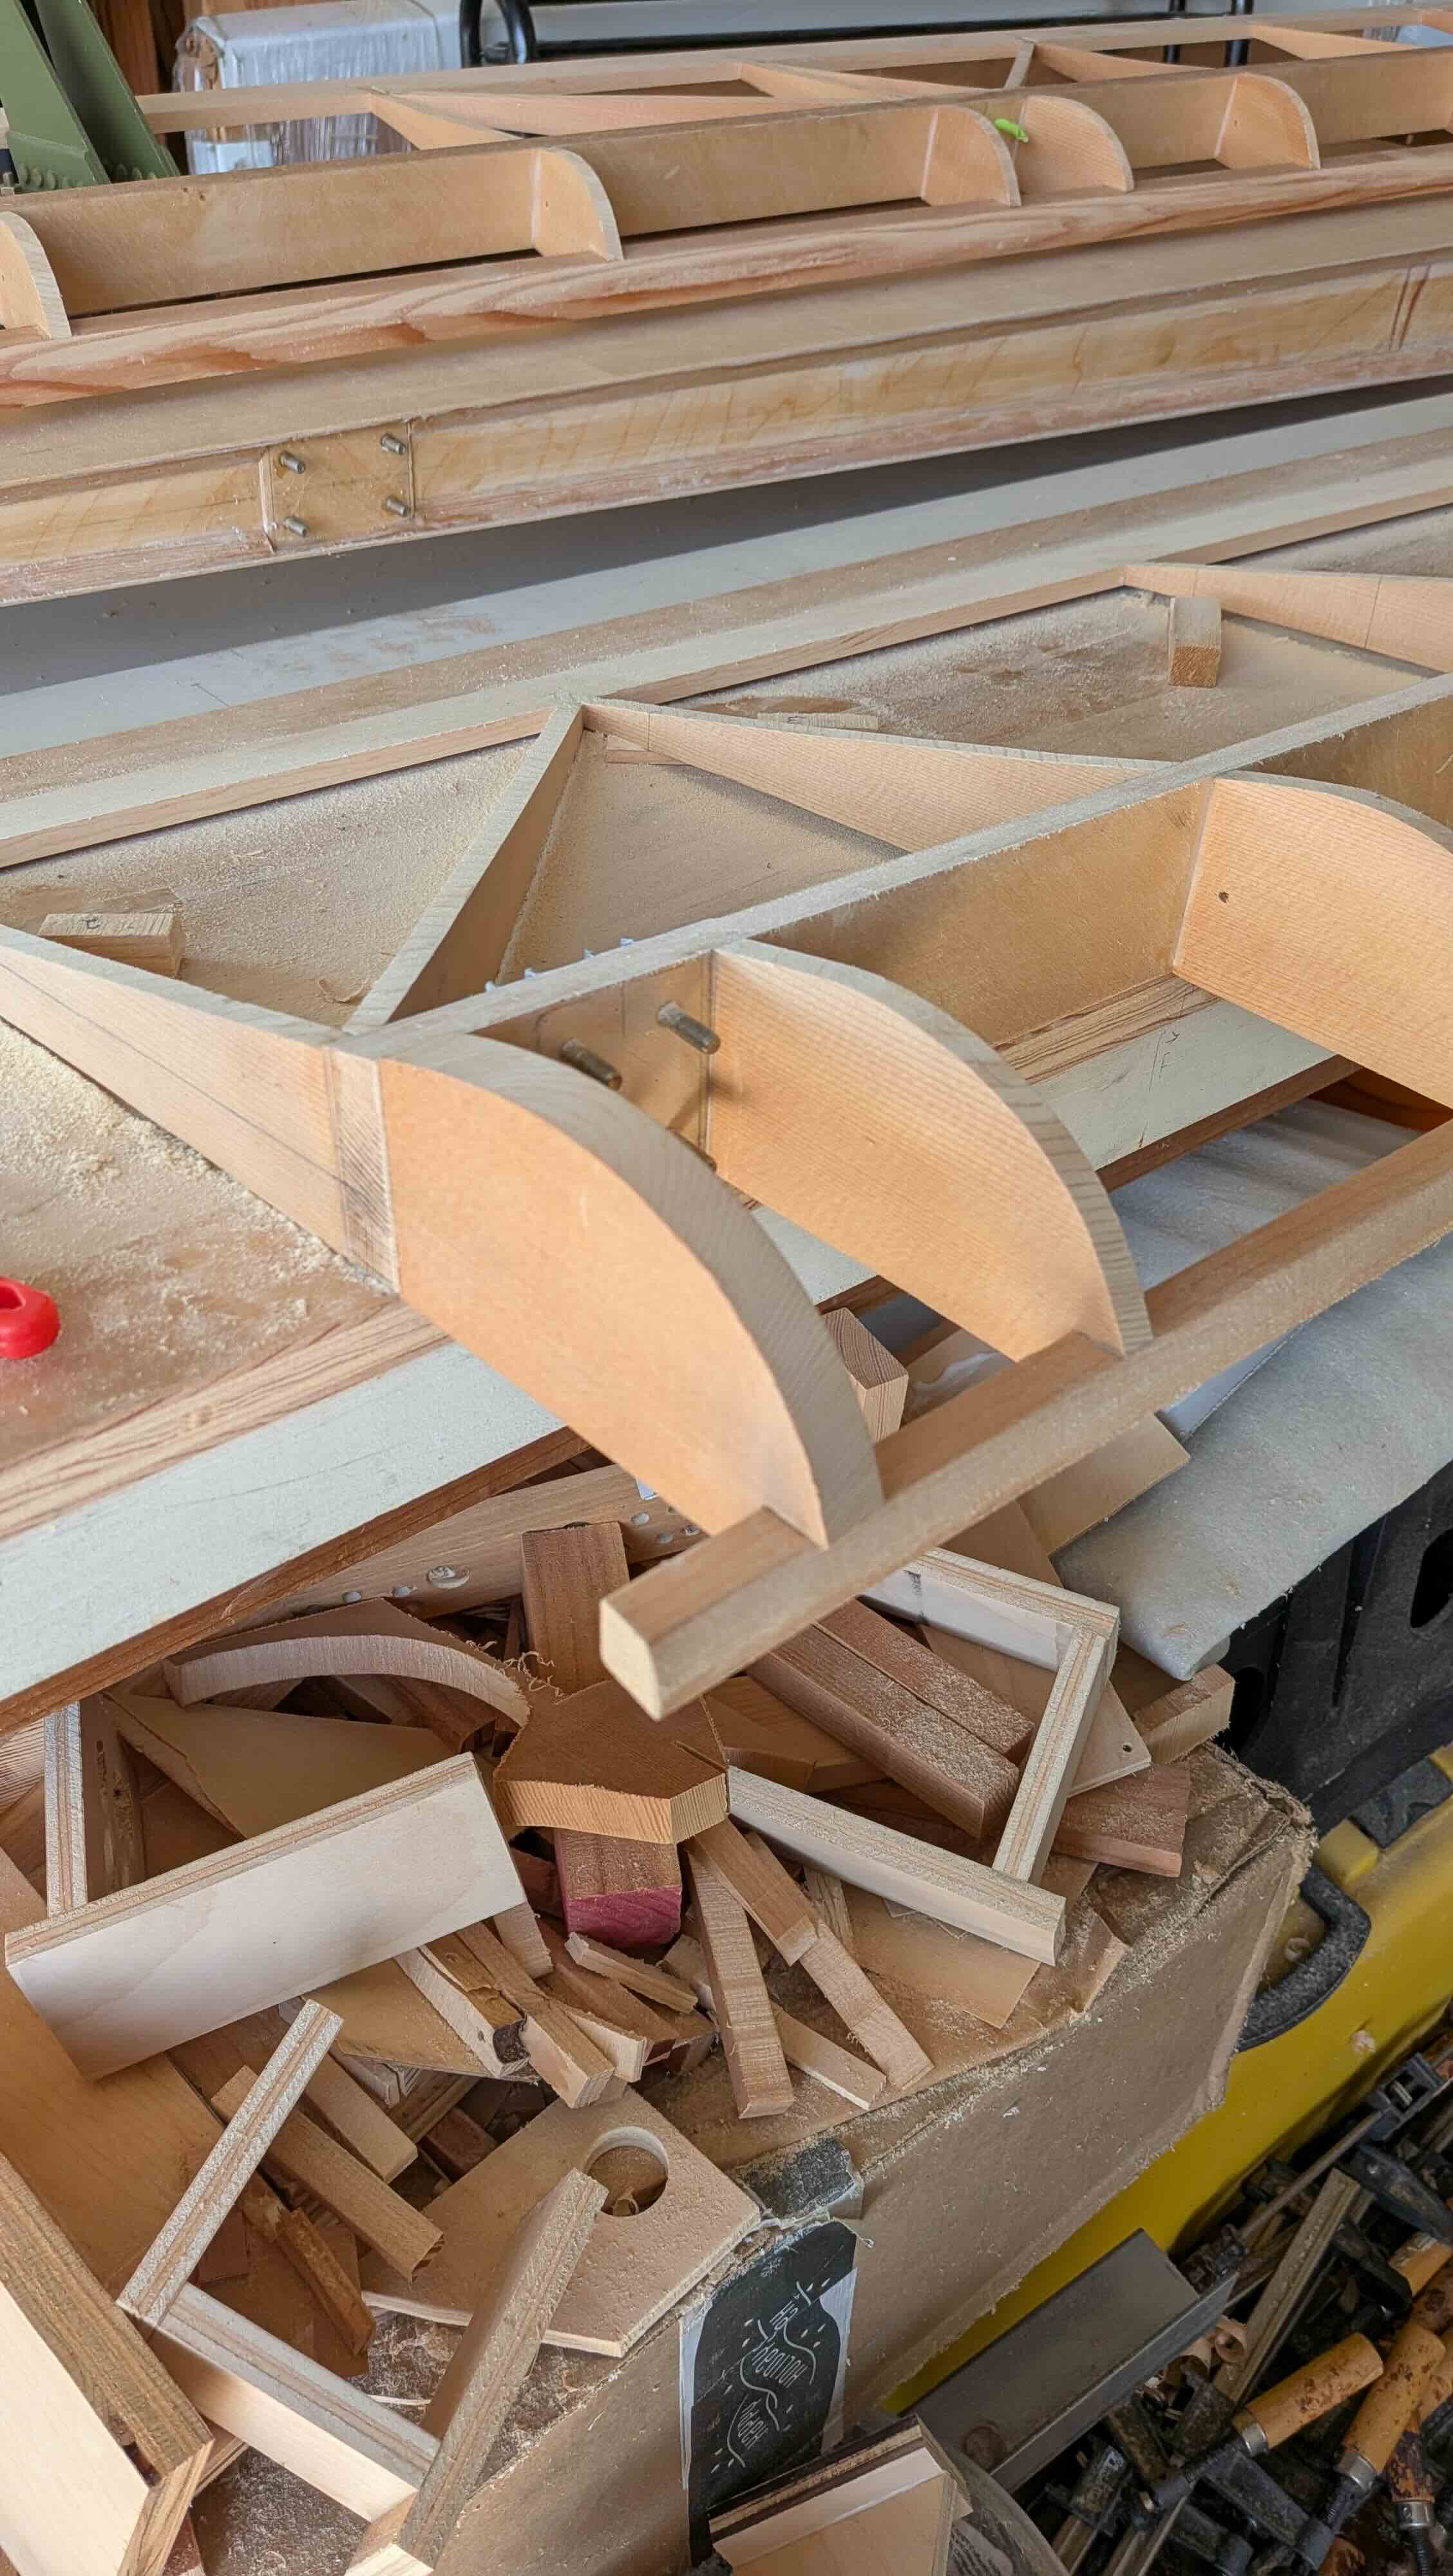
Here are the two completed aileron/flap assemblies (sitting on top of the aft wing spars, and my horizontal stabilizer).