
First thing I did was lay out the board flanked on each side by some sheets of protection for the tile in the backyard. Then I wanted to make sure I had enough clamps on hand to provide even pressure. I set my strips out ready to glue and wrapped some plastic around the clamps that would touch the wood. I mixed 200 grams resin with the required 40 grams of catalyst (first mistake), and was ready to go.
As I started laying the glue down on the strips of spruce, I realized I would definitely have to speed up the process with 17 strips to do. I sped up which led to a little more sloppiness but I wasn't concerned because everything was pretty much protected underneath. My first problem came when I ran out of mixed glue halfway through the strips. Yup, I totally underestimated the amount of glue needed. I didn't think I had enough time to go mix more glue so I figured, ok, I'll just do half now and then half later. So I started inserting the strips with glue into the jig. I started applying clamps in the middle and working my way out.
Here's where serious problems started to occur. First, clamping around the bend I found that I couldn't twist the bar clamp to tighten because the backing board protruded out where the curve was. I did my best trying to twist it with my fingertips but it was questionable.

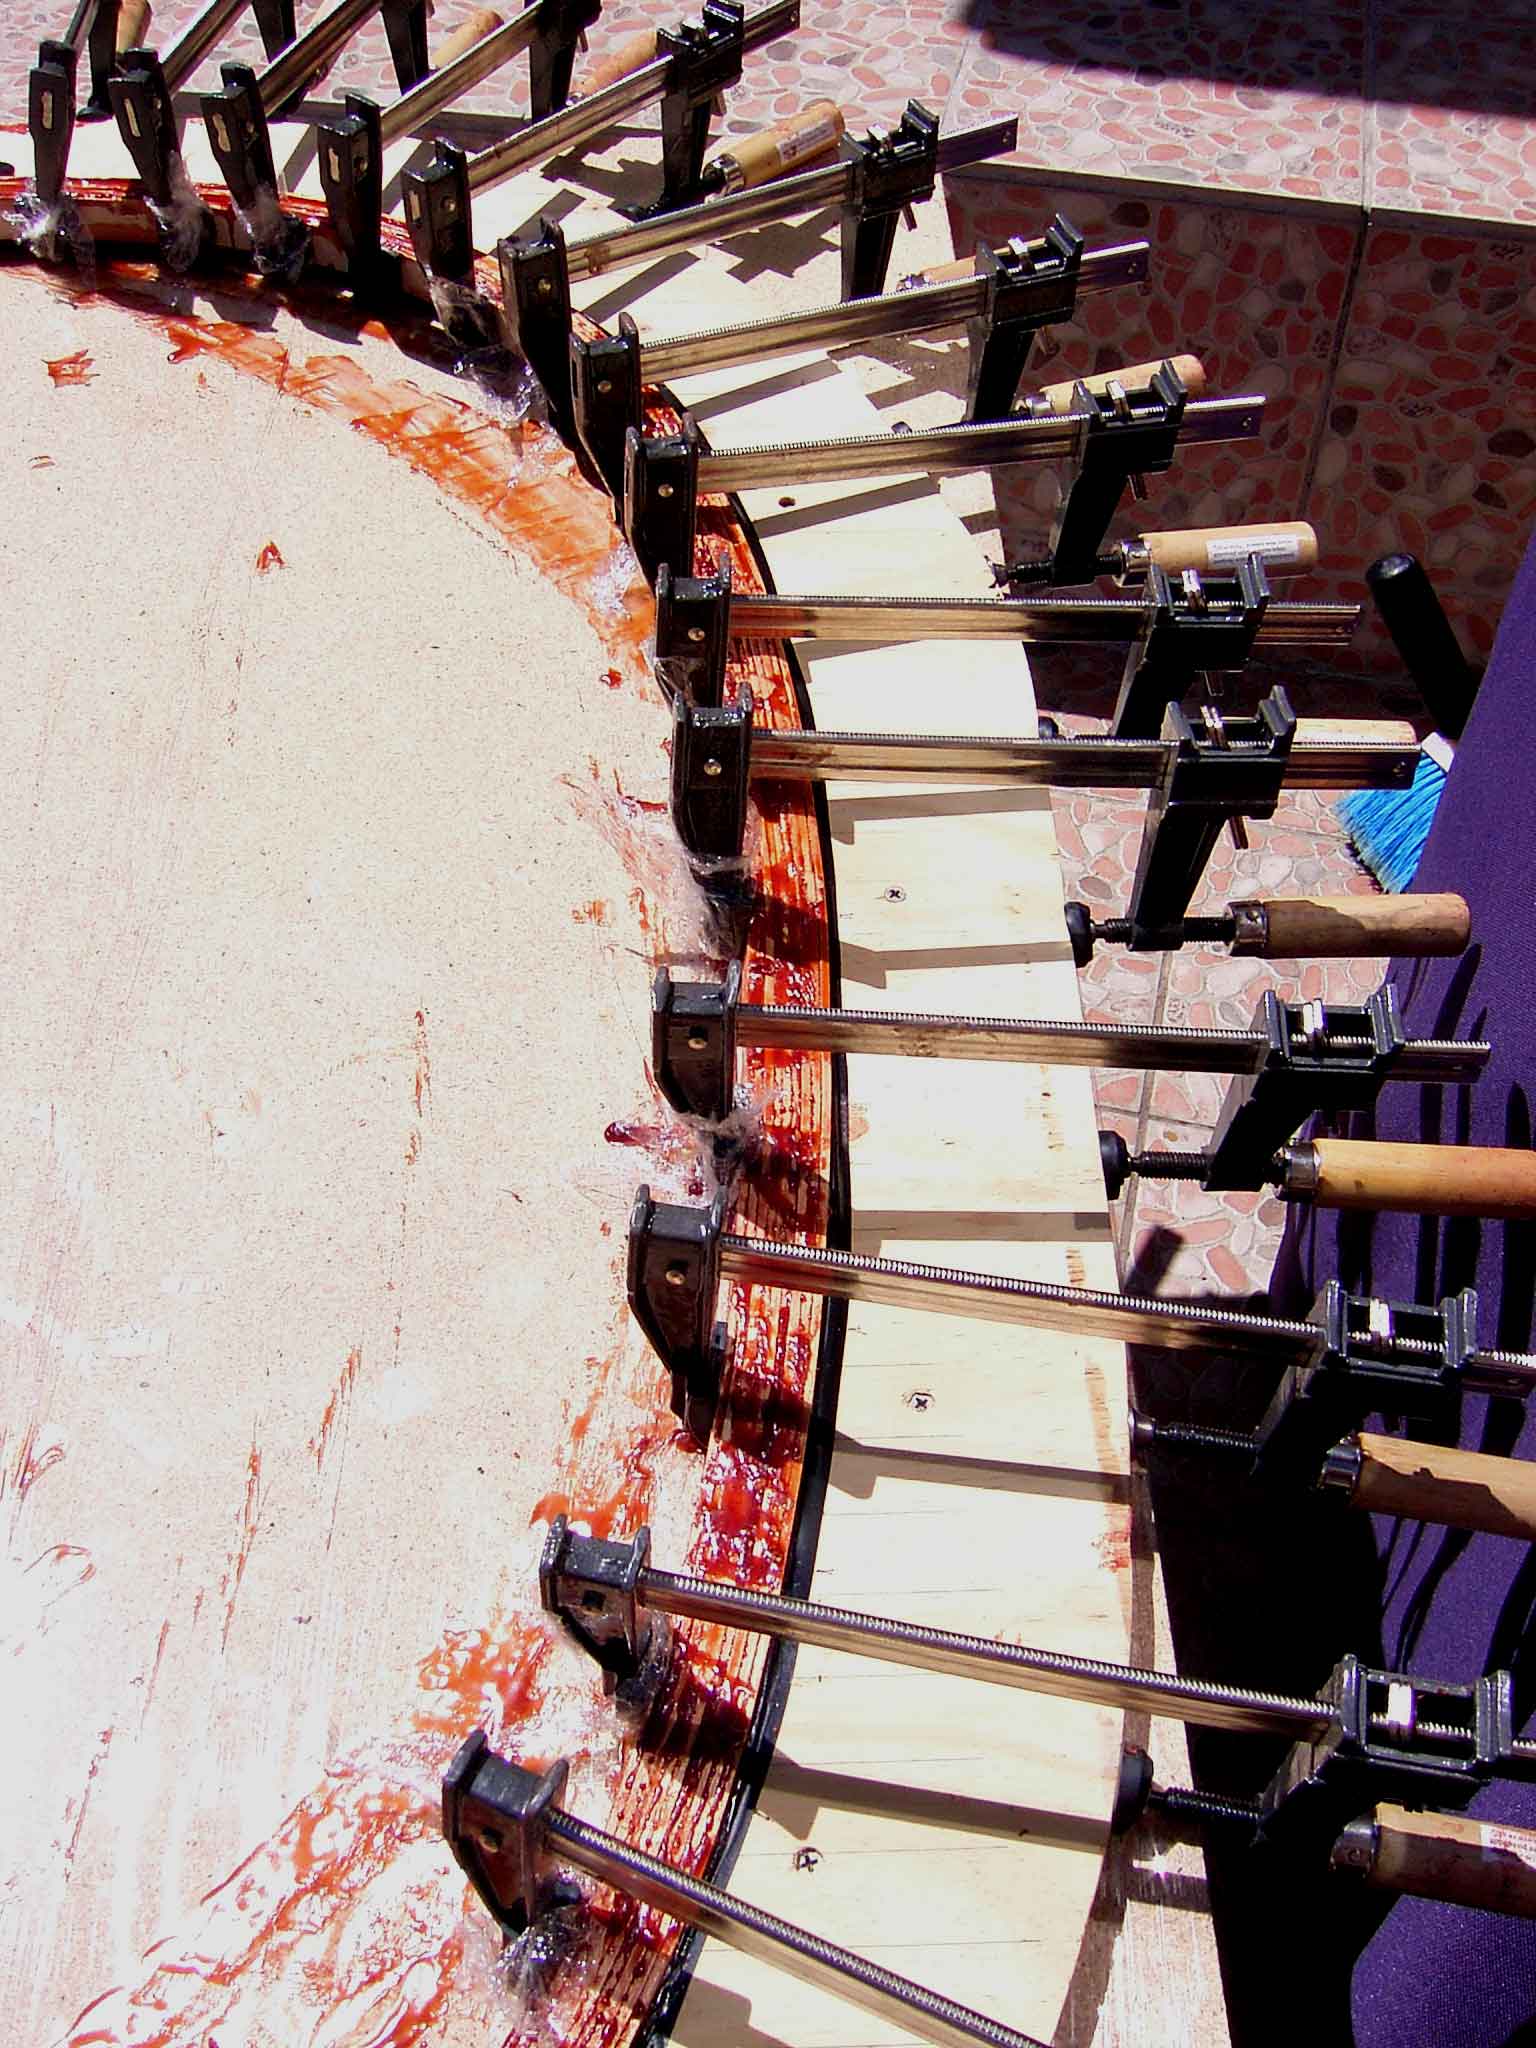
As I worked out towards the ends, I noticed that the strips were rising above the backboard. It seems the clamps couldn't get centered on the strips and jig so it was pulling it up slightly. This might have been caused by the protruding backboard around the curve, or possibly just not enough vertical clearance for the clamps to provide purely horizontal pressure. I tried to retighten areas around the curve while holding the strips down but there was definitely some upward force pulling the strips up. This is no good. No matter what I tried, I couldn't get good horizontal clamping. I did my best until I figured it was no good to mess with it any more. I'm guessing I'll end up with a half finished twisted frame with some gaps in the lamination. Just what I wanted!

On top of all that, during this process I managed to get glue here and there on the backyard tile. I didn't care when I was doing my damnedest to get the frame to glue right, but it sure was a pain cleaning up the tile. Looking on the bright side (and this is some serious glass half full stuff right here), I now know what to plan for next time, I know how the gluing process goes, and I'll have a crap frame to practice the clean up and dimensioning on. Here is the final clamped mess while it was drying.


I think next time I may try to raise the frame up a little off the backboard with some blocks to allow the clamps to put good horizontal pressure all the way around the frame. What I should have done before I tried this today was put the wood and the clamps on together without glue. I probably would have noticed the raising problem if I had done that. I had done them separately this time, first put the wood in to make sure I could, then took it out, then put the clamps around to see if I had enough....big mistake. Next time I'll also mix more glue at once so I don't run out. And I'll know what to look for when applying the clamps to keep everything centered. Oh well, I guess we all start somewhere...
After this disaster I was able to let off some steam by bashing my two Aerolite test blocks. It has been over the required 14 days so off I went. This time it was obvious that they passed the test. There was essentially no glue line breakage and some obvious wood splitting away from the glue. Some lovely before and after pictures.

