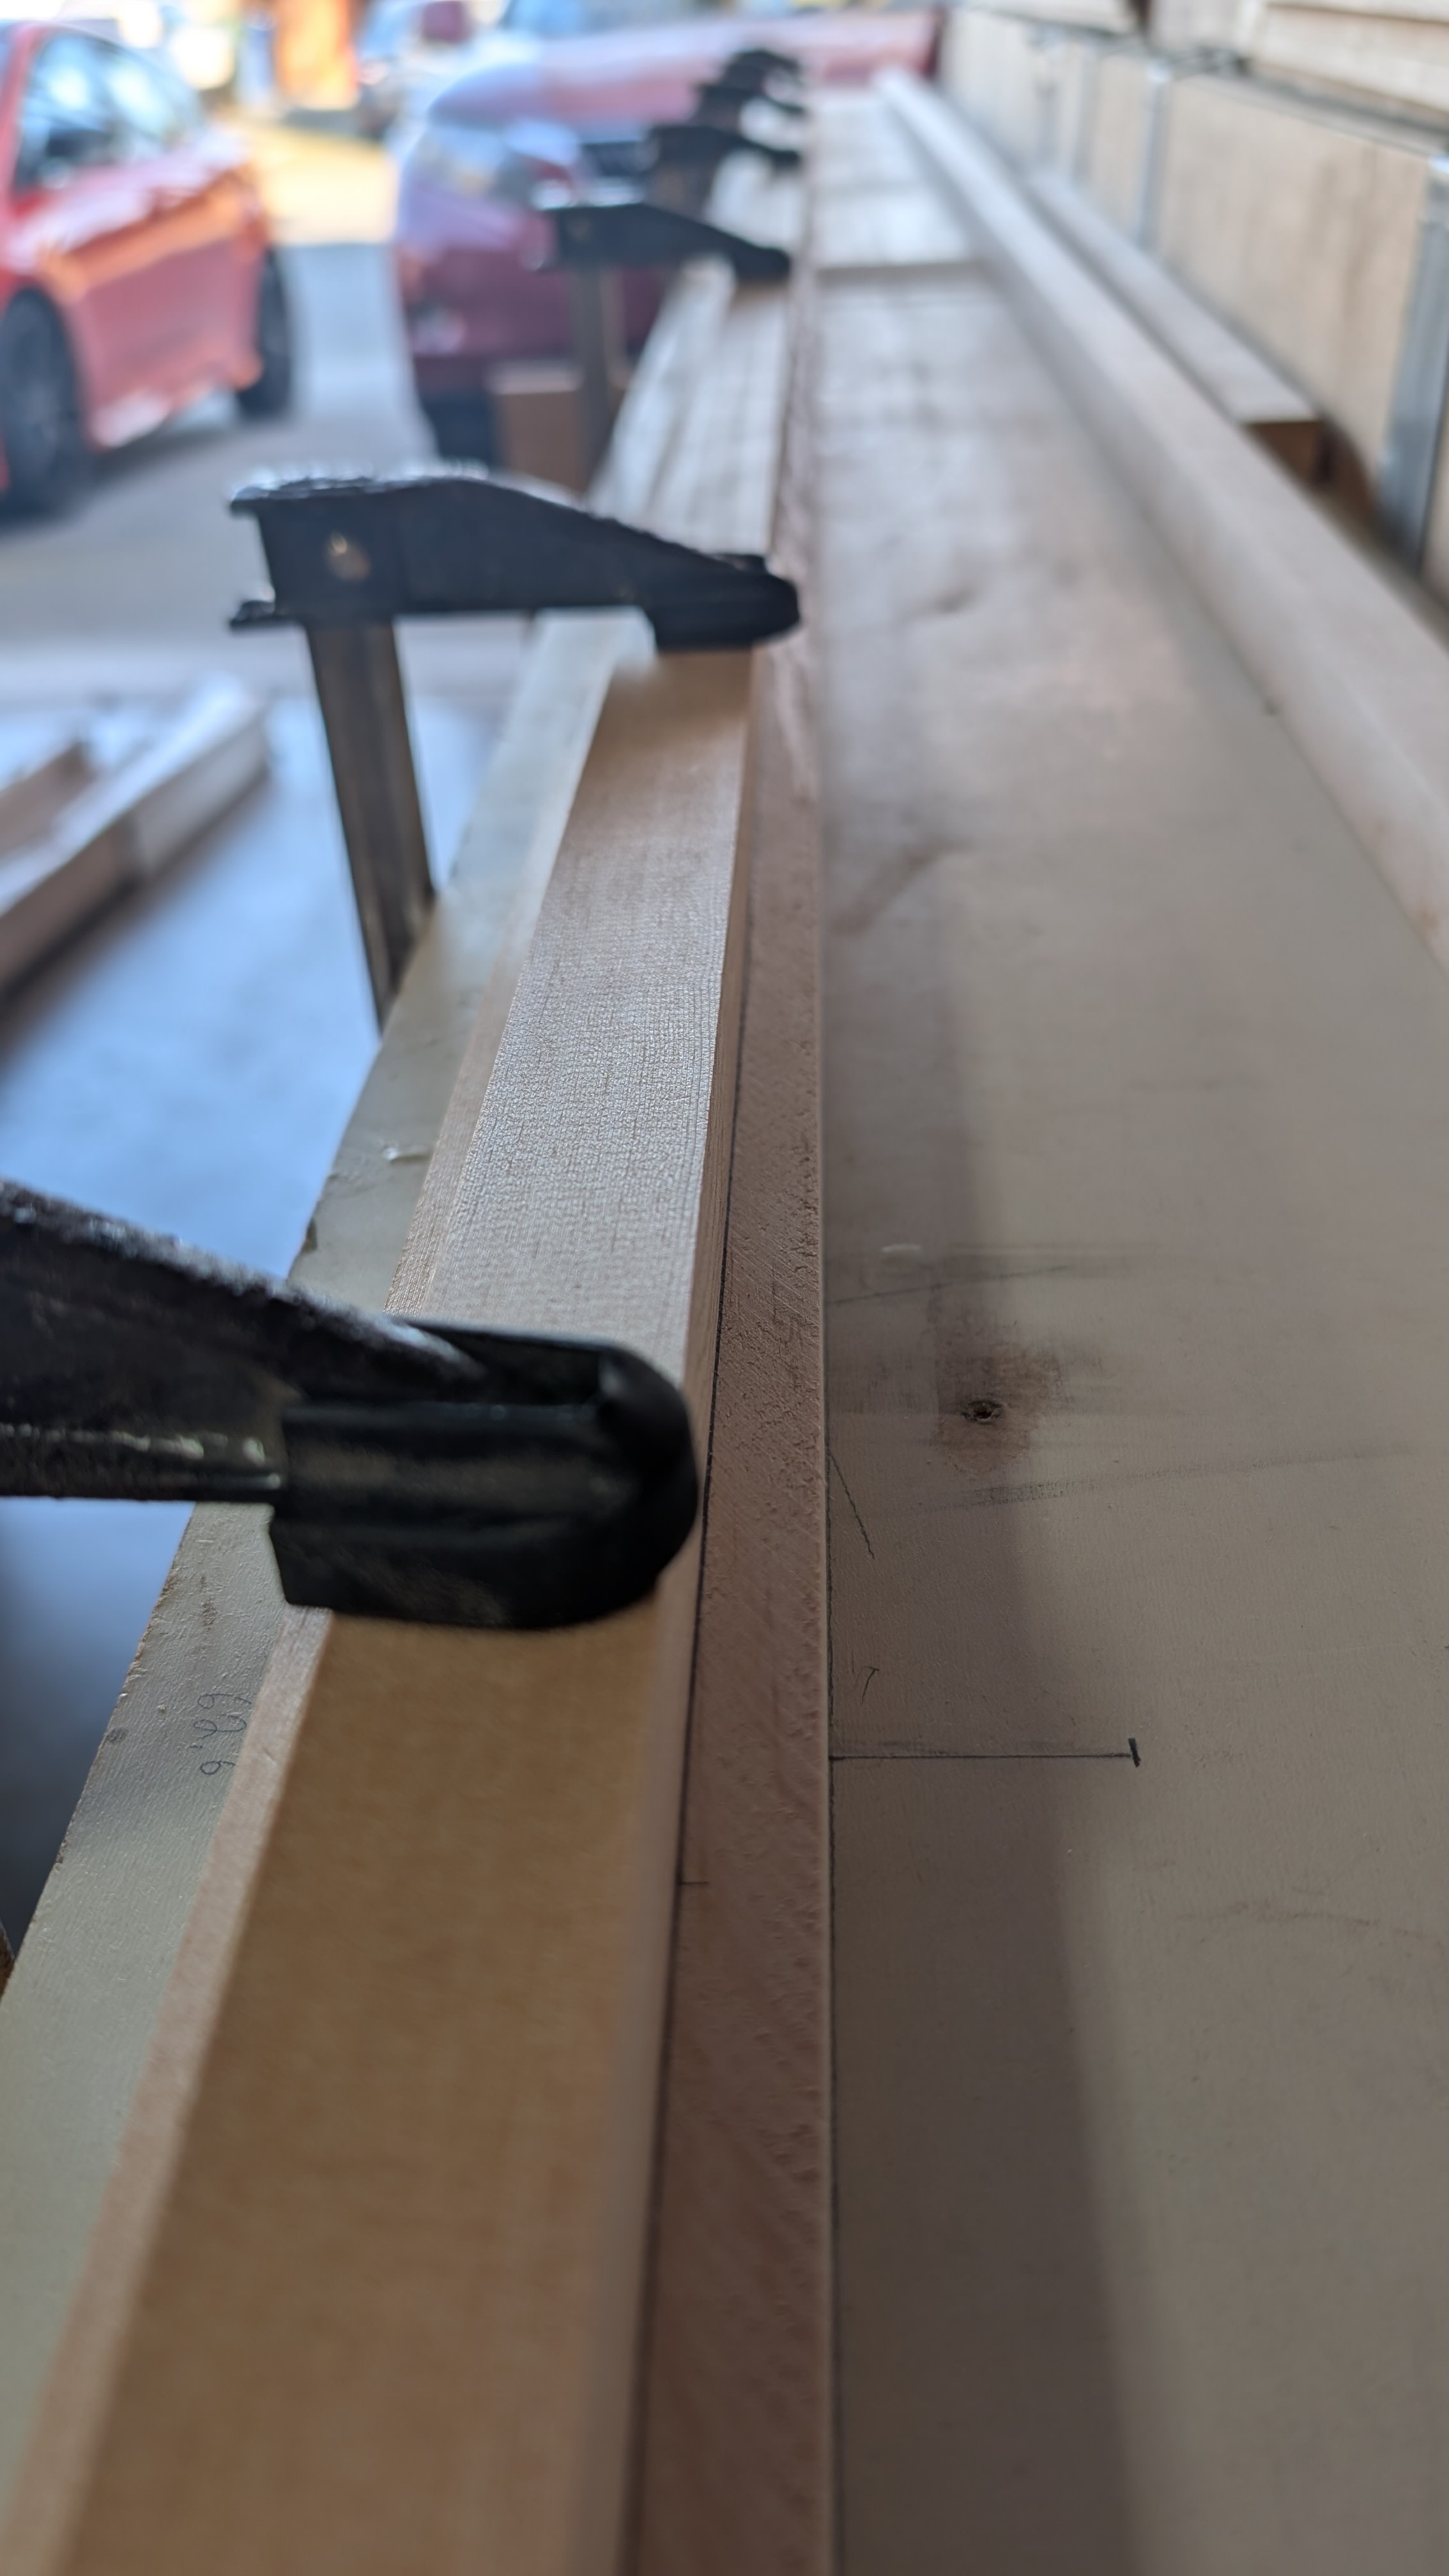
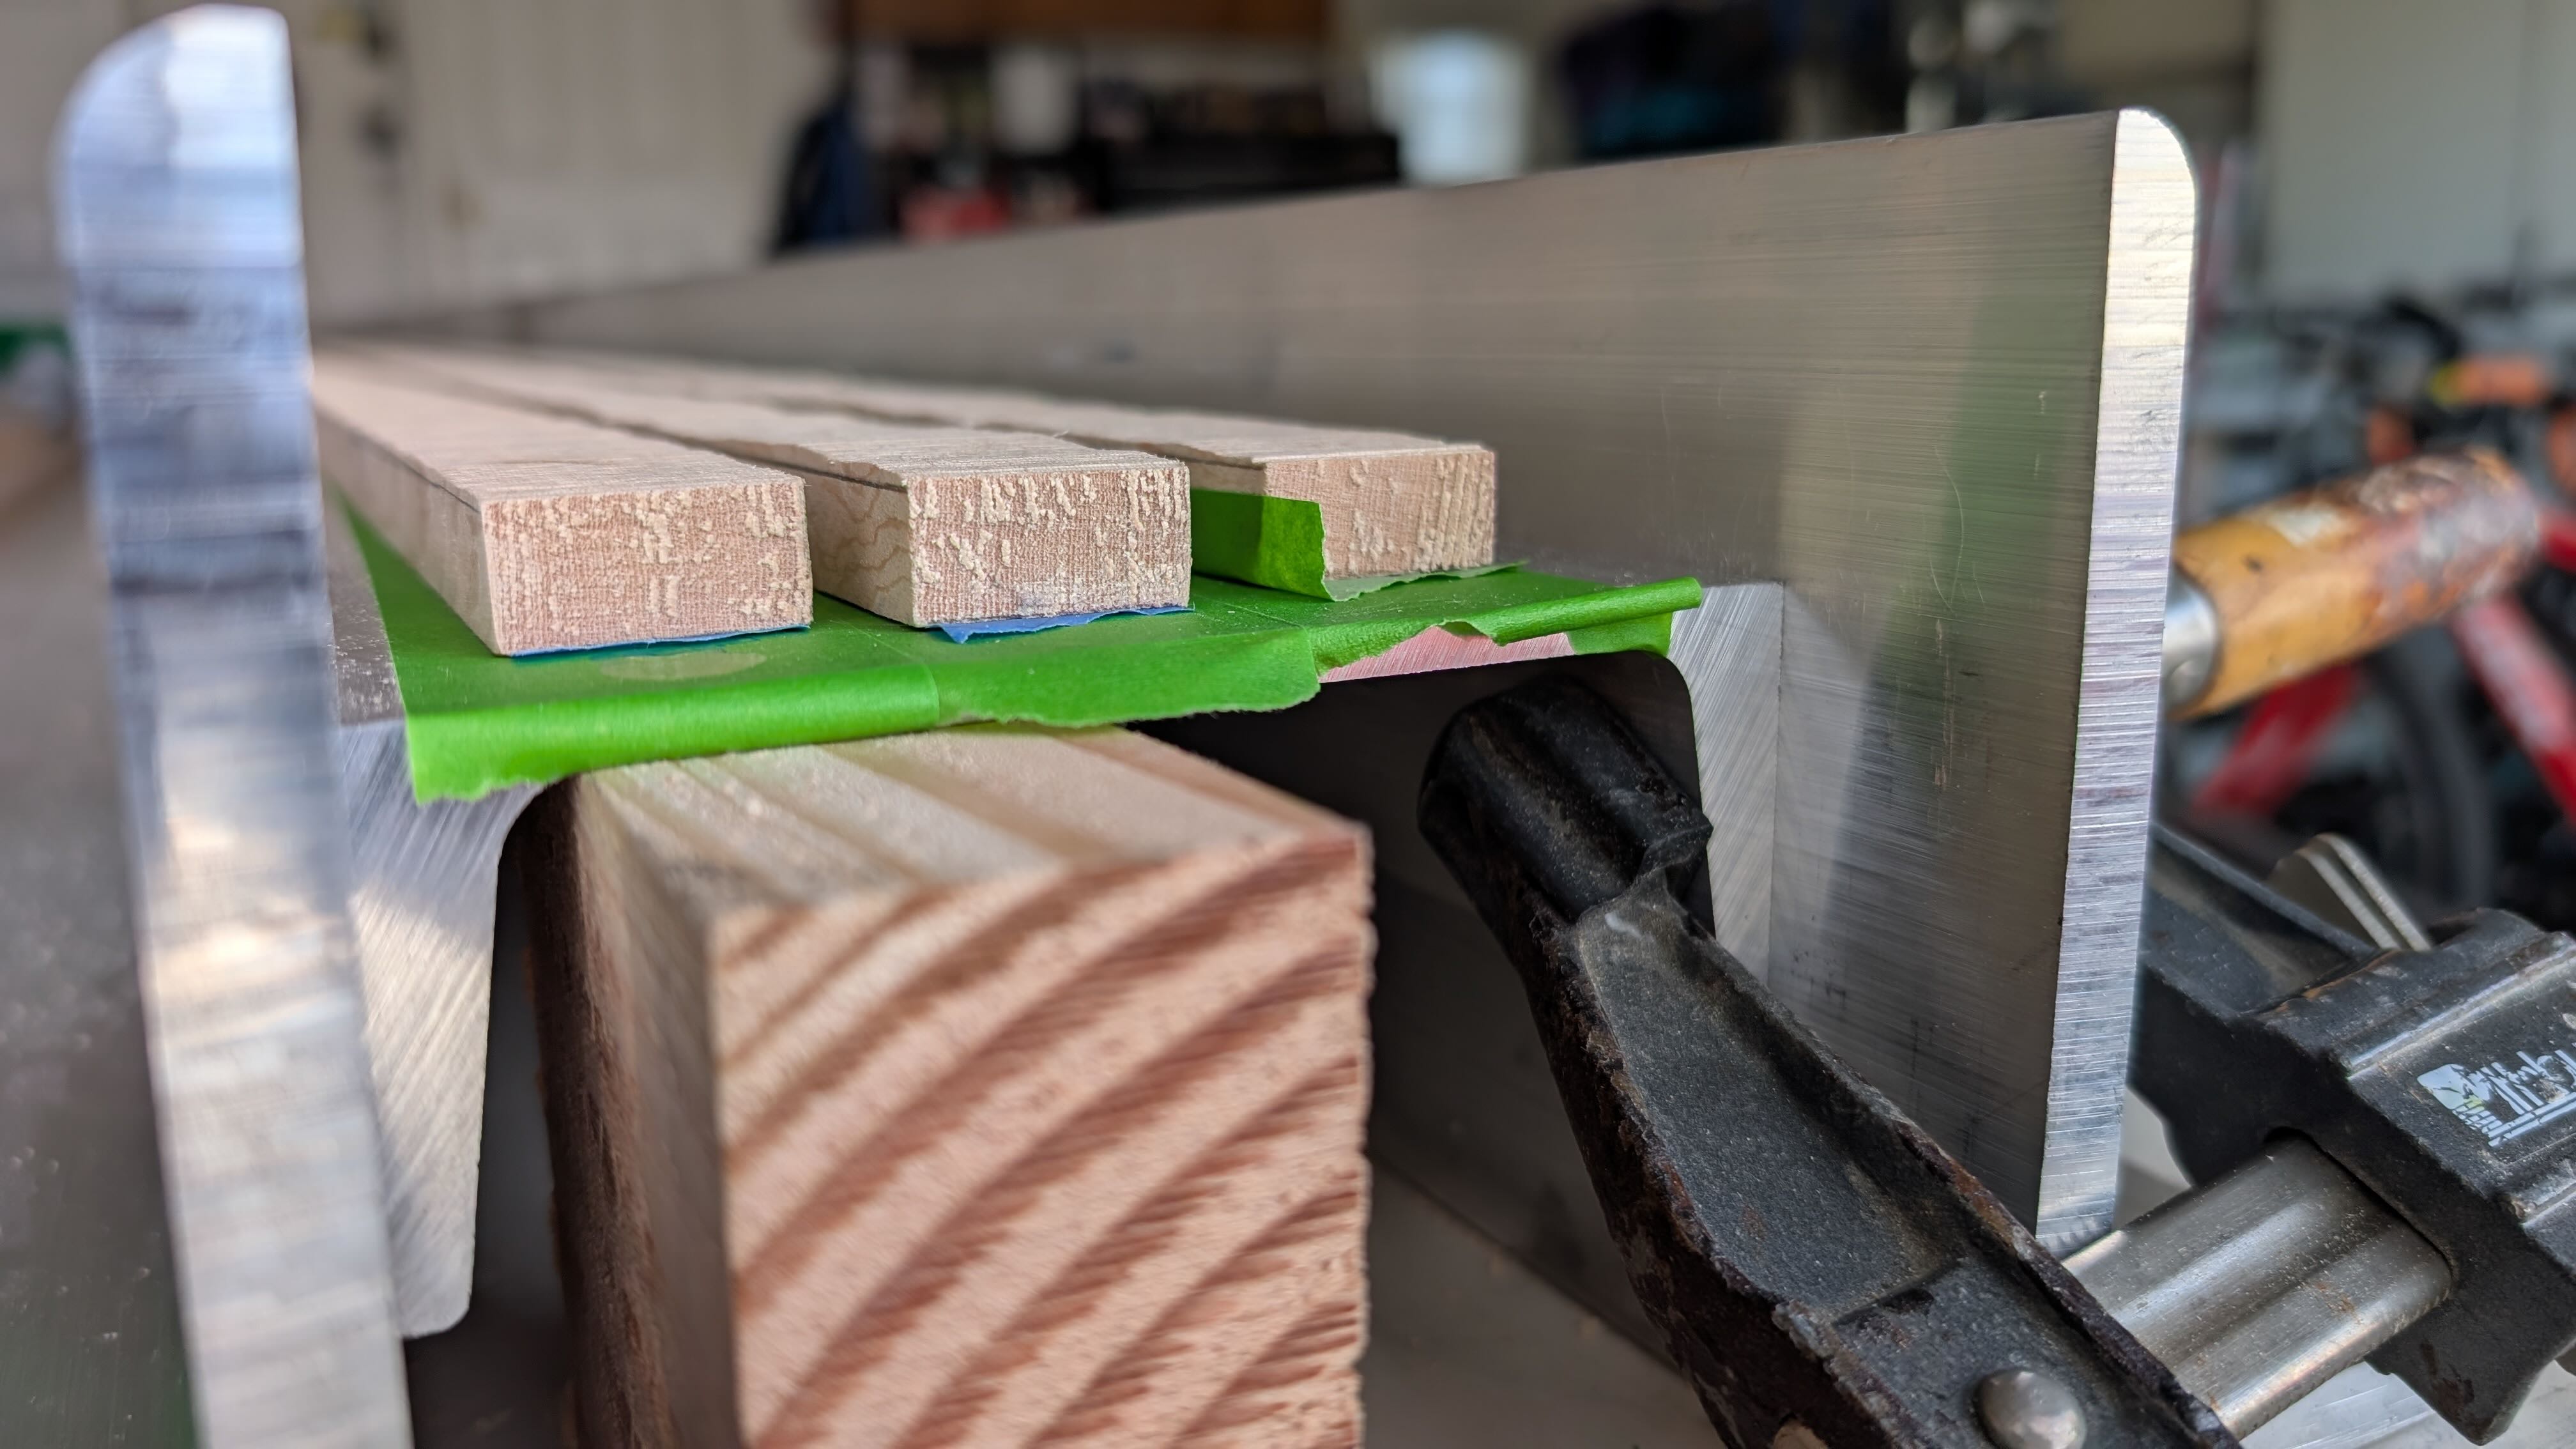
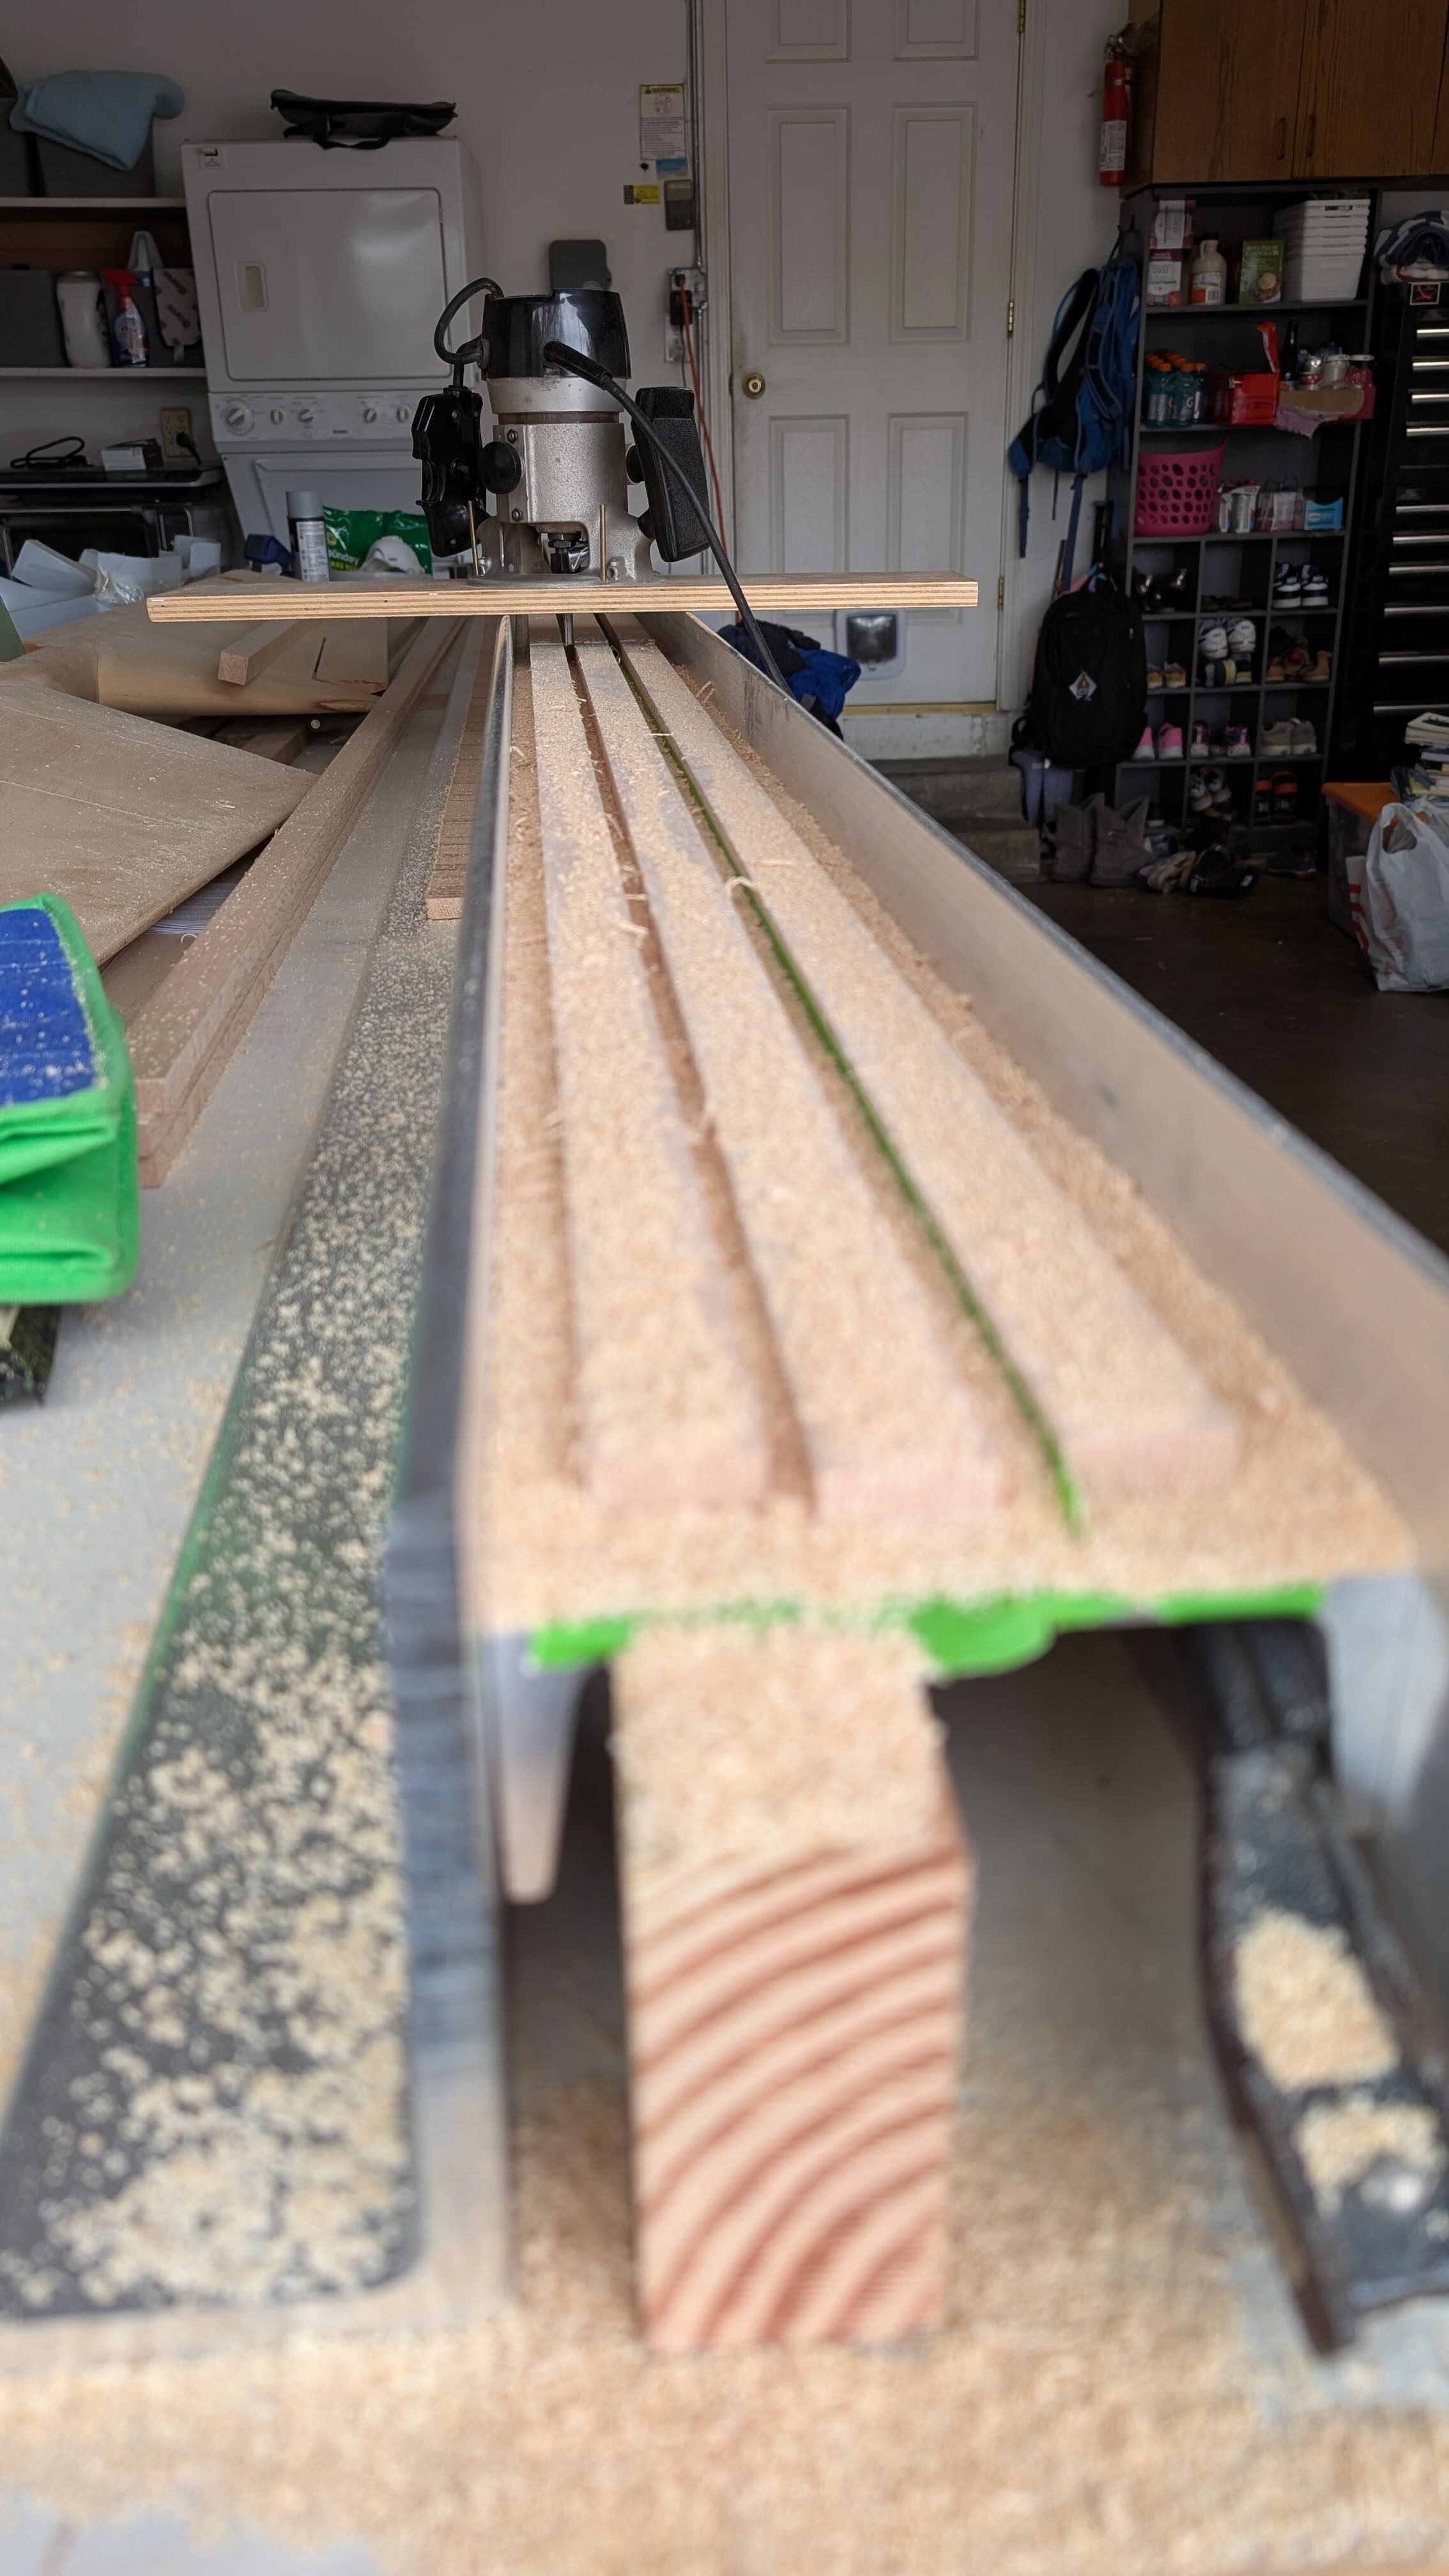
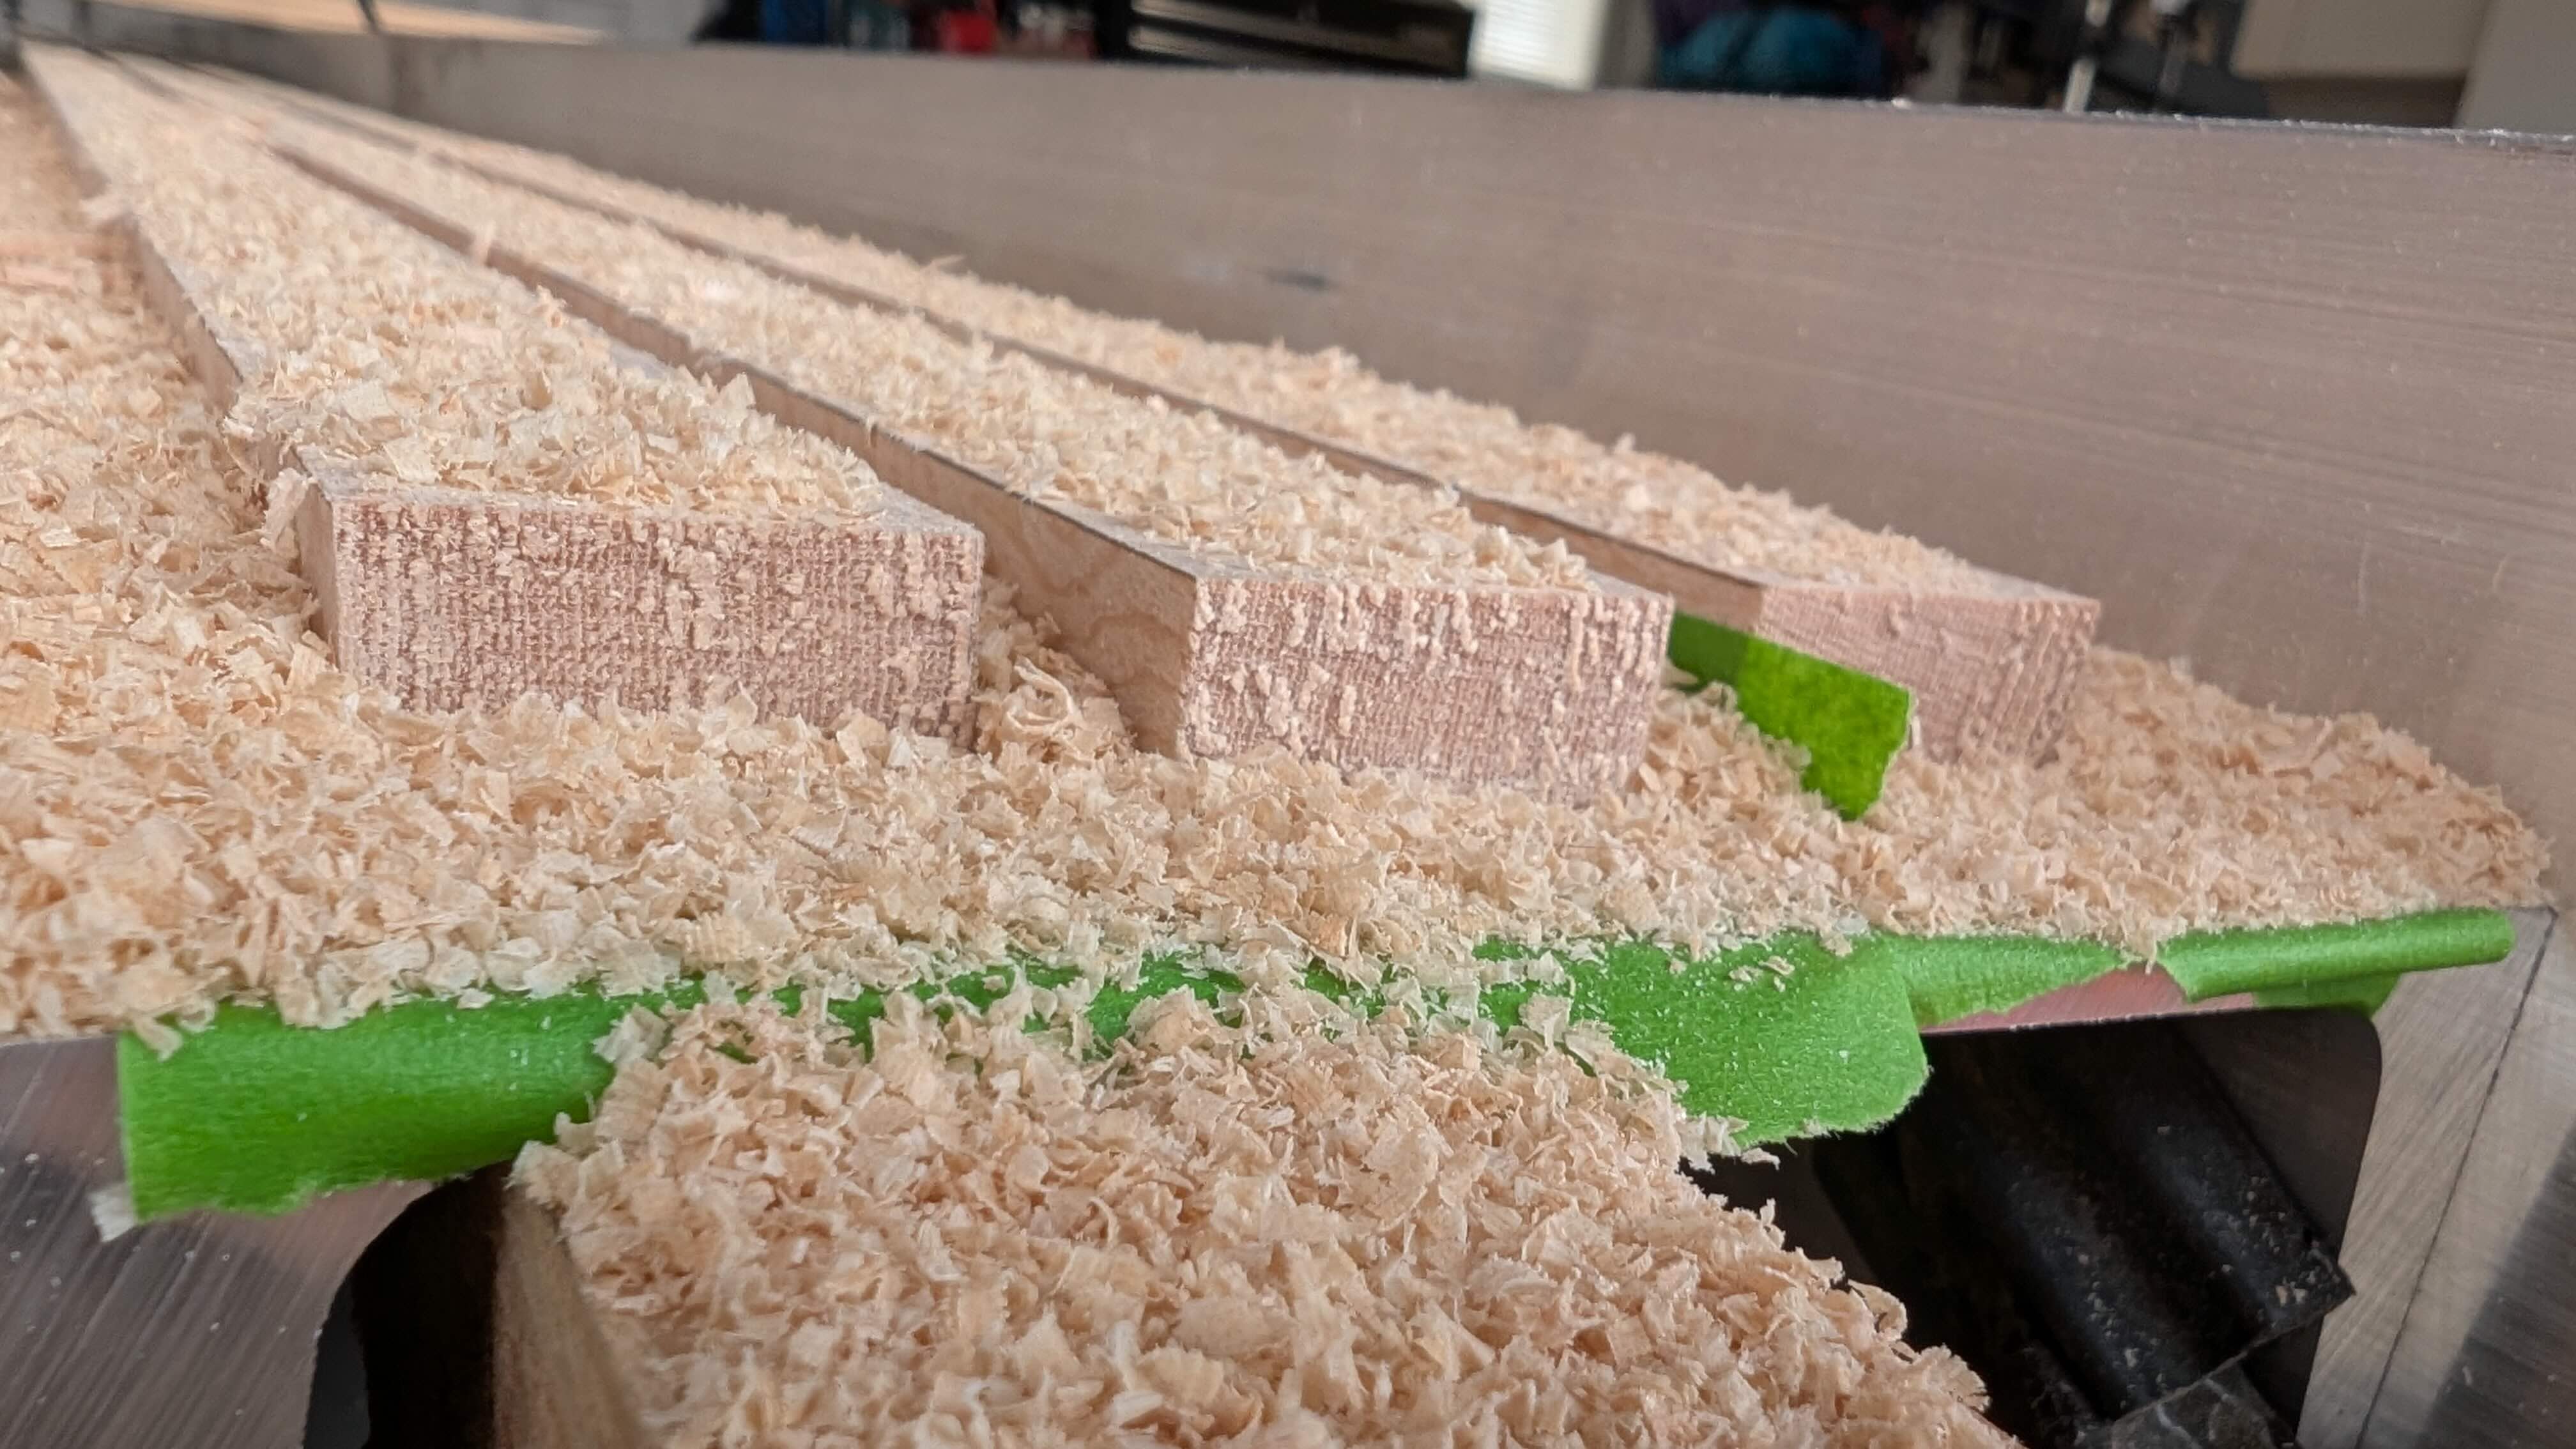
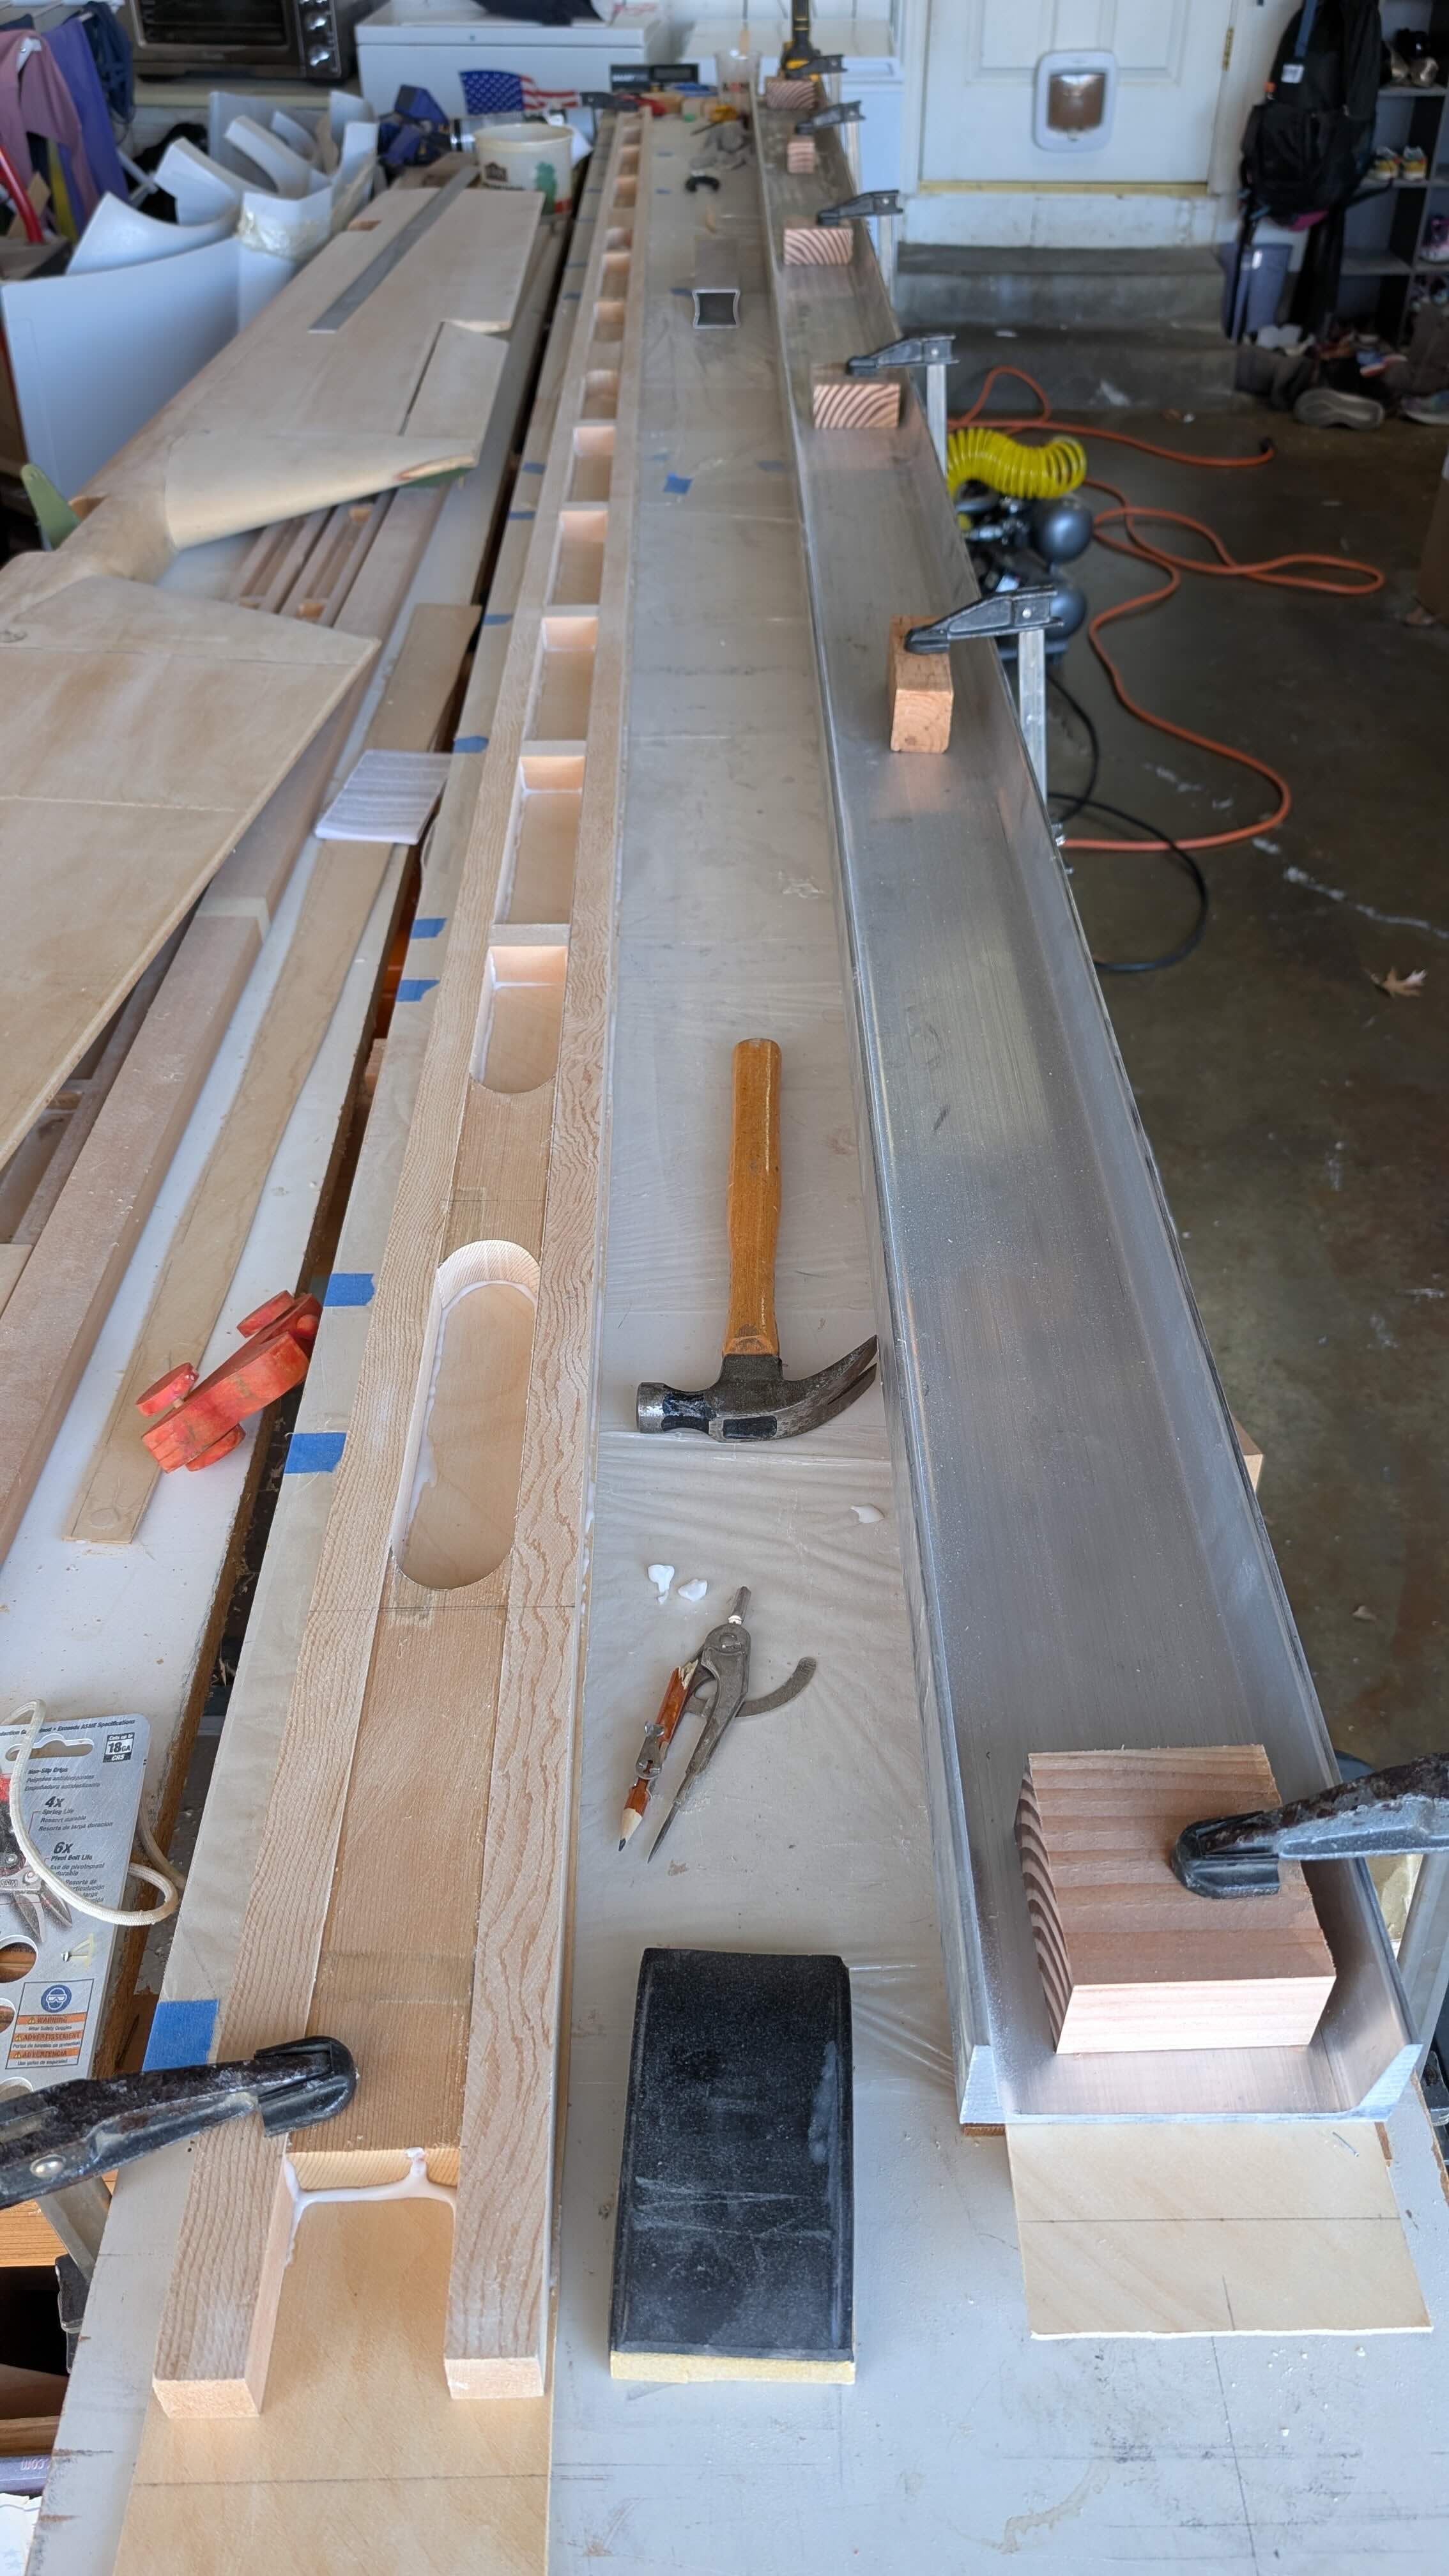
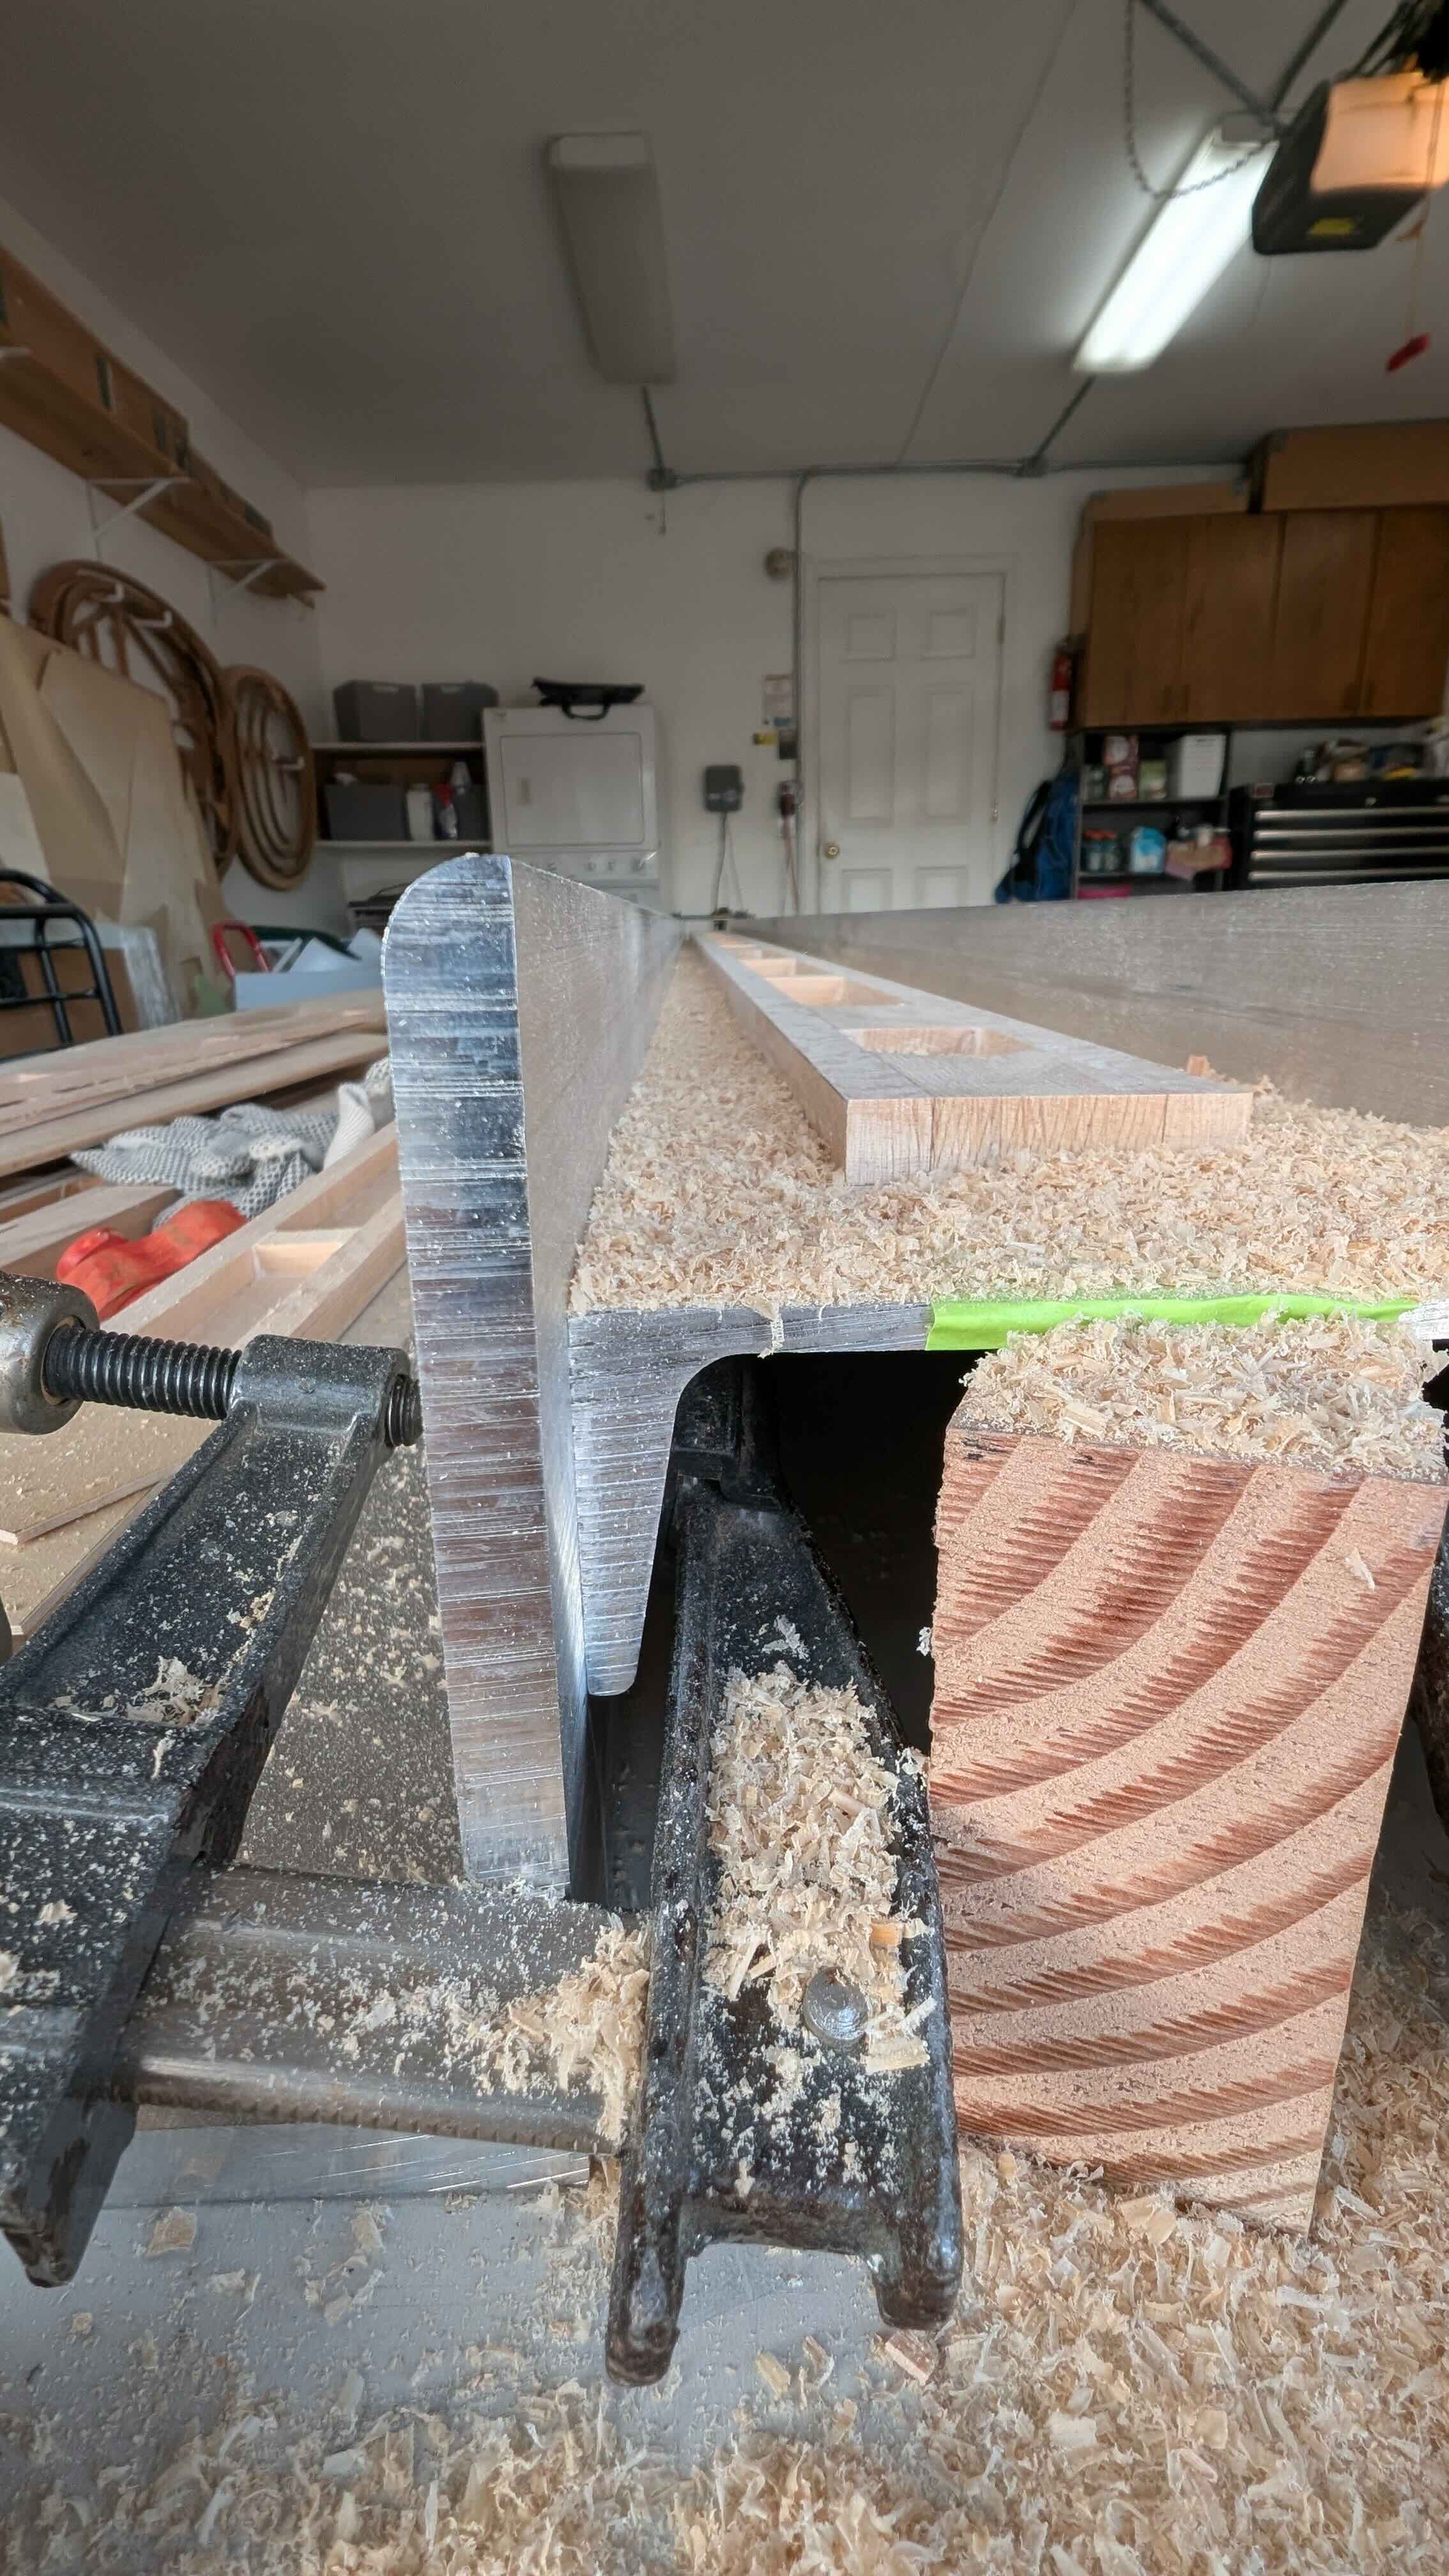
This jig puts the wood at the exact angle of the taper to allow me to run the router over it to get a precise, clean cut. I had to obtain the 12 foot long spruce capstrips but I did already have all the wood for the blocking and plywood shear webs. I ordered the capstrips from Aircraft Spruce and Specialty and they provided some excellent quality wood.
Since the captrips are tapered in two directions, going from a 25 mm square down to a 12 mm square from end to end, I made the first taper before I assembled the spar, then made the final taper after the spar was built. So the first step was to make one of the tapers on the inside face of the capstrips, which helps keep the wood grain parallel to where the airframe skin attaches to the spar.
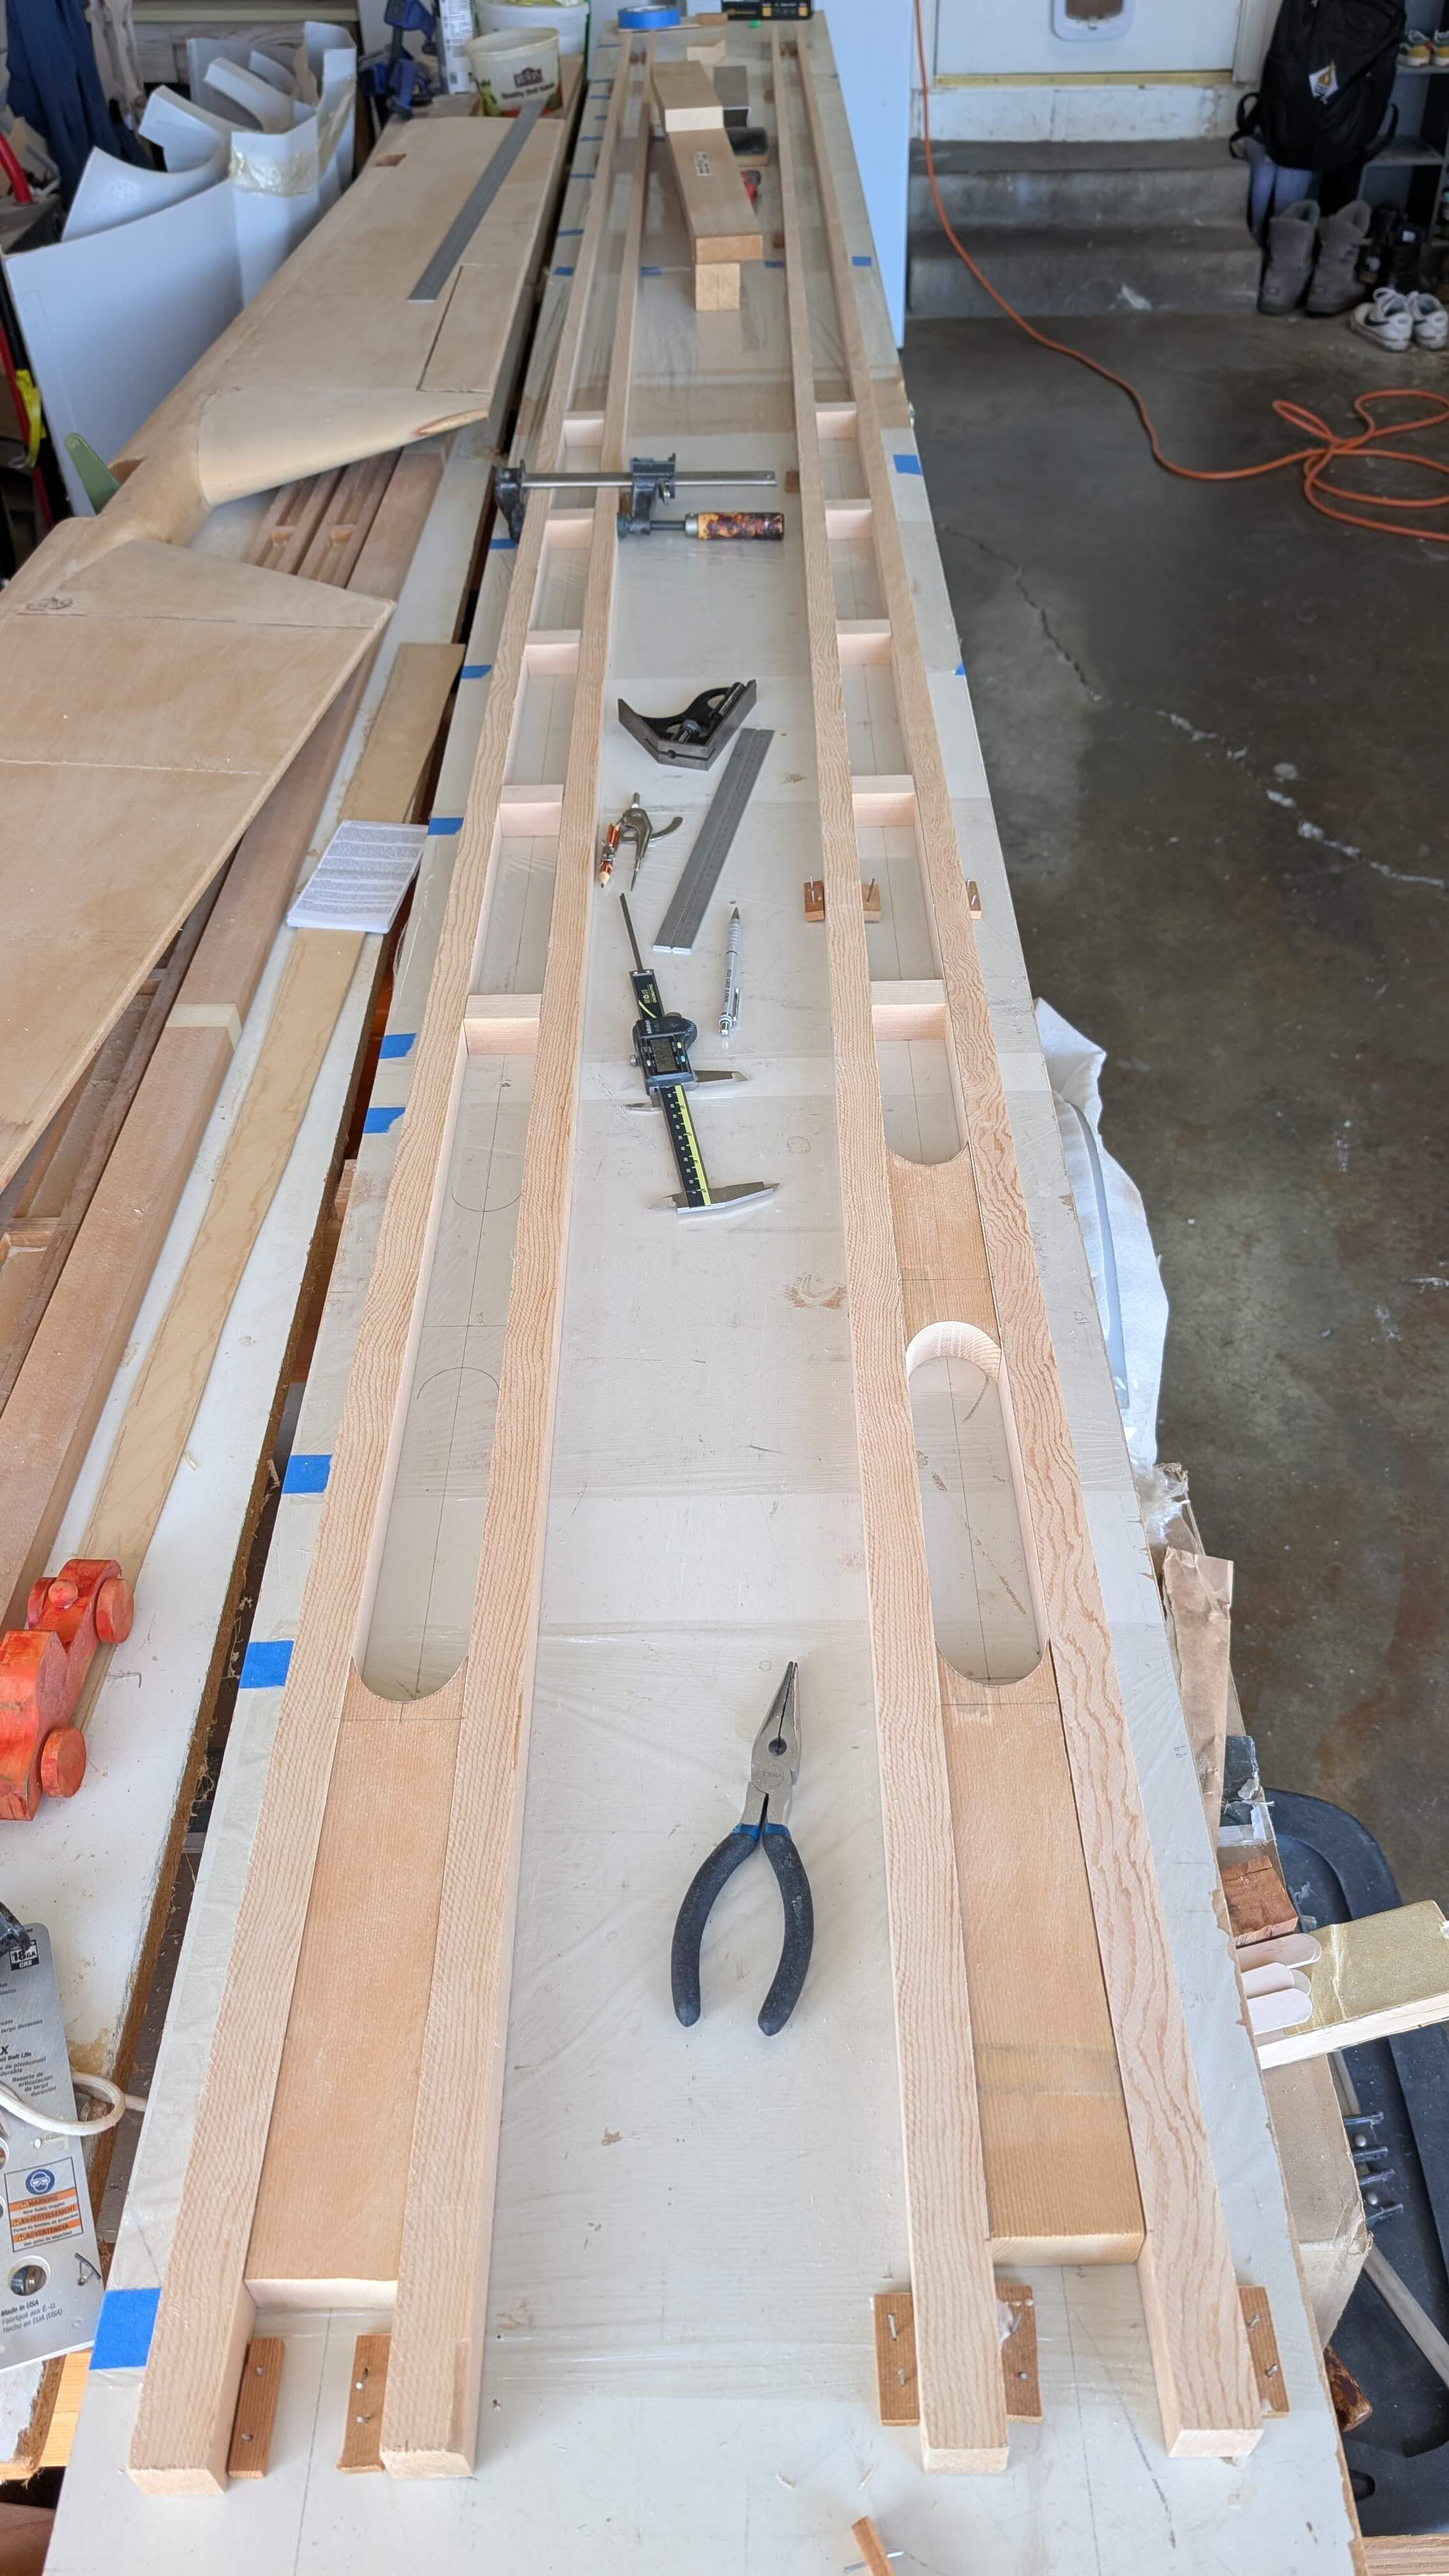
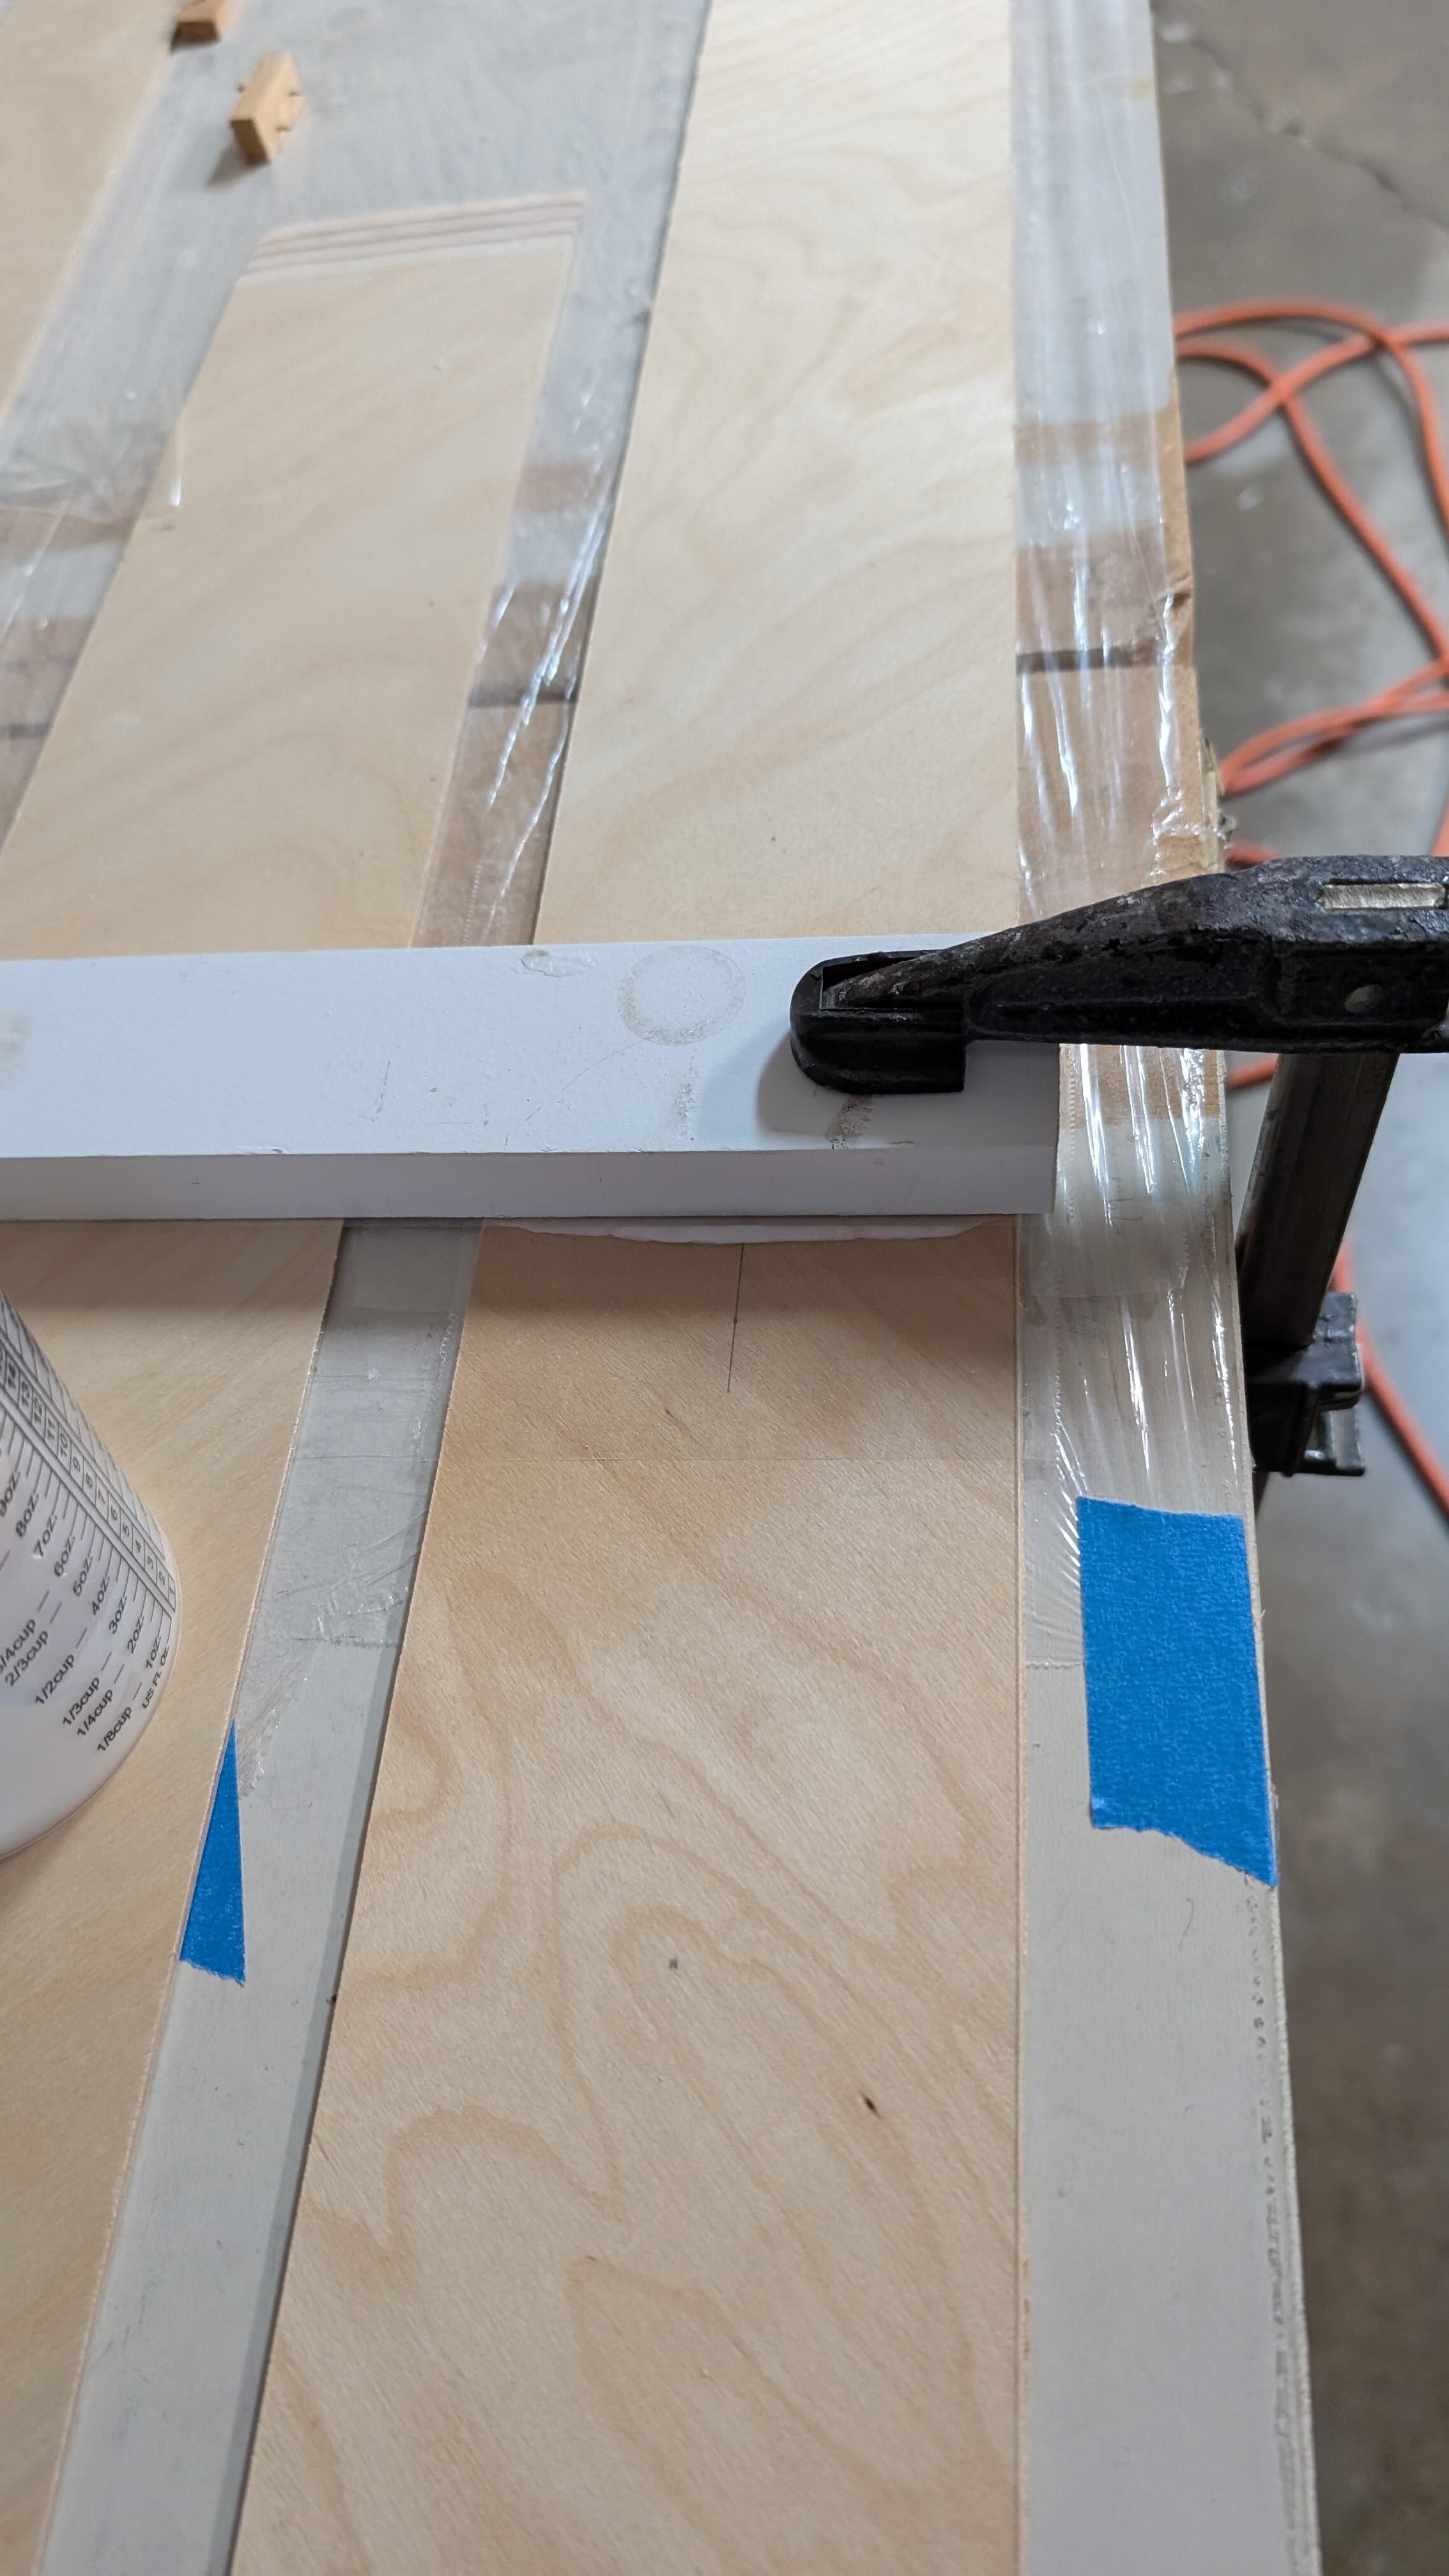
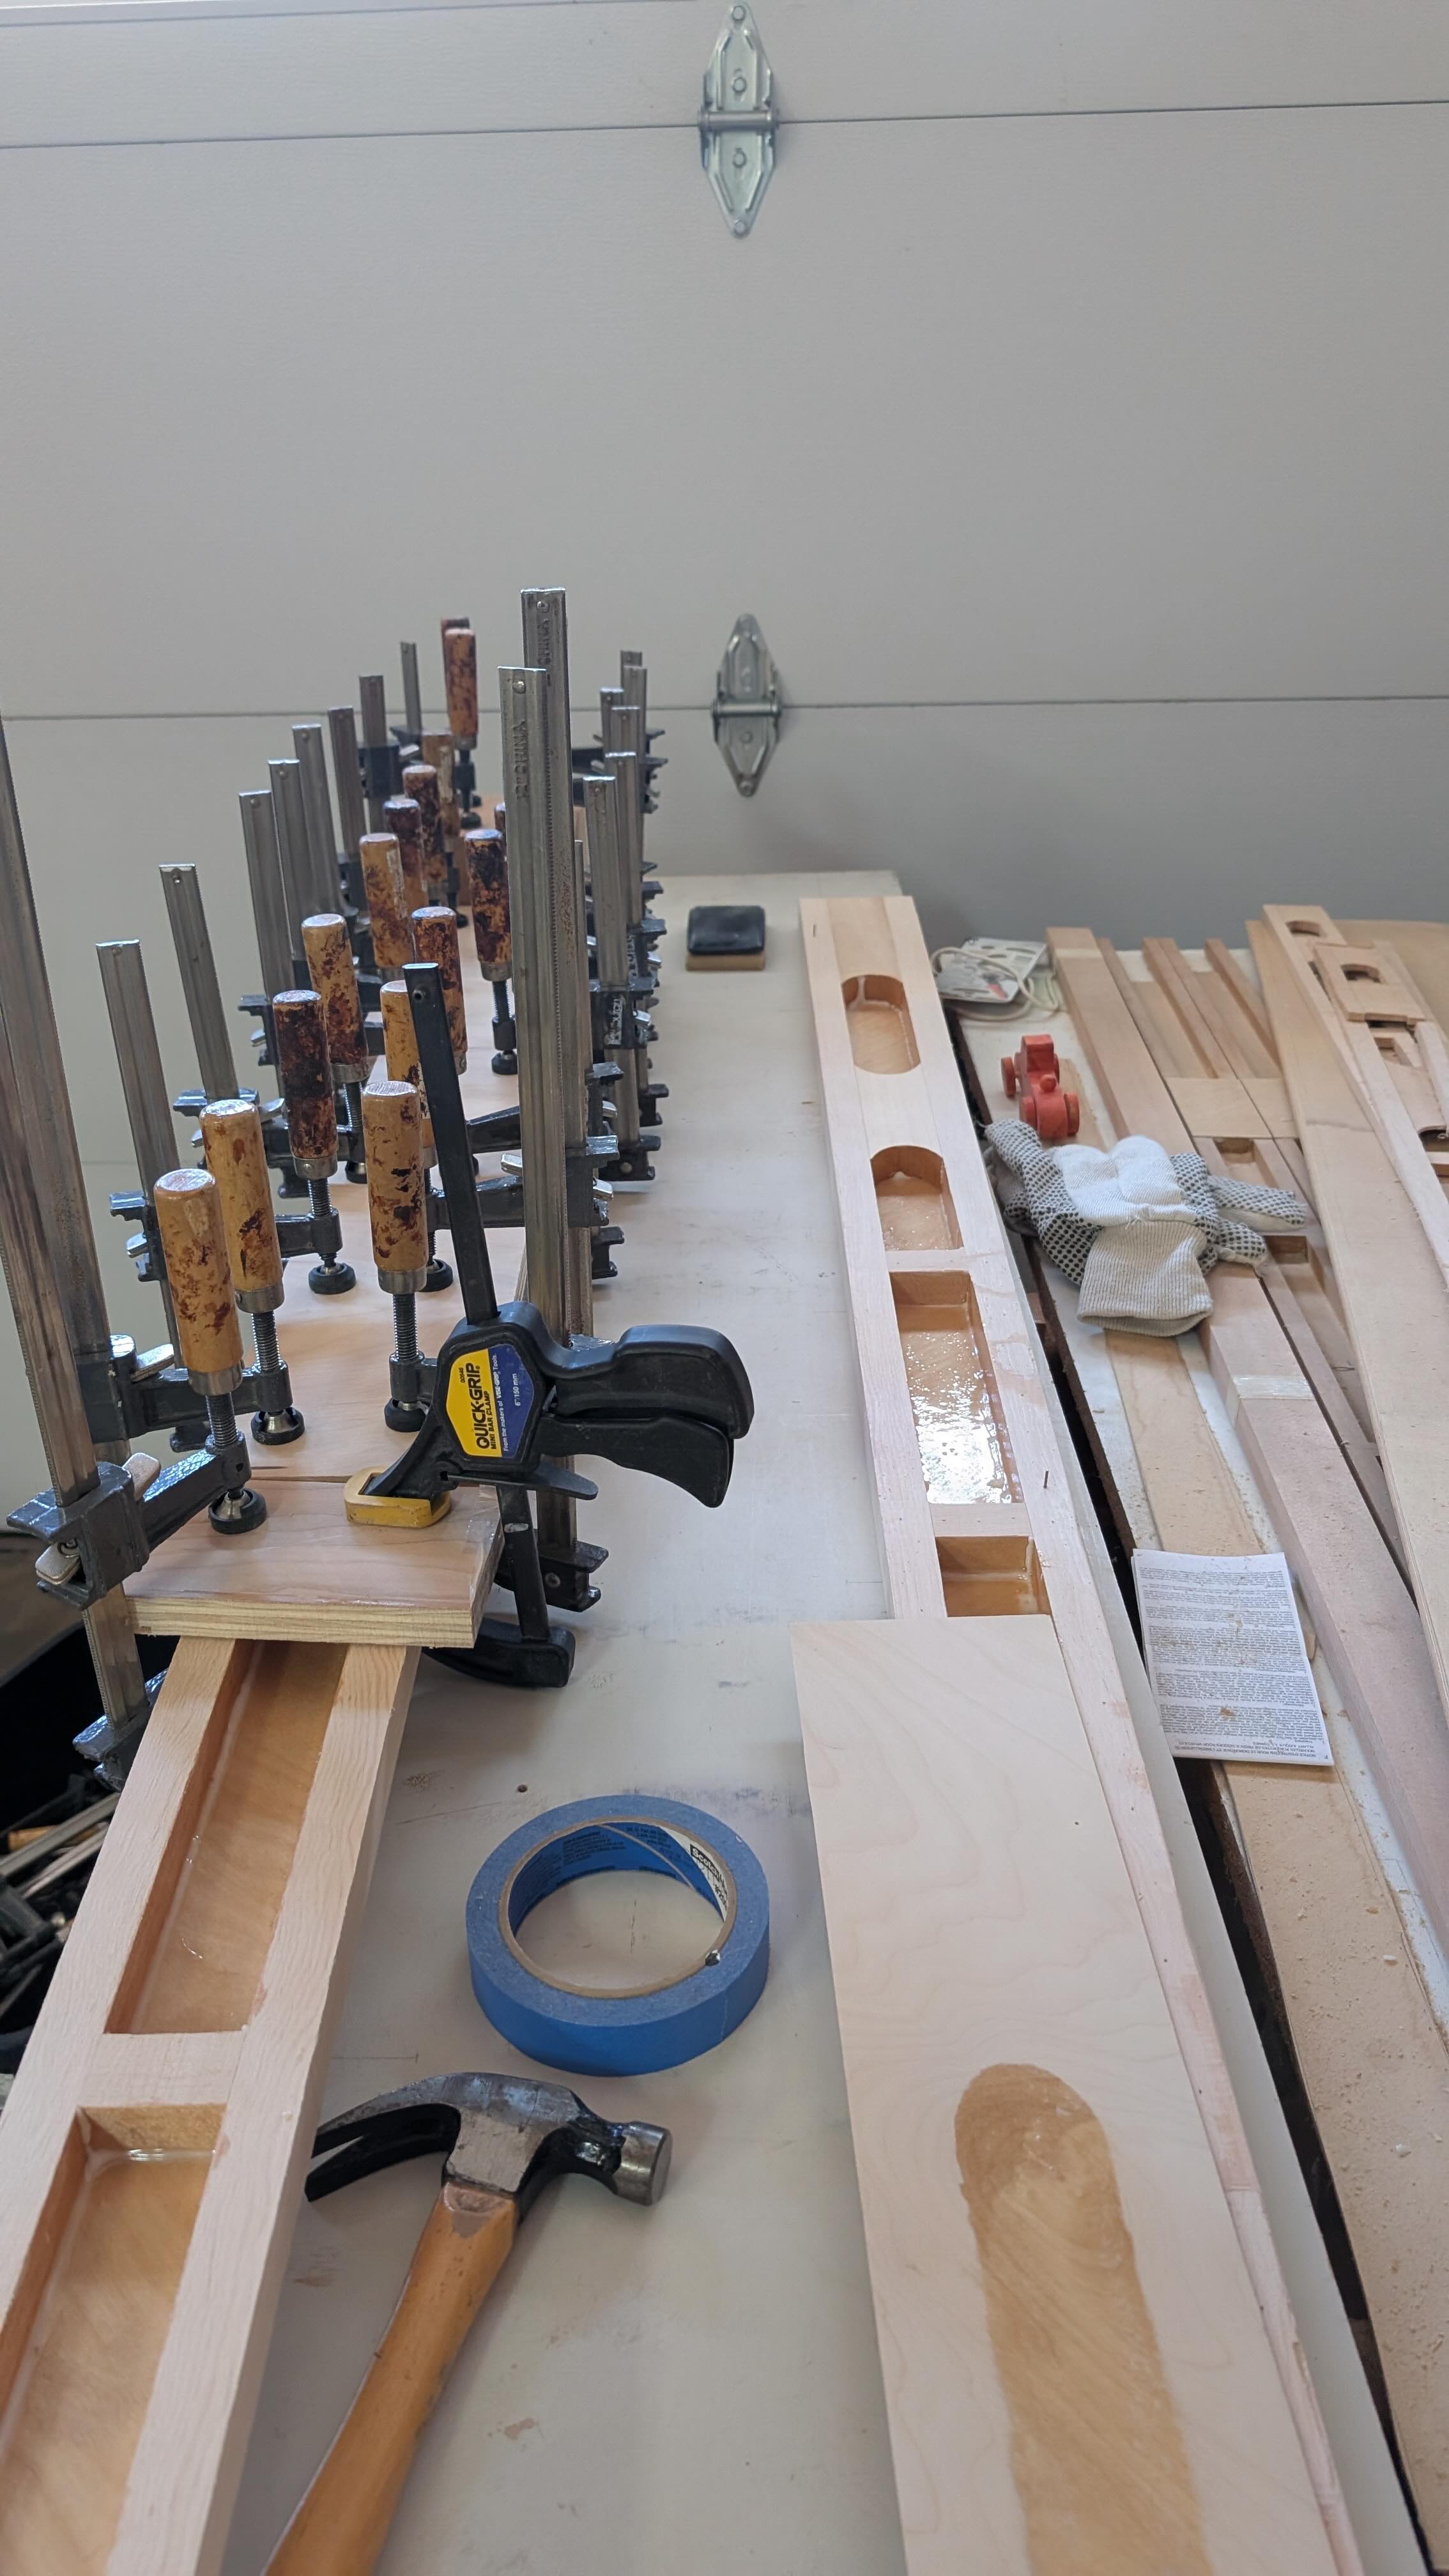
With the spar dimensions drawn on the jig table, I loaded the capstrips in the correct positions, held with little wood strips, and built the blocking to fit. The spar structure was all glued together, followed by scarfing together and gluing on the plywood shear web to cover the length of the spar on the aft face.

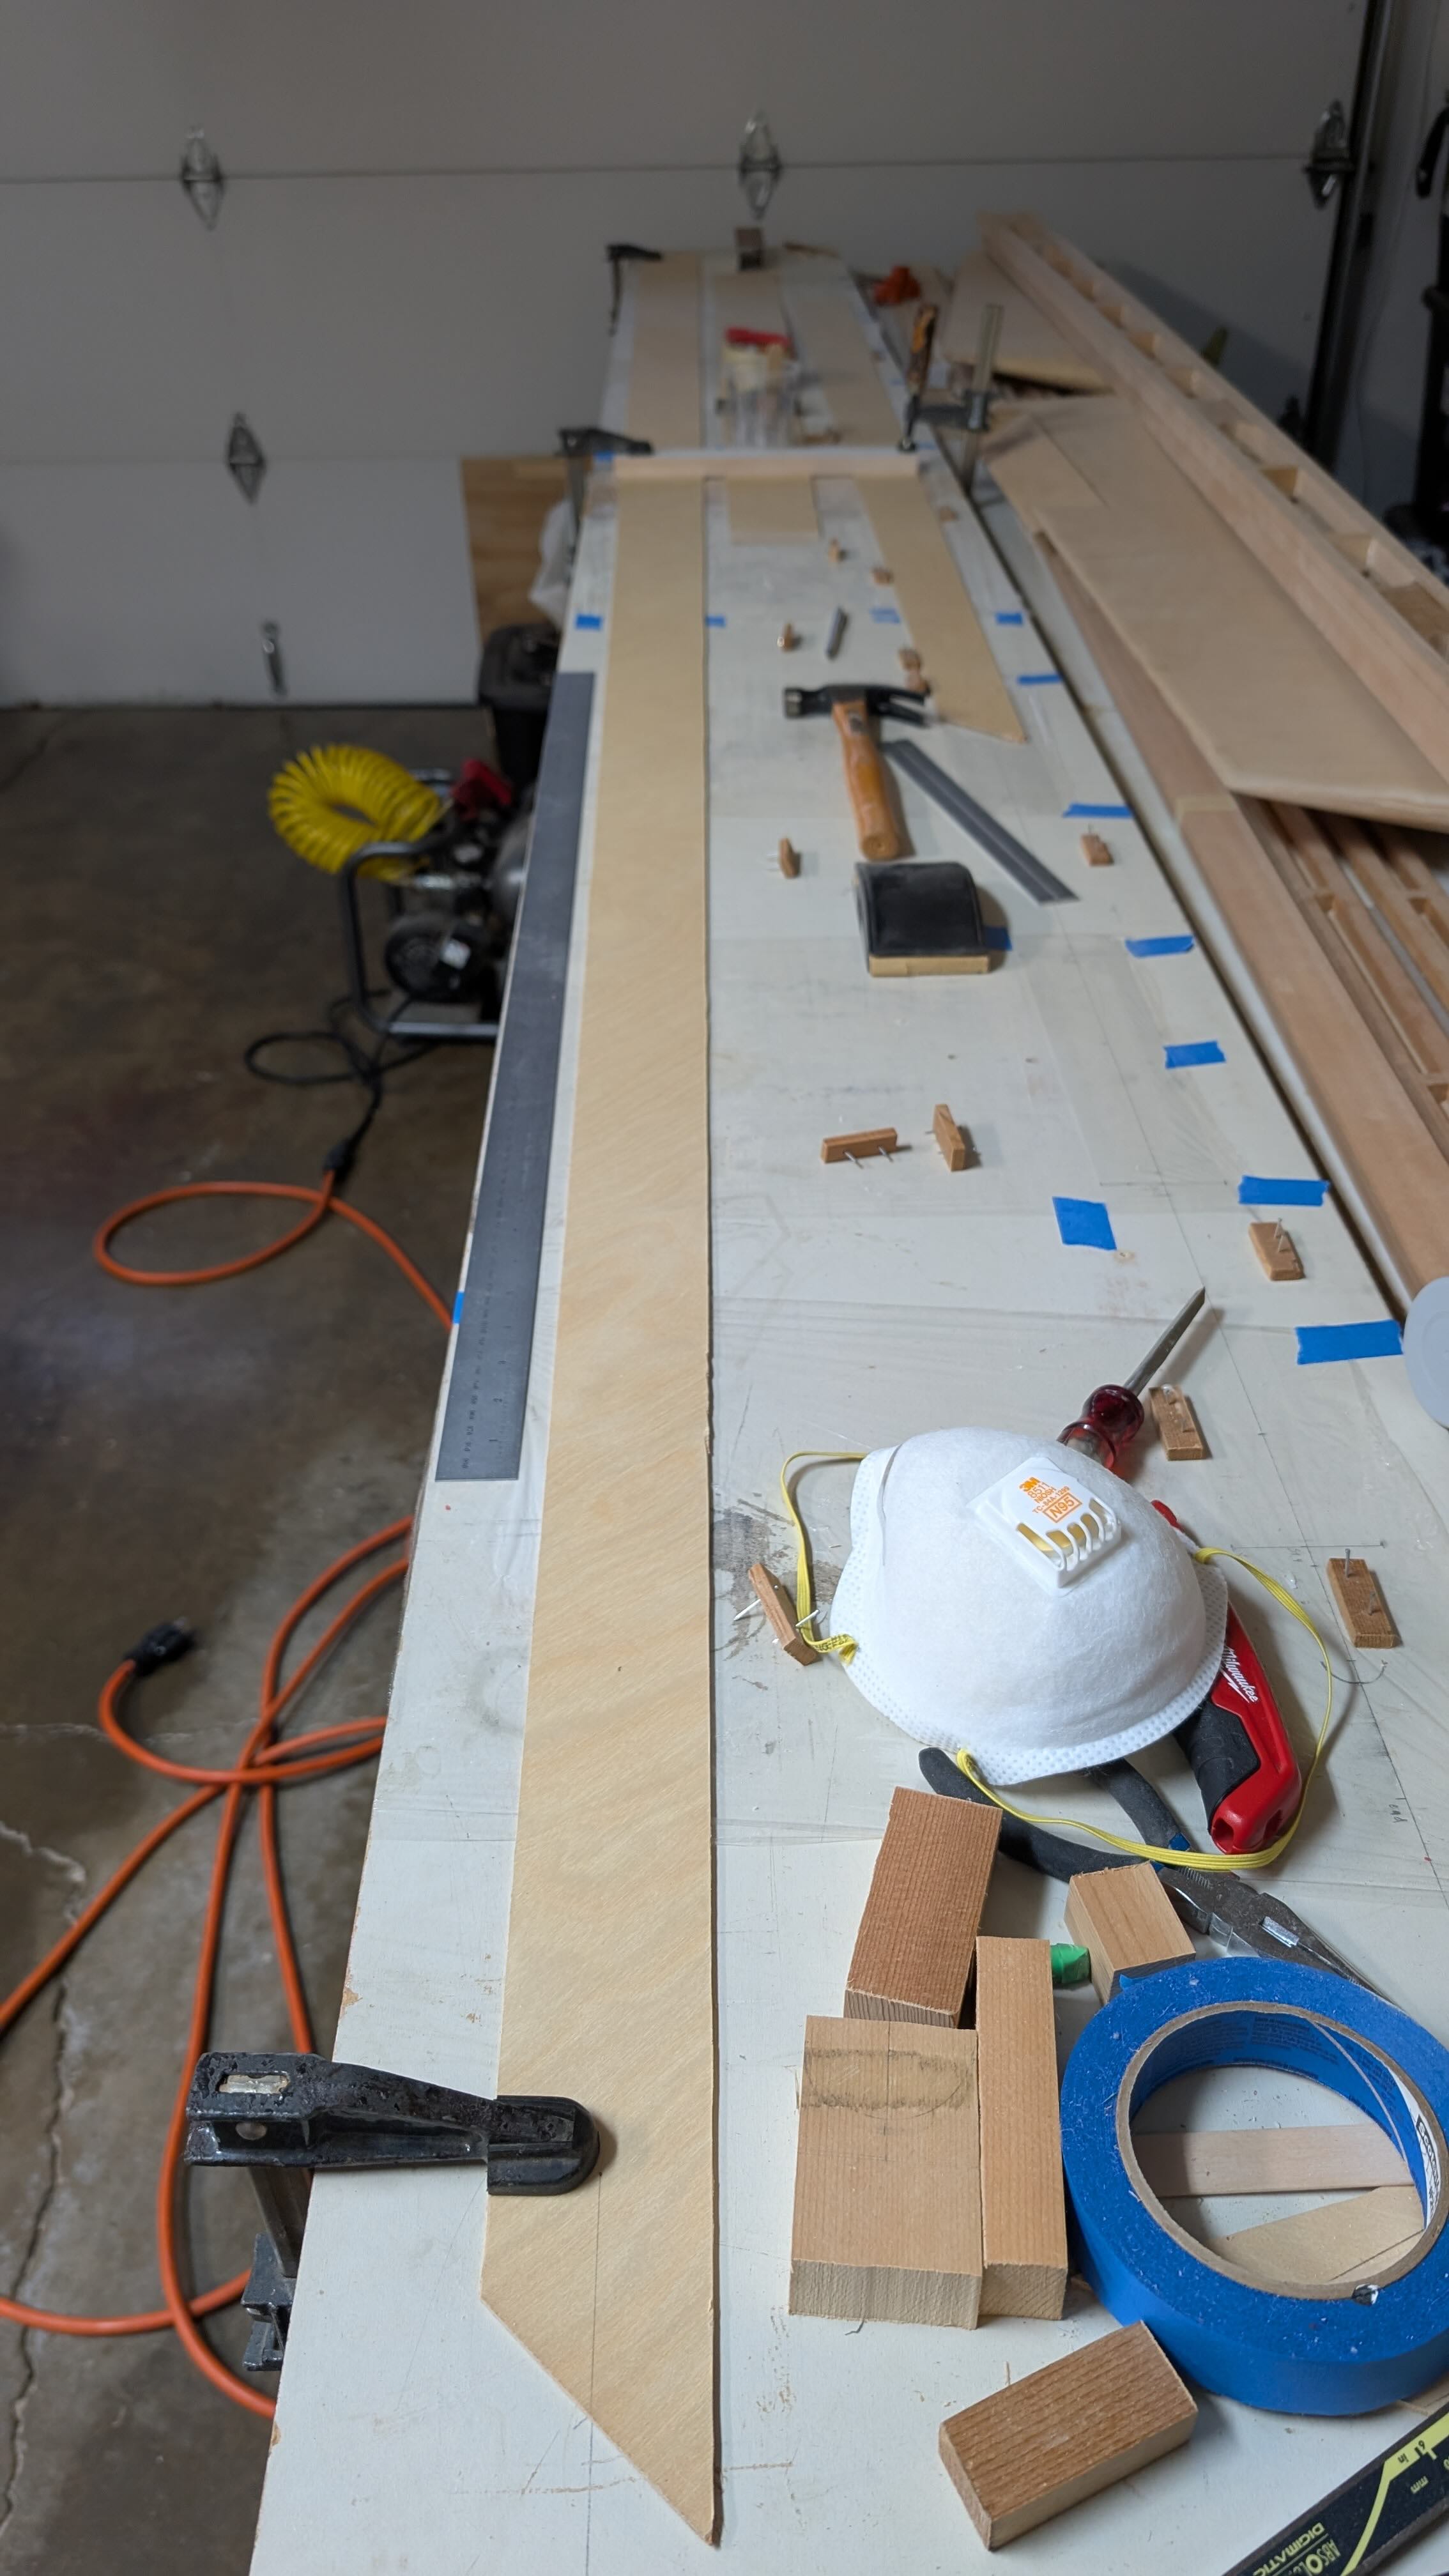
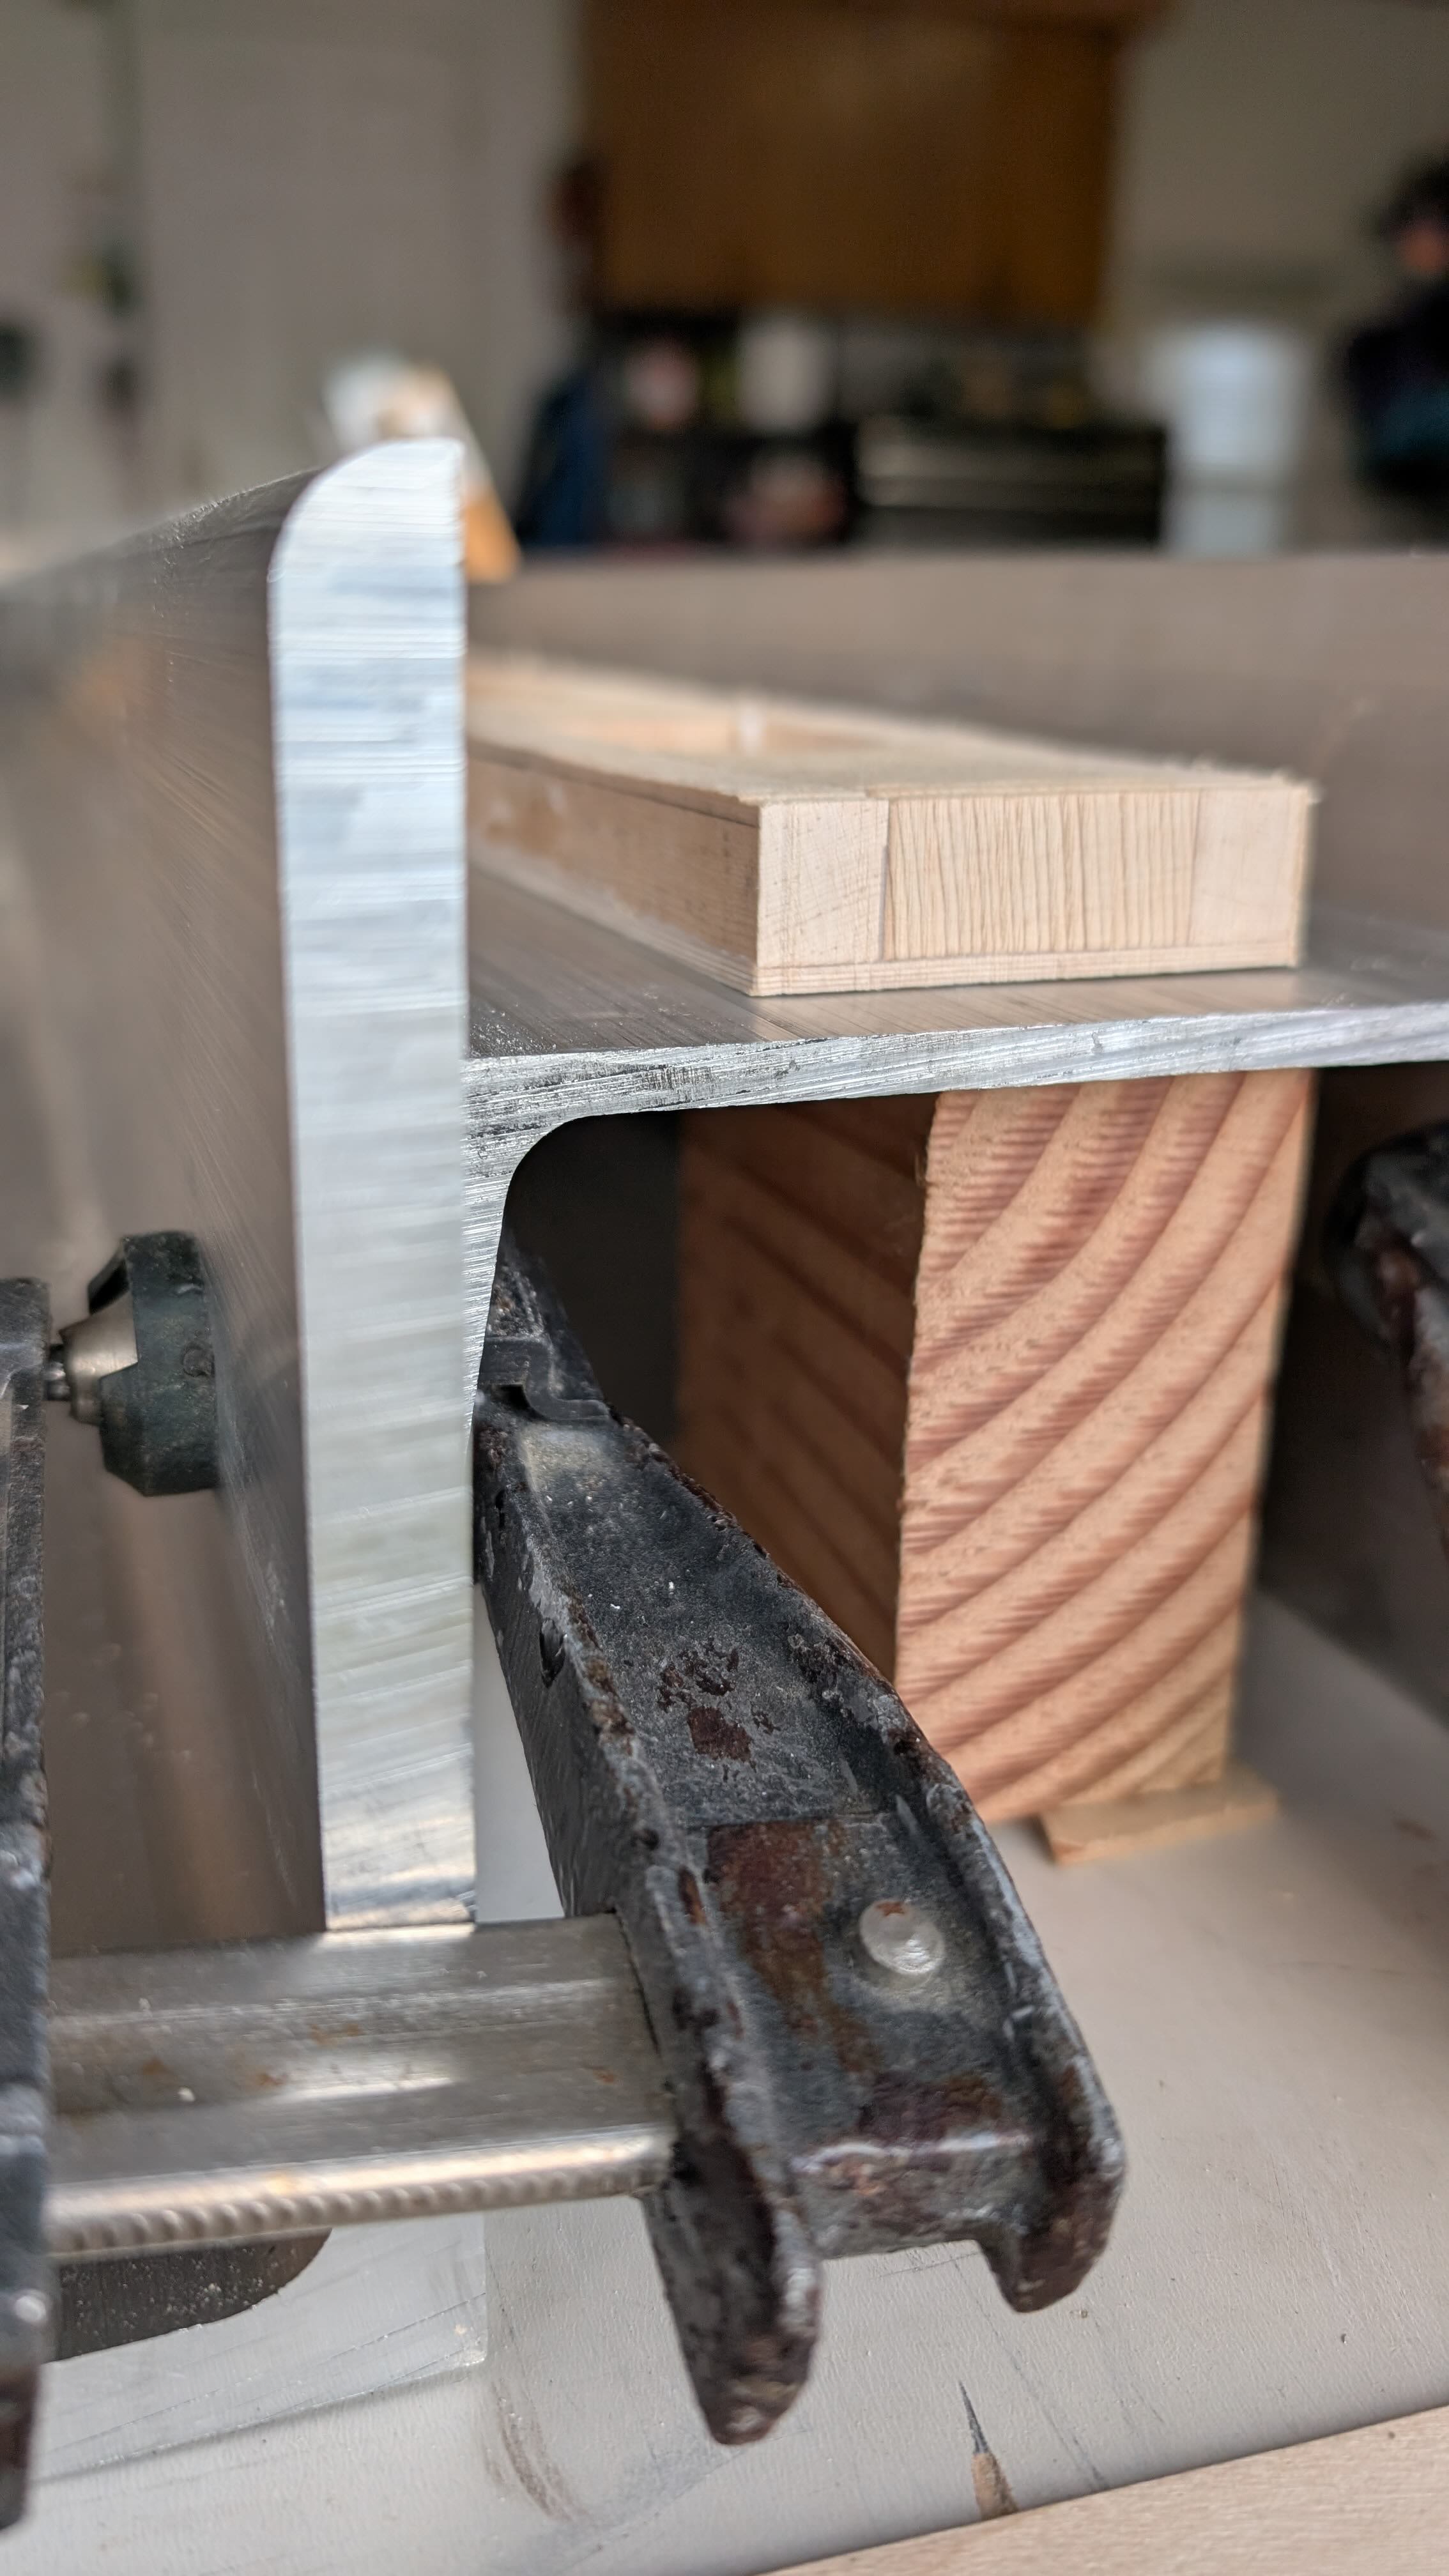
With the skin attached, I was then able to do the final tapering on the forward face of the spar, first the rough cut with the bandsaw (with assistance in holding the long spar), then using the router jig.
Finally, I masked, varnished and glued on the final closing skin near the wing root and glued on the plywood pads on the forward face of the spar.

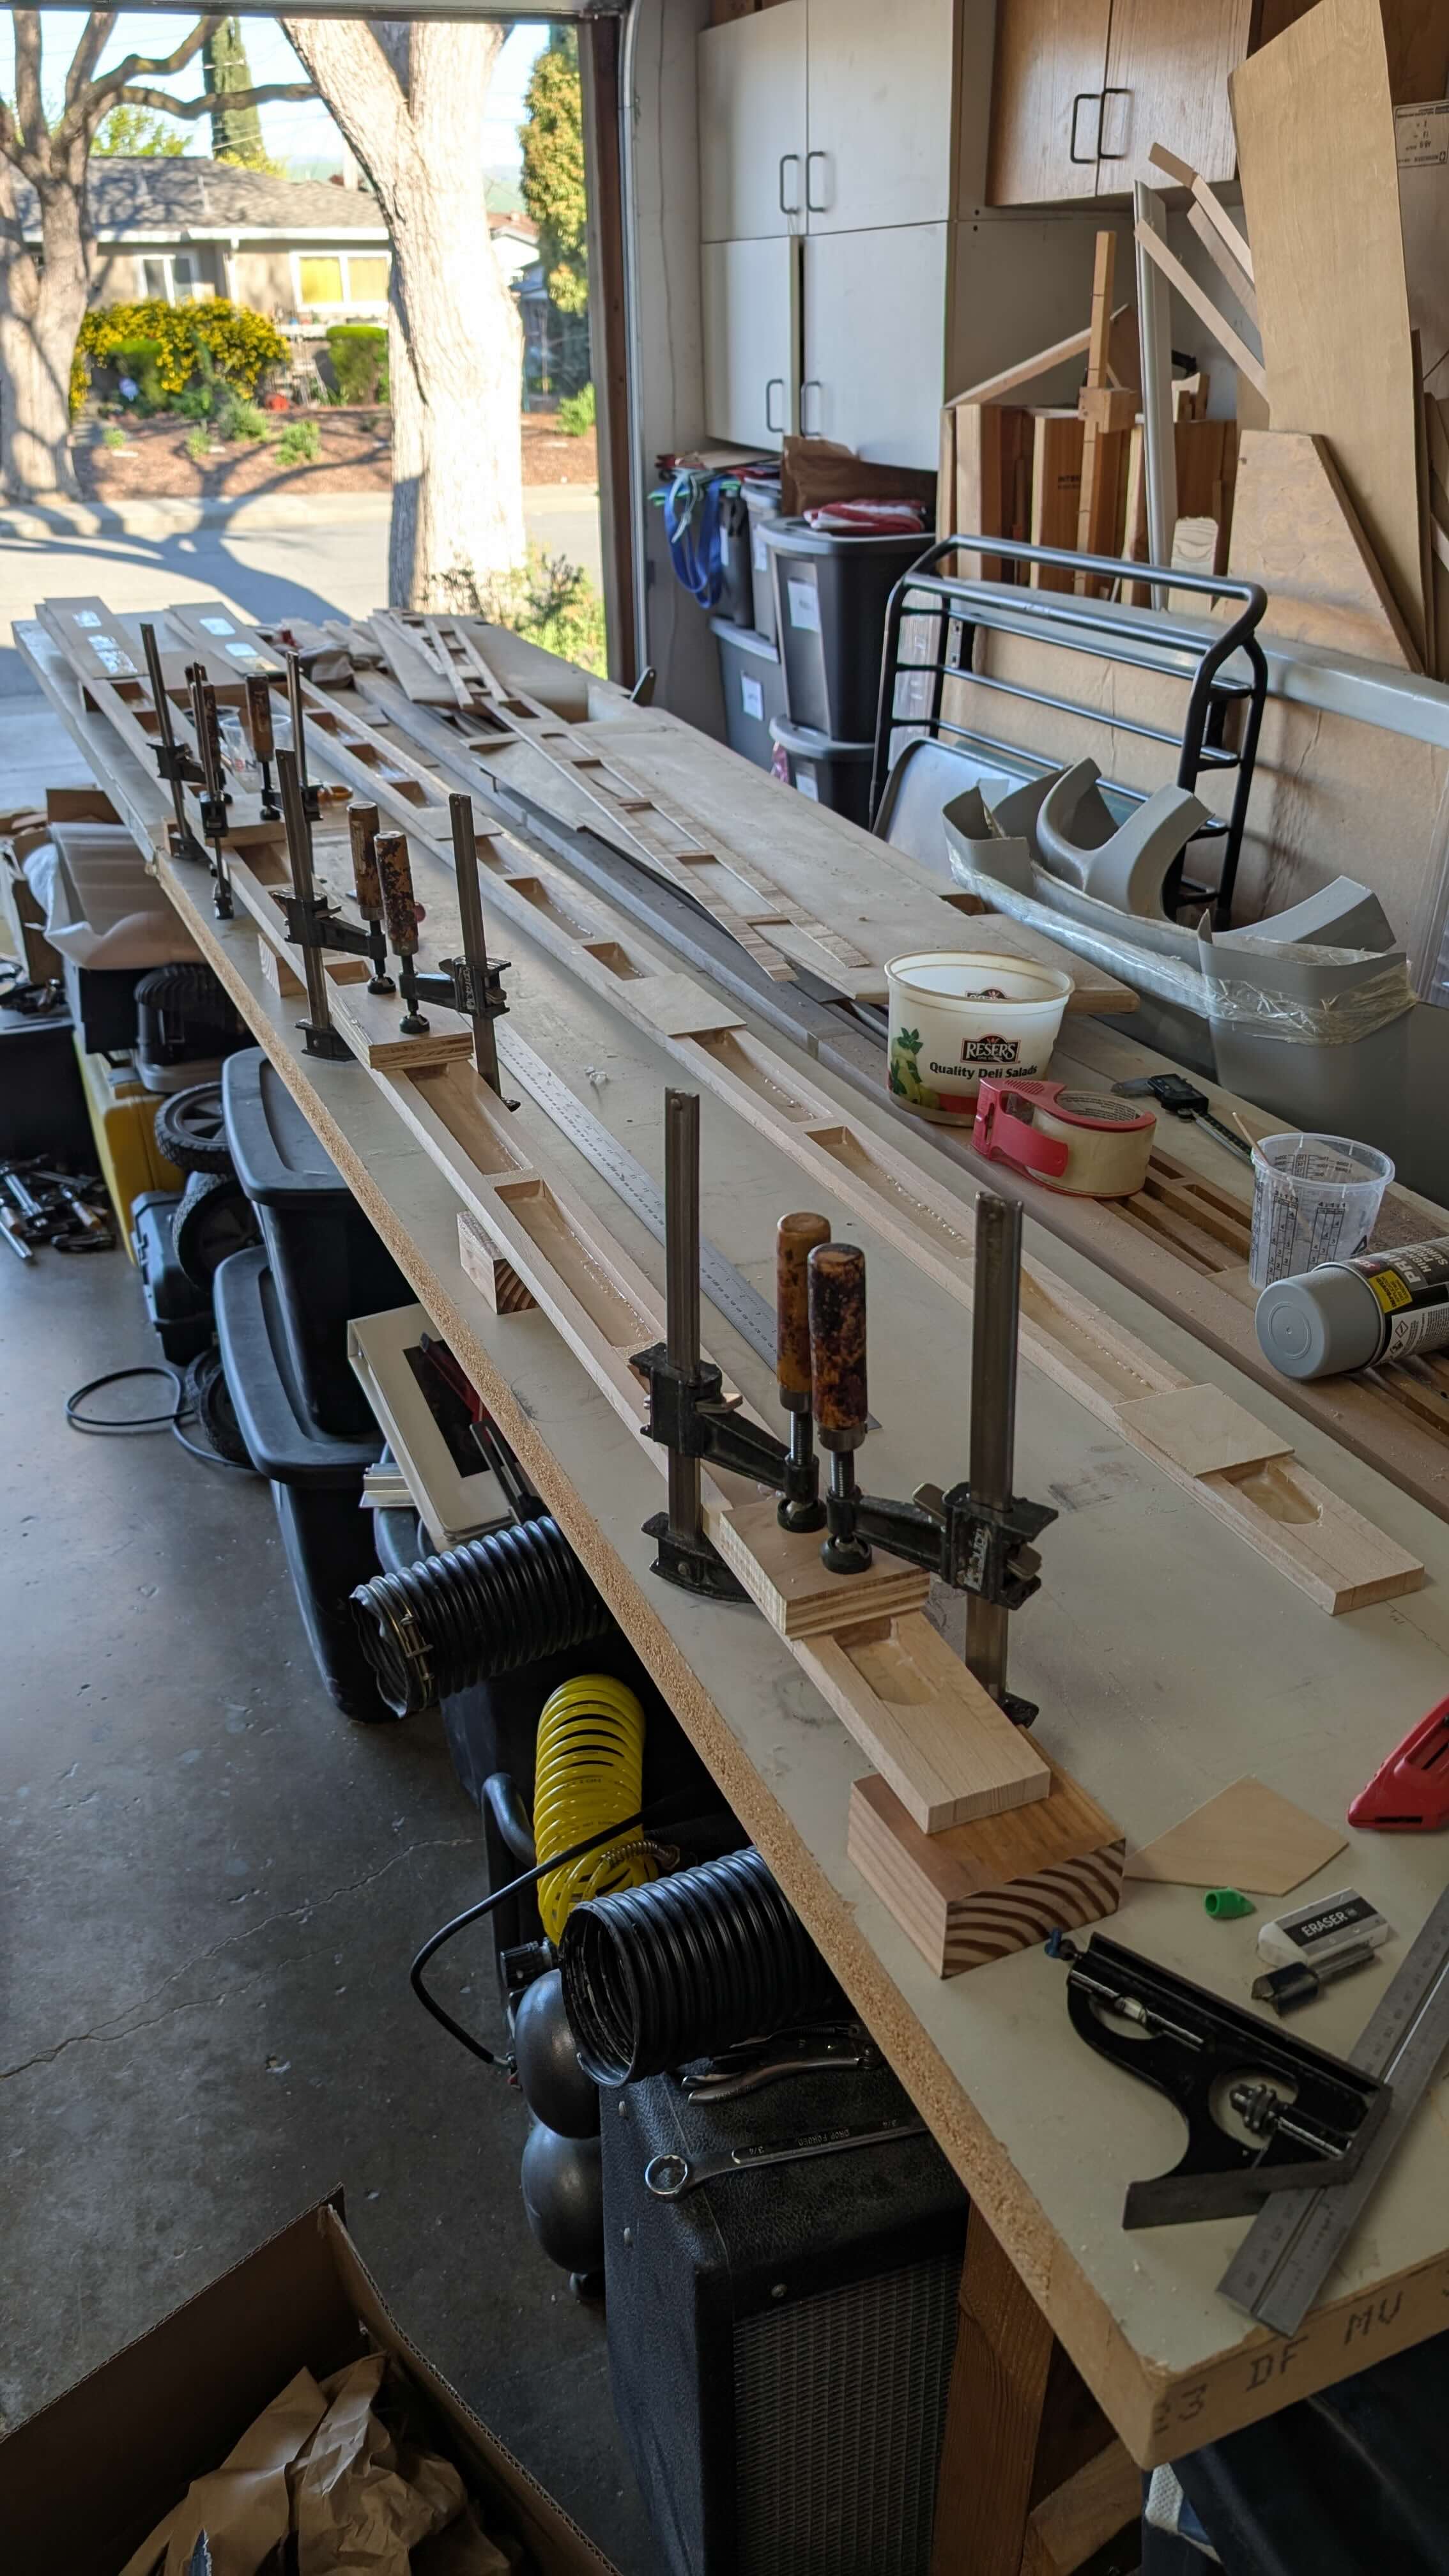
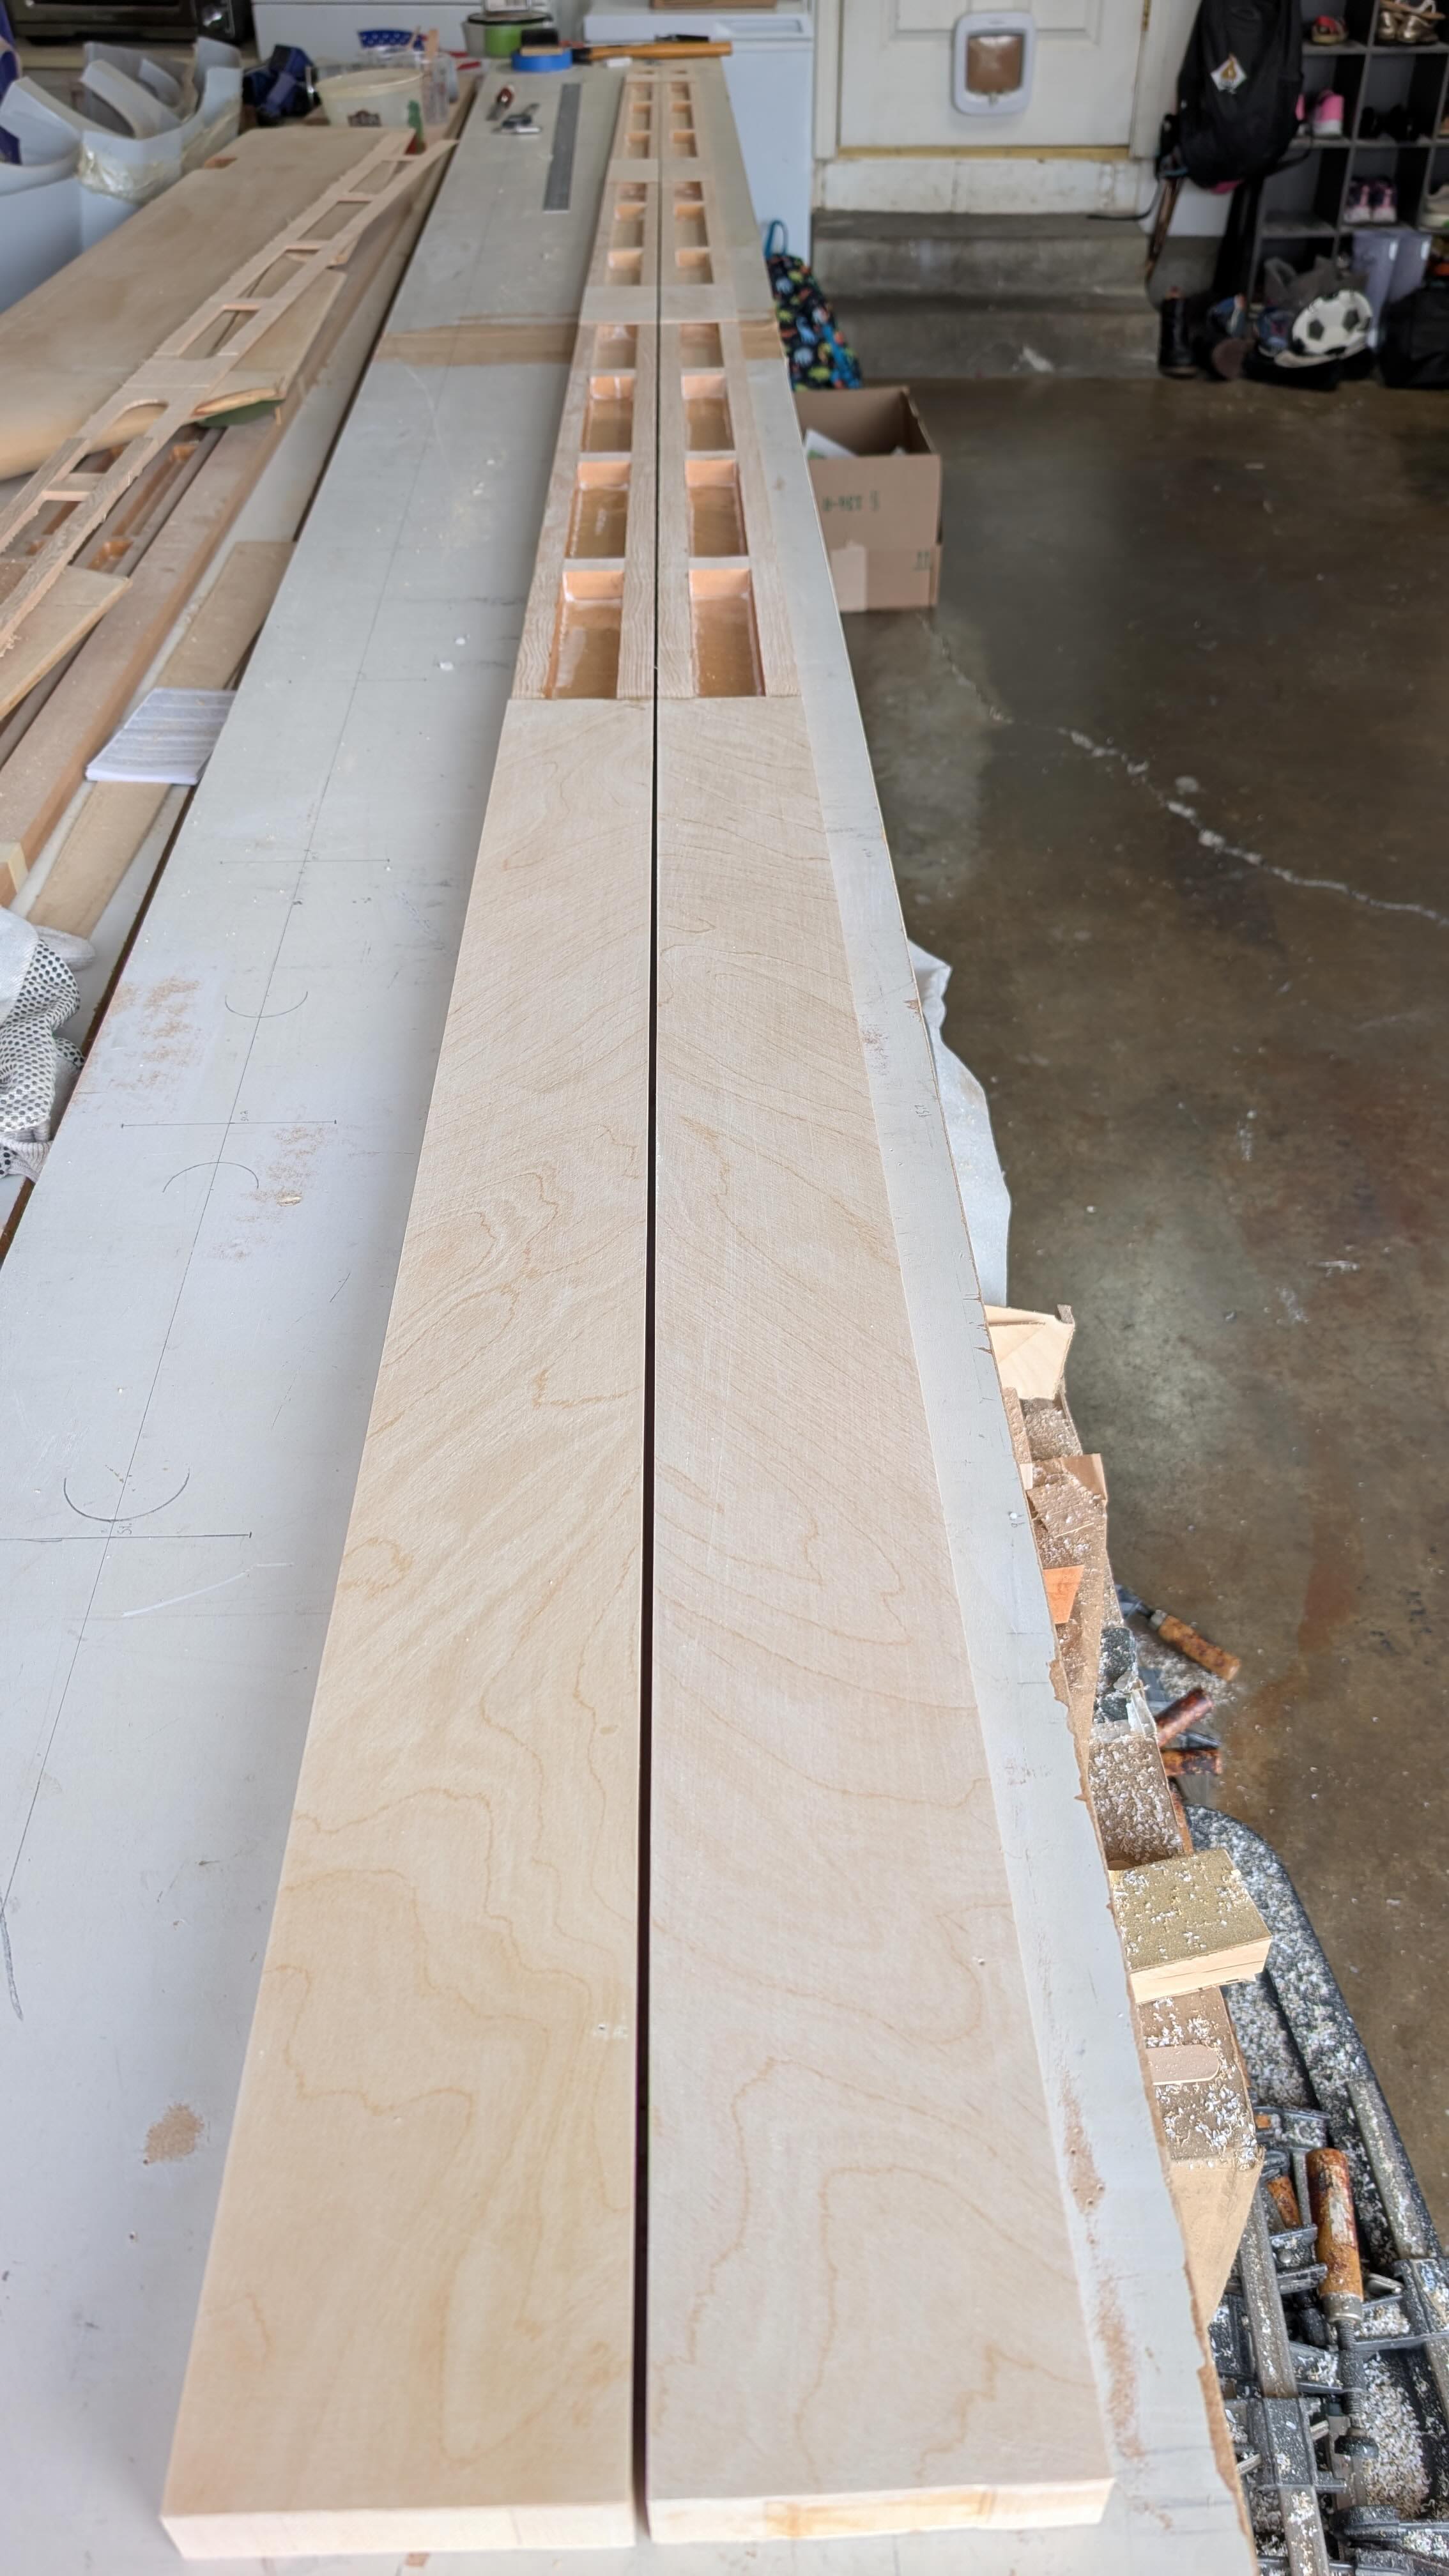
Here are the completed spars, ready for hinge alignment with the aileron/flap spars. But first, to the fin!
| Empennage Assembly Menu | Home