
Once I was through the skin all around, I had to get through the temporary holding blocks installed when the elevator was built up. This proved a bit tough because I didn't really have a great tool for this cut. I worked through it using a thin hobby saw but it had some issues so I ended up switching to a dremel mounted jig saw. A regular jig saw would work better for this, as would a thin all the way around hobby saw. The trim tab and elevator were then sanded smooth all around.


I got some appropriate hinge stock from AS&S and cut out some hinges making sure to keep some extra length in the hinge pin, then drilled some holes for the screws. Here one is pre-holes.

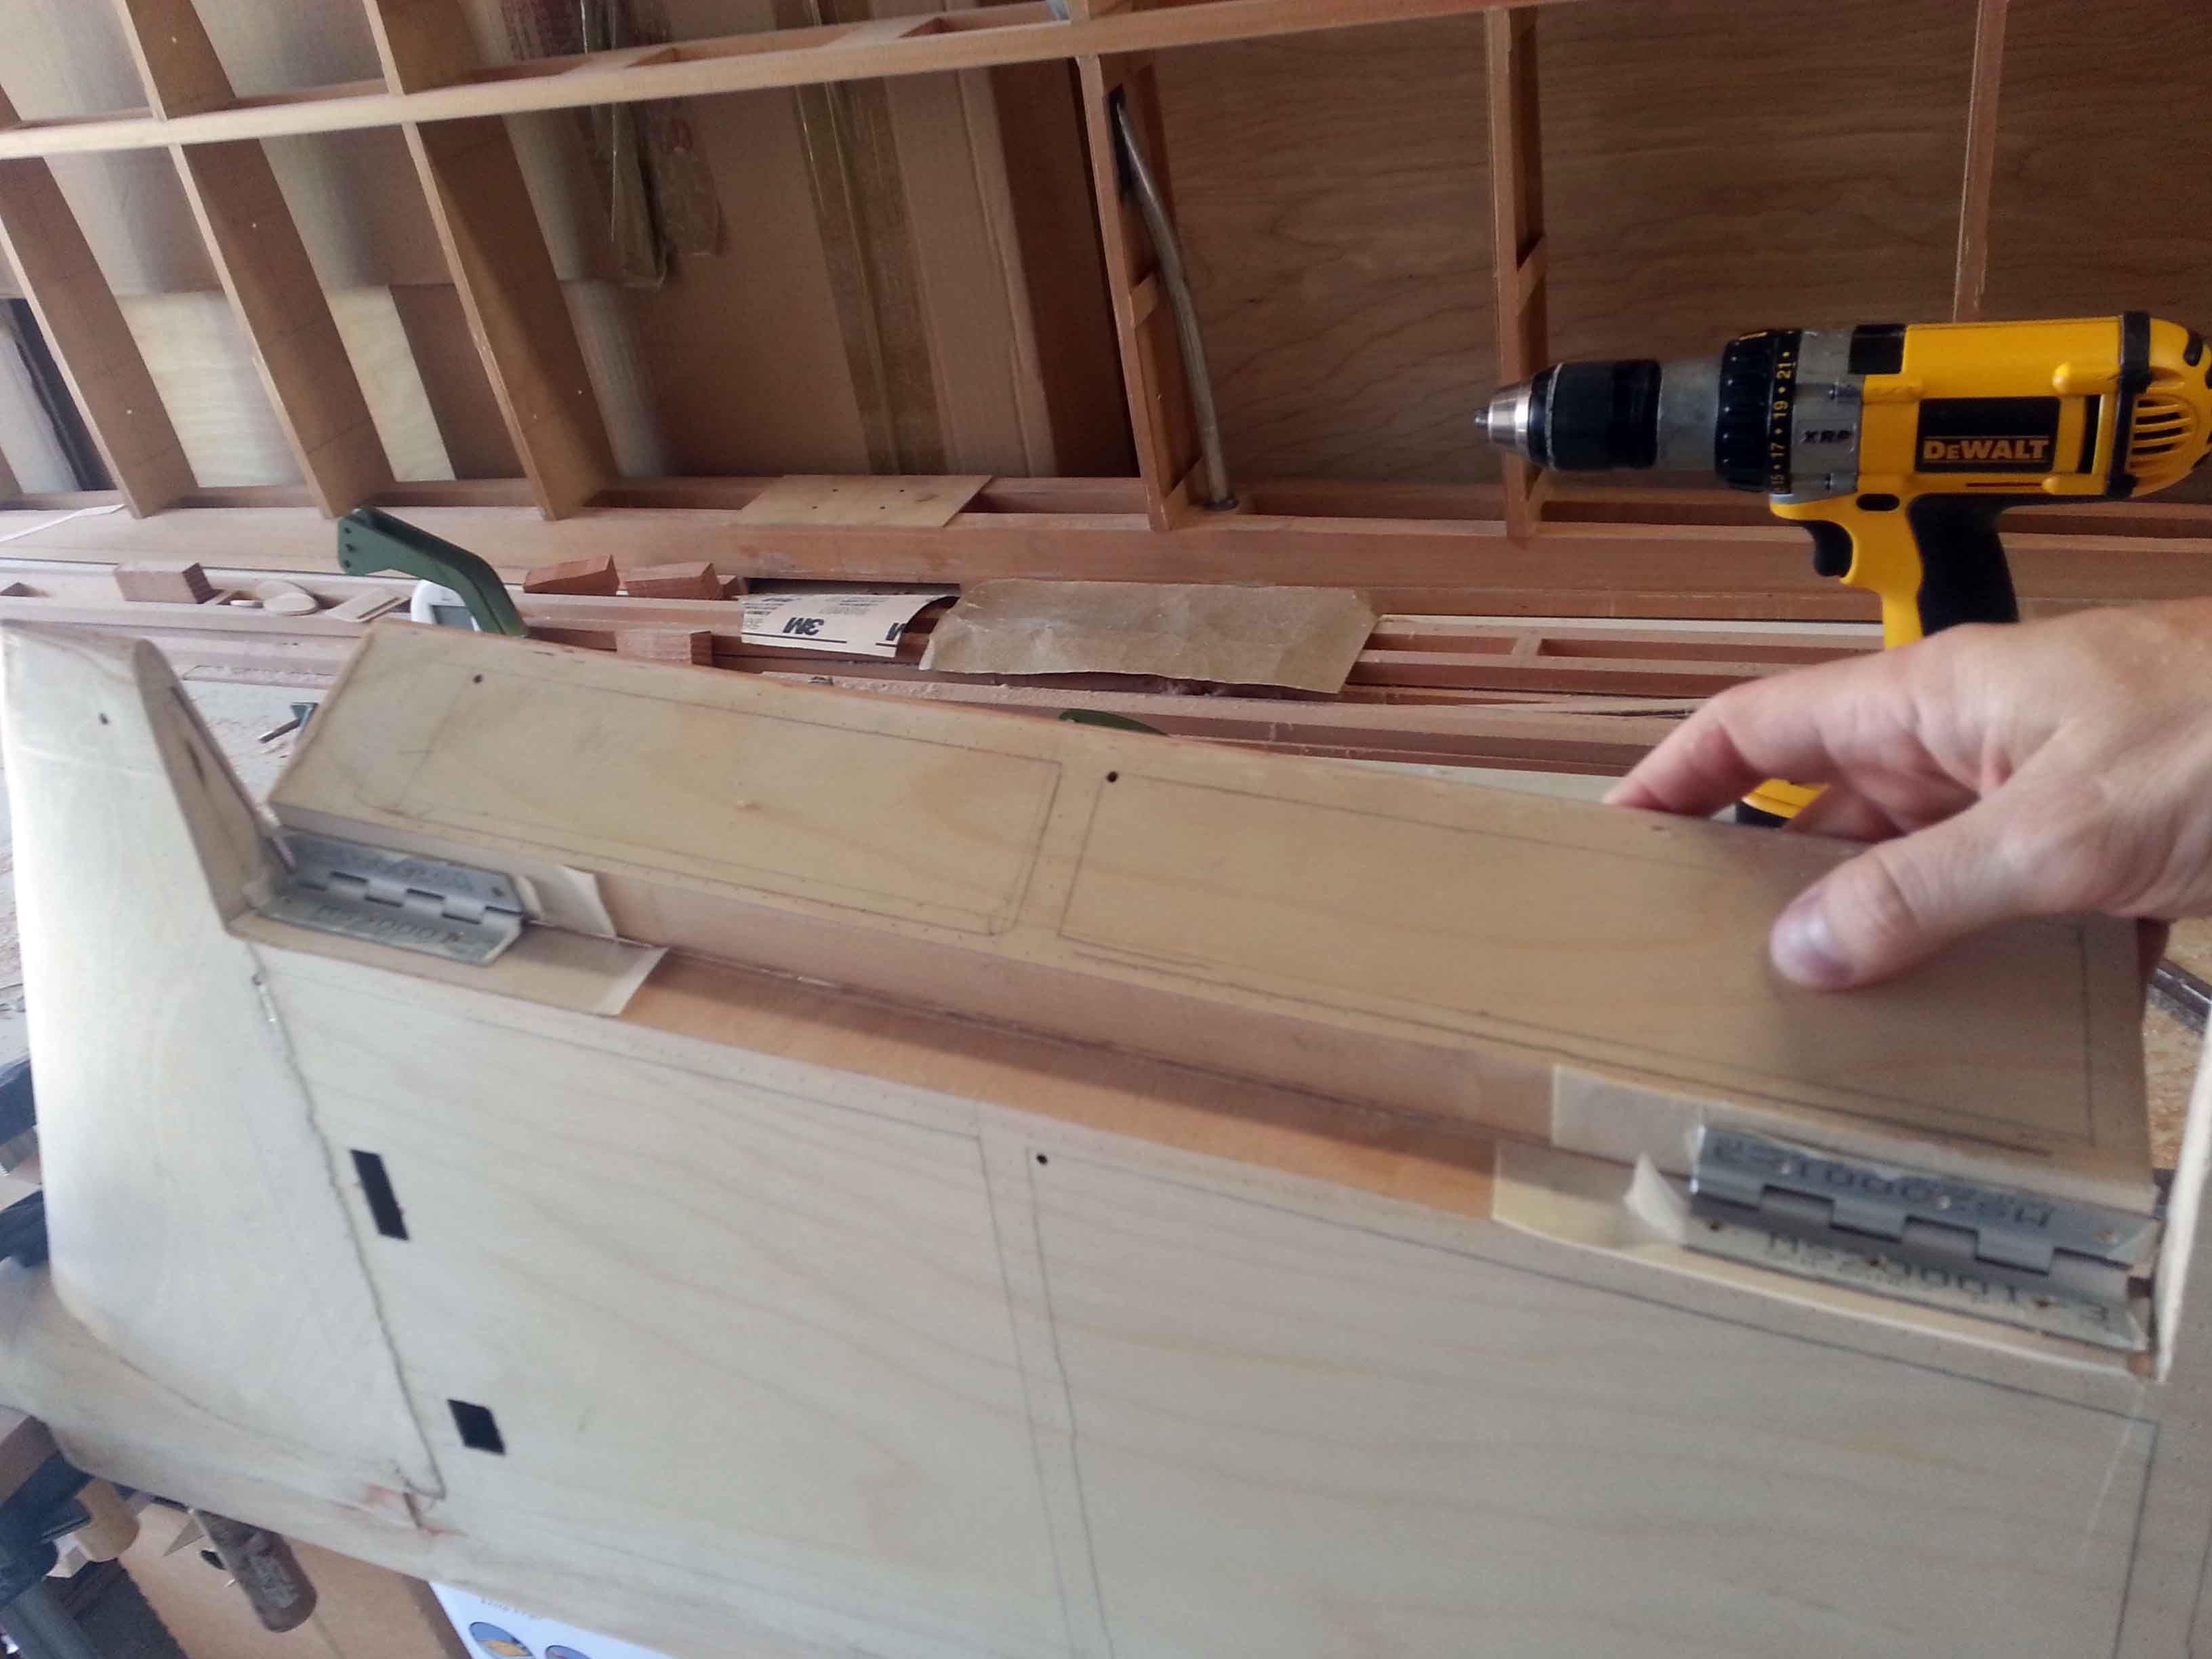
To install the hinges, I used the "instant glue the tape together" method. I kept the pins installed so the placement of the trim tab would remain constant relative to the hinges, then took the pins out to drill the 3/32" pilot holes. Centering the pilot holes is important for keeping the alignment once you screw the hinges in. I had to use this drill bit extension and hex bit to drill the holes near the edge of the trim tab.


Then I installed the trim tab control equipment. Looks good!


| Empennage Assembly Menu | Home