For the elevator, after routing off the old skin, I float sanded the elevator to have a good surface to build back up so that the ribs were the right dimensions again. I made thin strips of spruce to cover all the structure surfaces to do this. These strips were about 1 or 2 mm thick to build the structure back up above where it should be. This included the ribs and the trailing edge. Then I float sanded everything again to bring the structure down to the correct dimensions as well as create the flat surface for the new skin to eventually attach to. I didn't get any pictures of this process but don't worry, it wasn't that exciting.
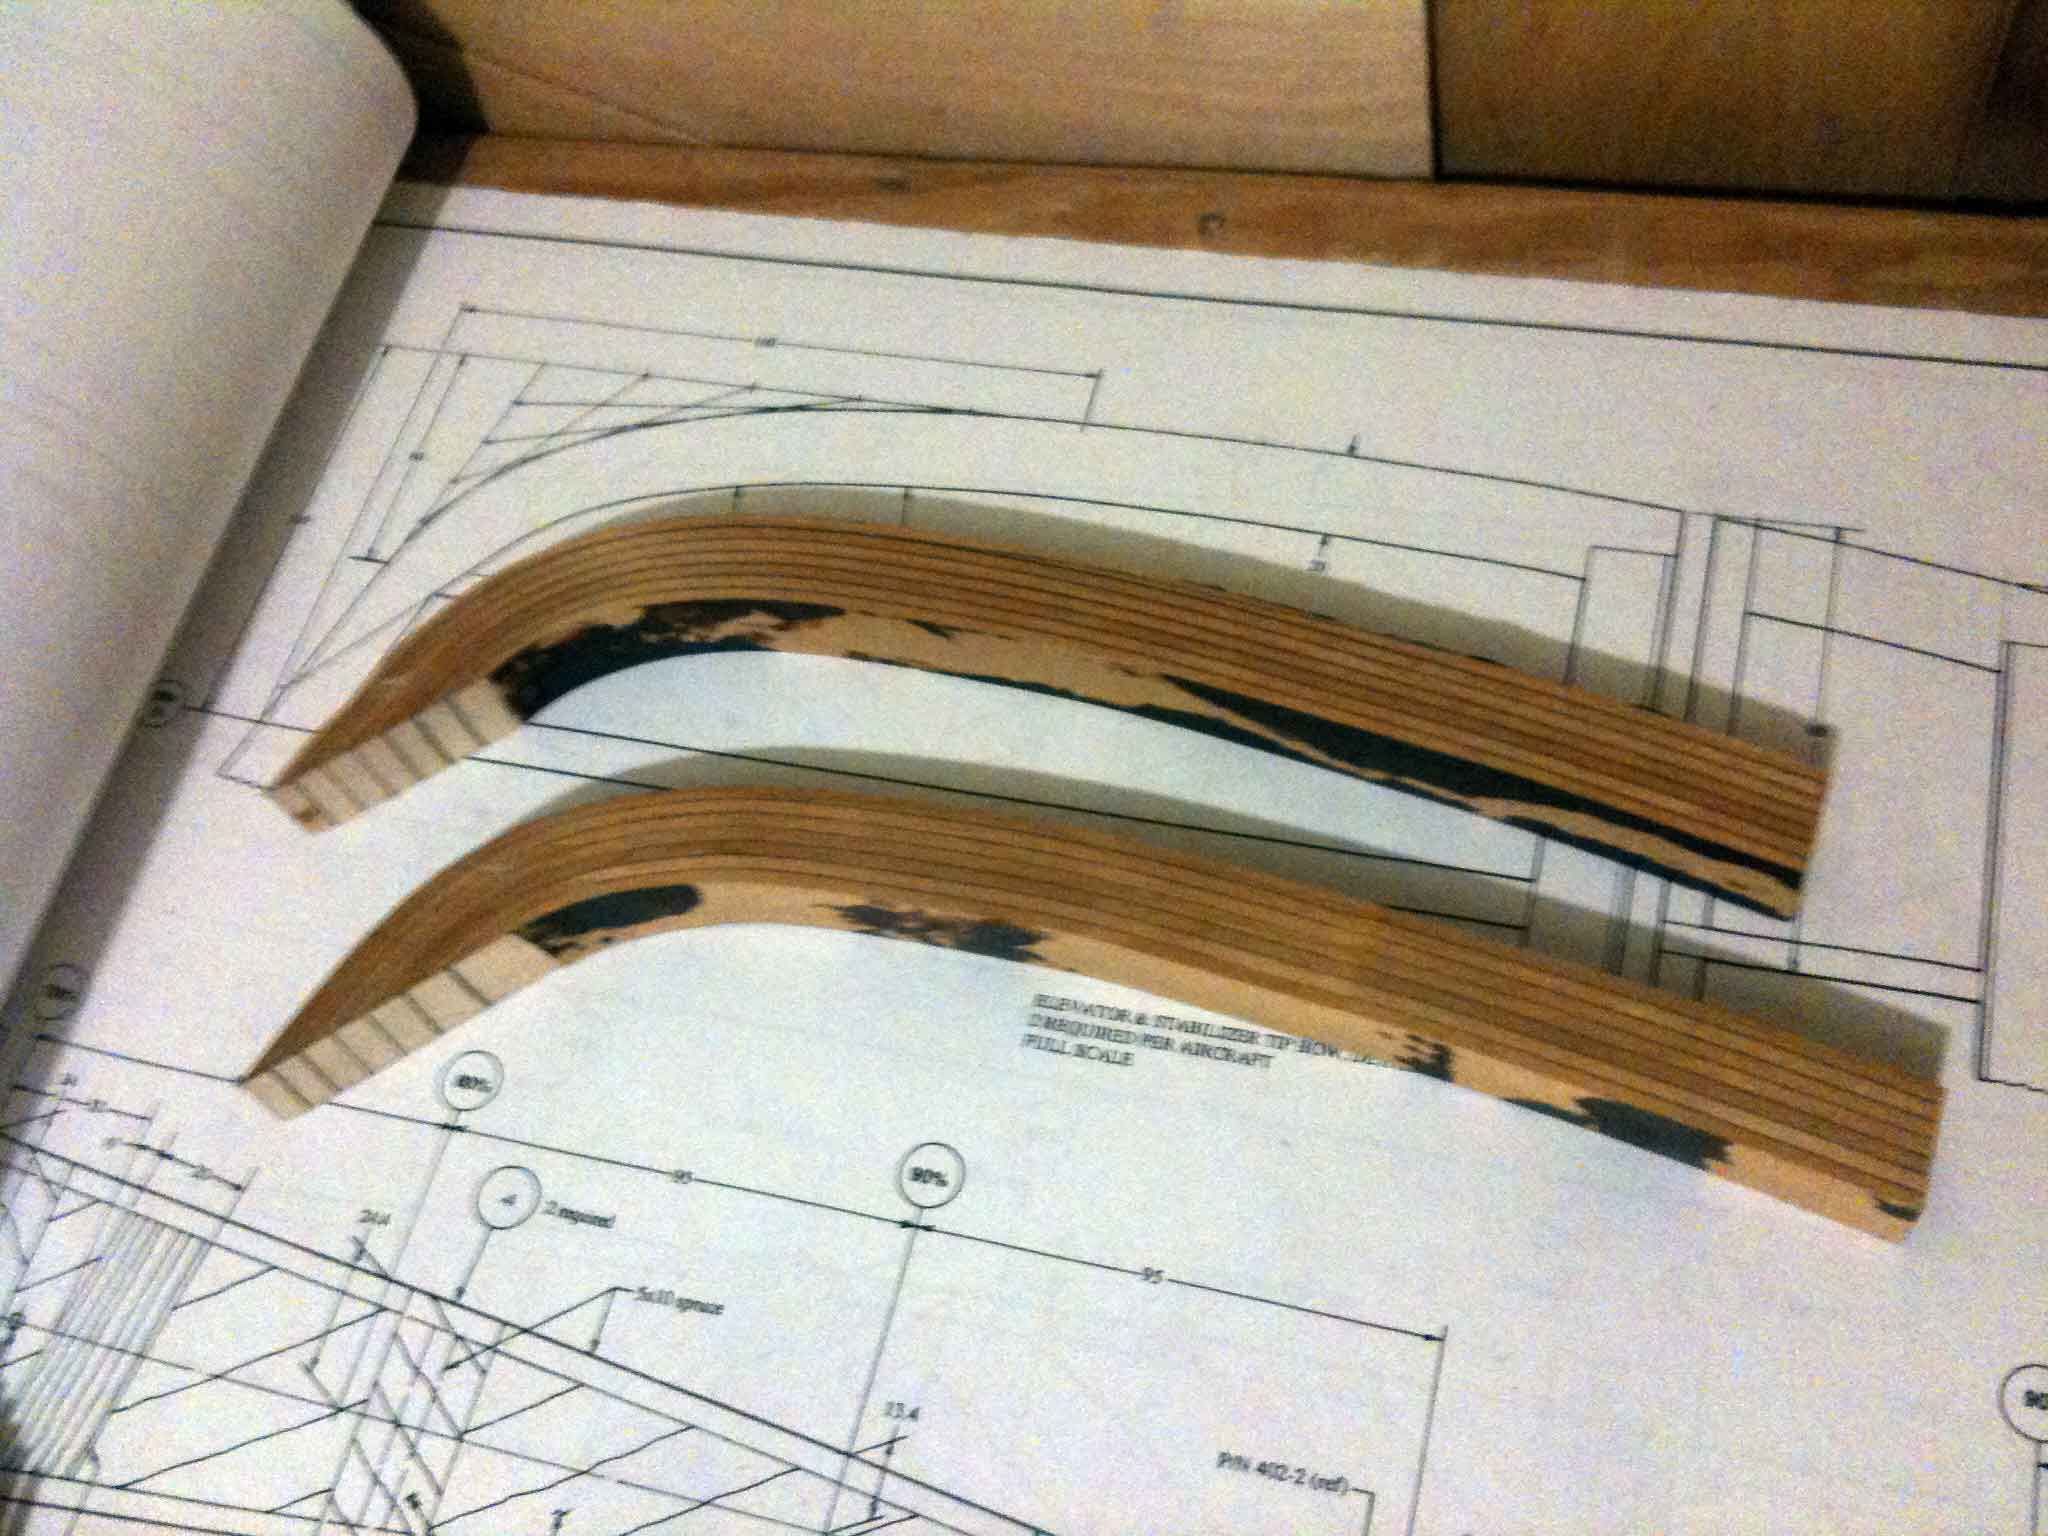
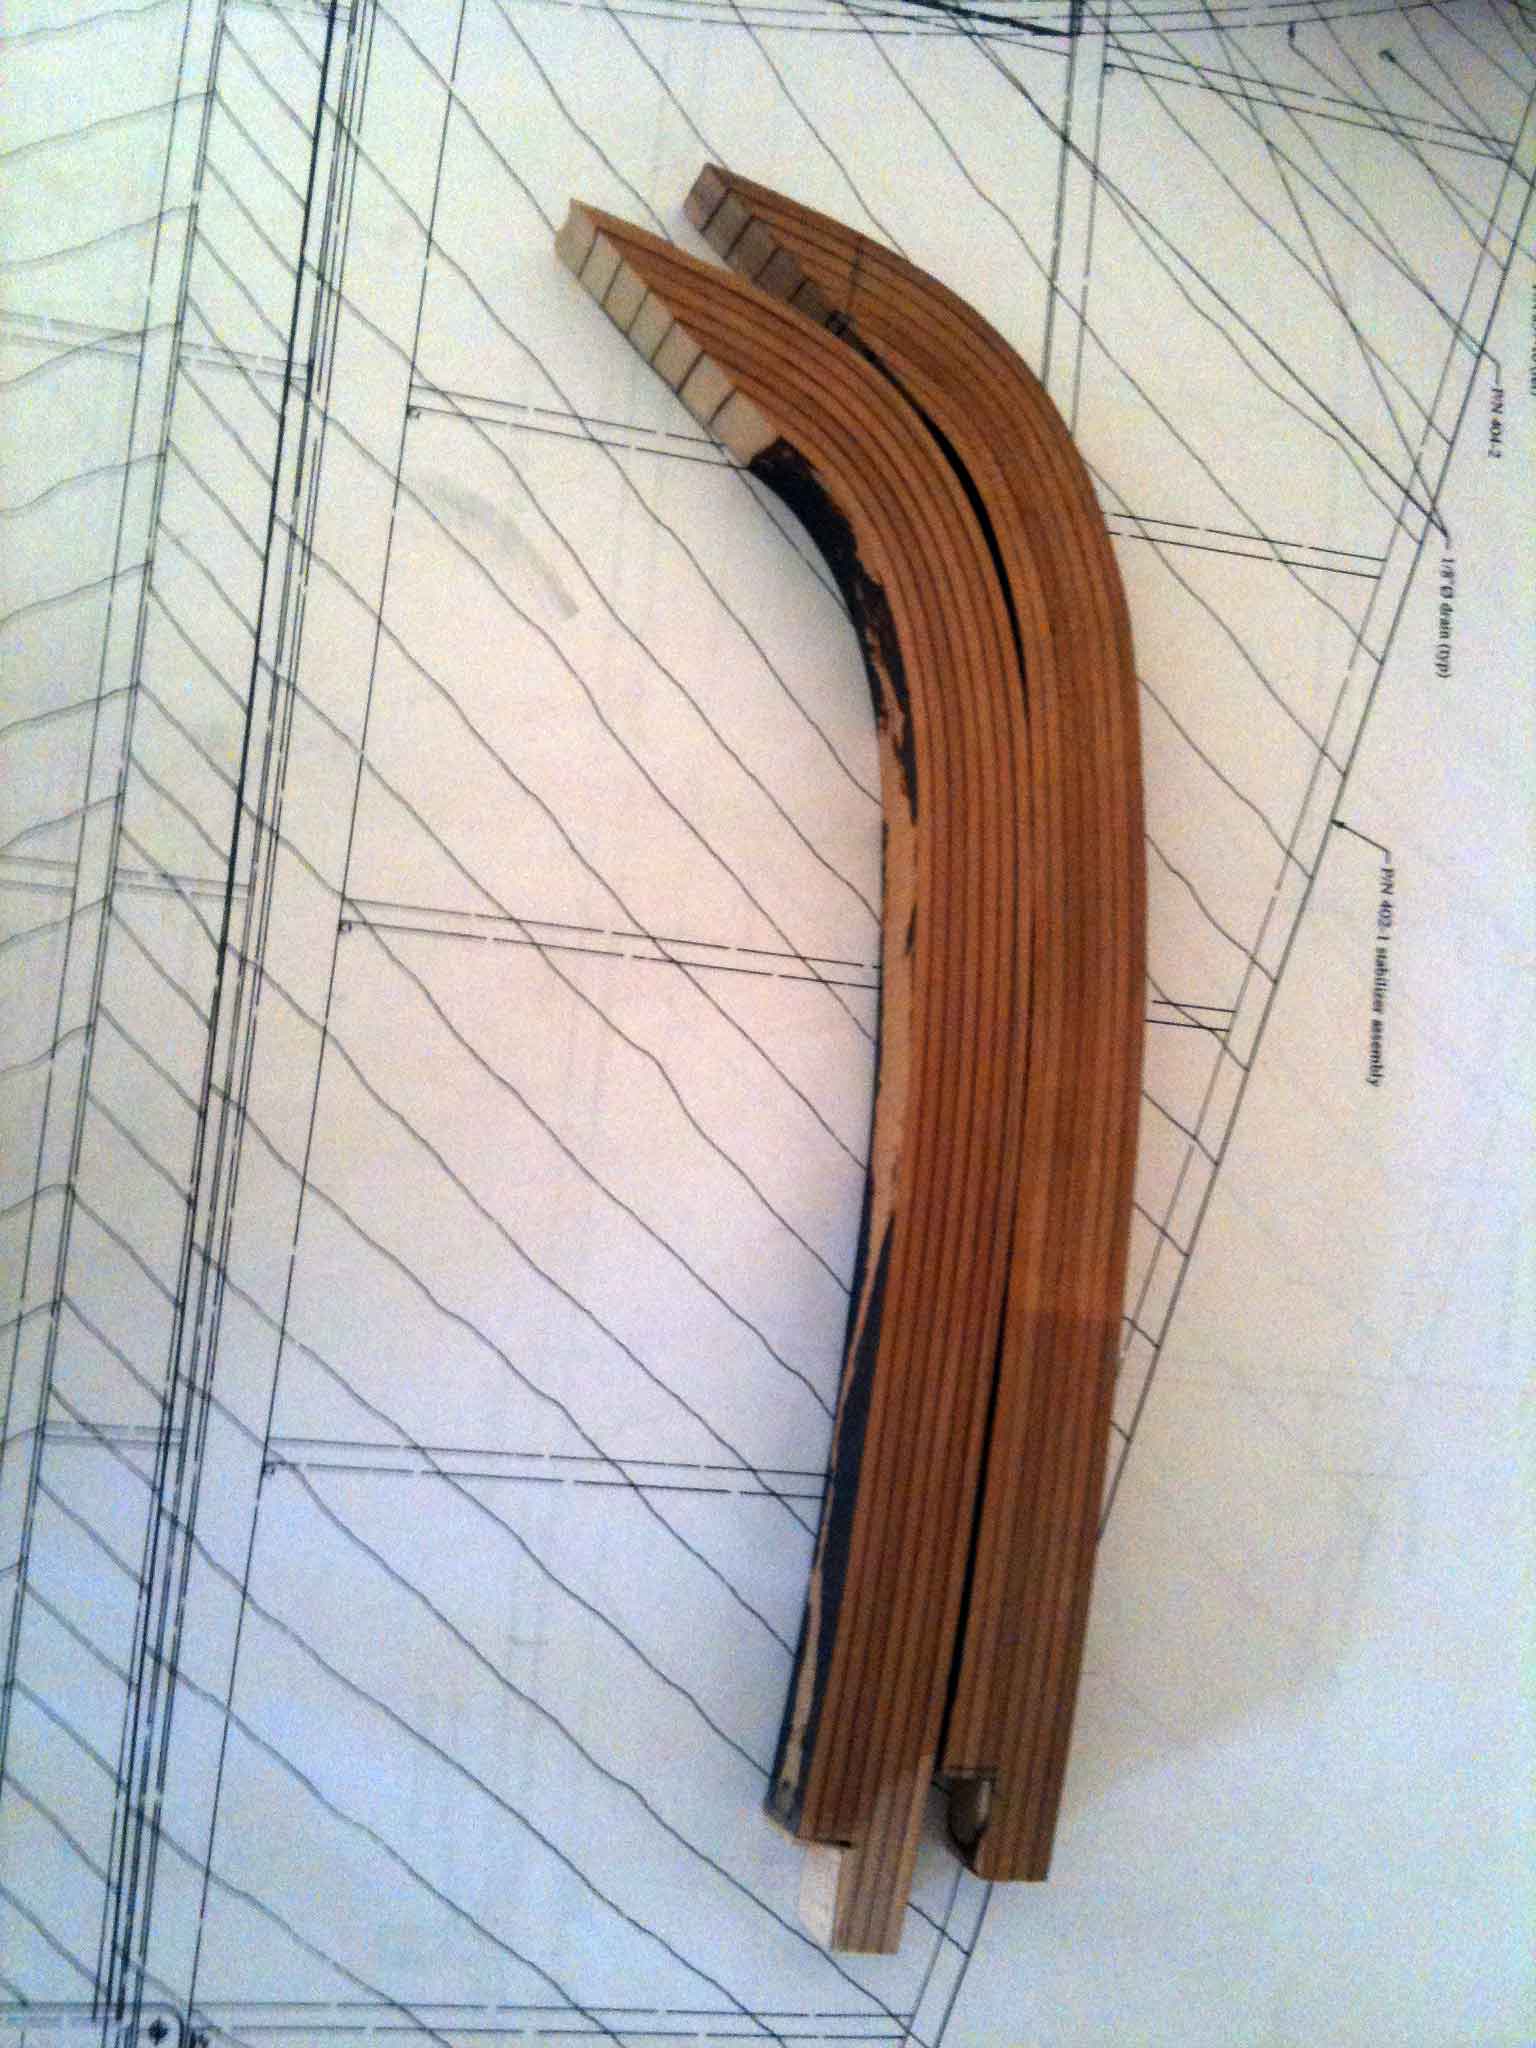
I also prepped the new skins for attaching to the elevator. I soaked the tips of the skin for 24 hours and then bent them around the outboard tips of the elevator and let them dry for a couple days. I carefully marked off where the underlying structure was, using alignment nails to be able to locate the structure back in the same place later, and used epoxy to varnish the enclosed surfaces. I used a plastic spreader to apply two coats of varnish which seems to me to provide a good thin protective coating. And of course, I made double sure this time that I sanded the surfaces of the skin that would be glued to the structure (the step I forgot last time which got me into this mess). Here's one side just after gluing and then after the staples have been removed.


I also prepped the inner fairings for the elevator. Using a pattern I had previously made, I cut the skins out of plywood. To be able to make the tight bend at the trailing edge, I took the manuals advice and sanded off both outer veneers of the plywood, leaving just the core to bend. I steamed the bend line for a while and then bent the fairing in place on the elevator and left it there for a few days. The bend is a difficult bend to make but the one layer of core seemed to mostly make it. This is what it looks like after the bend. As mentioned in the manual, this fairing is not structural so when I glue the fairing on, it should hold it's shape and stay attached to the structure just fine.

I built up the stabilizer pretty quickly. I still have to float sand it before skinning. Here's a picture where I was trial fitting the angle of the intermediate ribs to the leading edge.

Here, I'm gluing the intermediate ribs and the leading edge.


Here's the shape I sanded at the tip of the stabilizer spar to fair down to the wing tip and the wing tips notched to sit on the stabilizer spar. The wedge shape of the wing tips was a challenge to get to be mostly right. Closer to the leading edge, the wedge curve is compound and I had to be really careful matching it to the rib shape and leading edge shape. The sanding was done carefully on a belt sander.


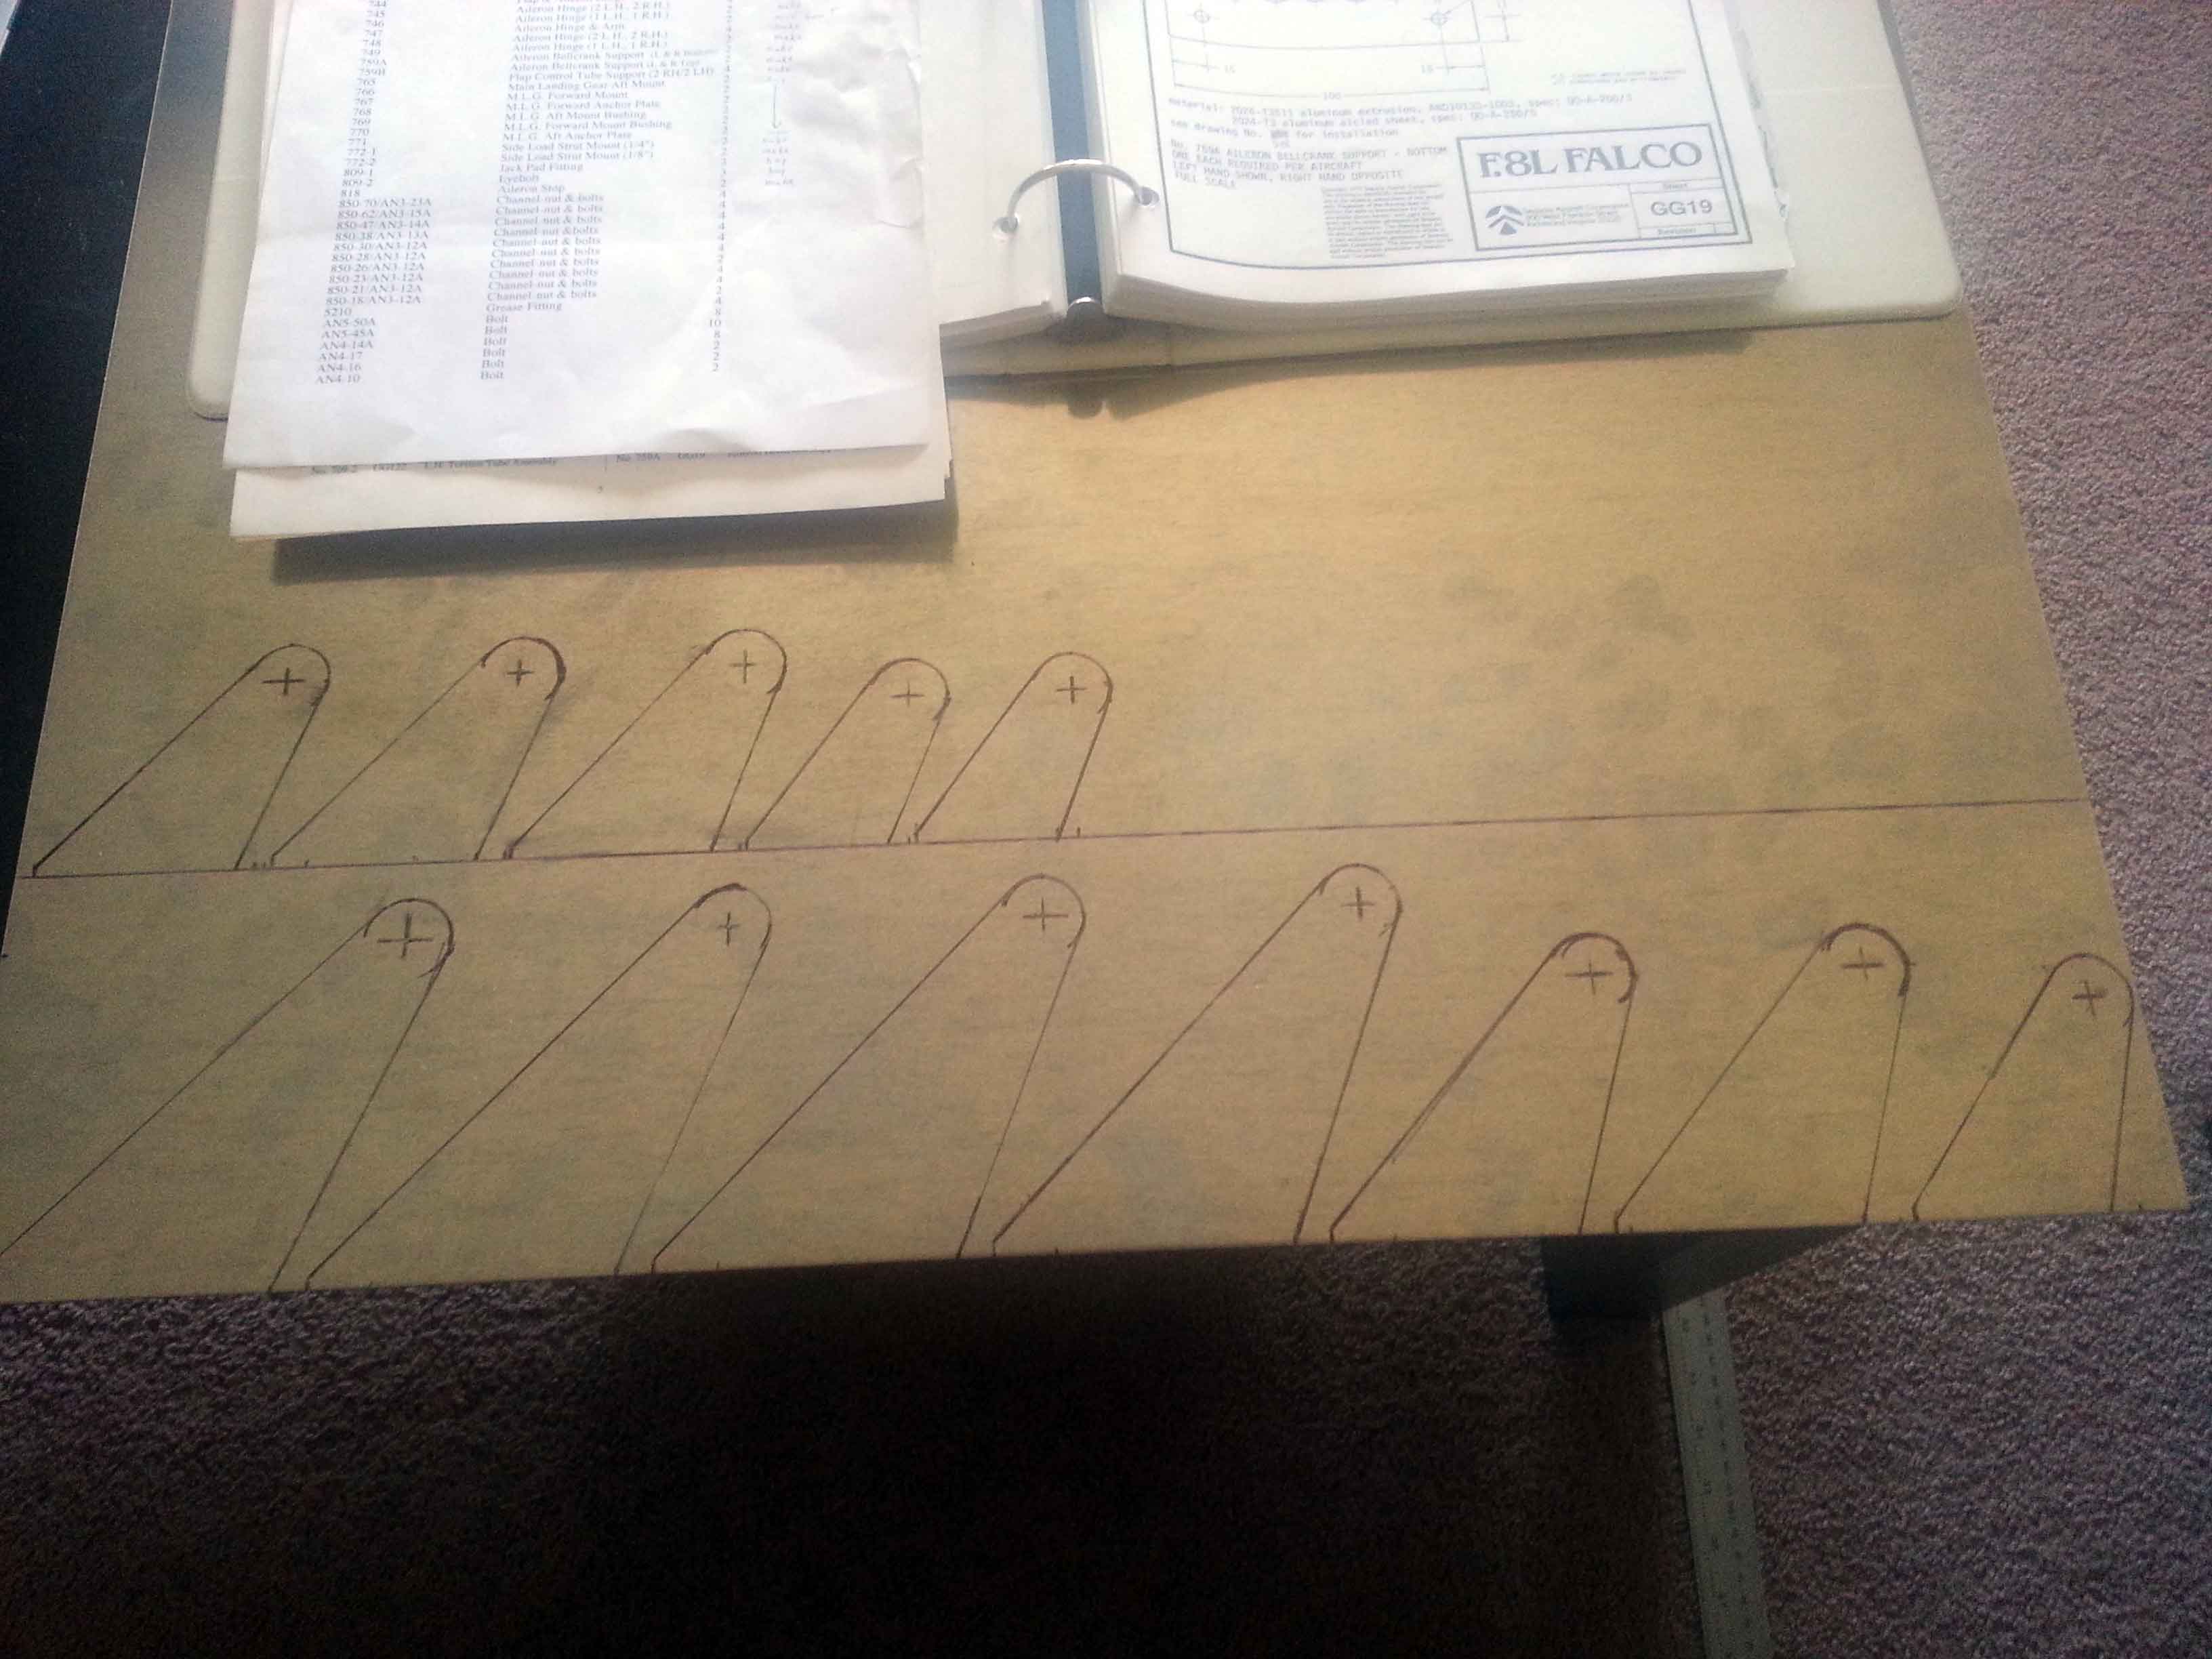
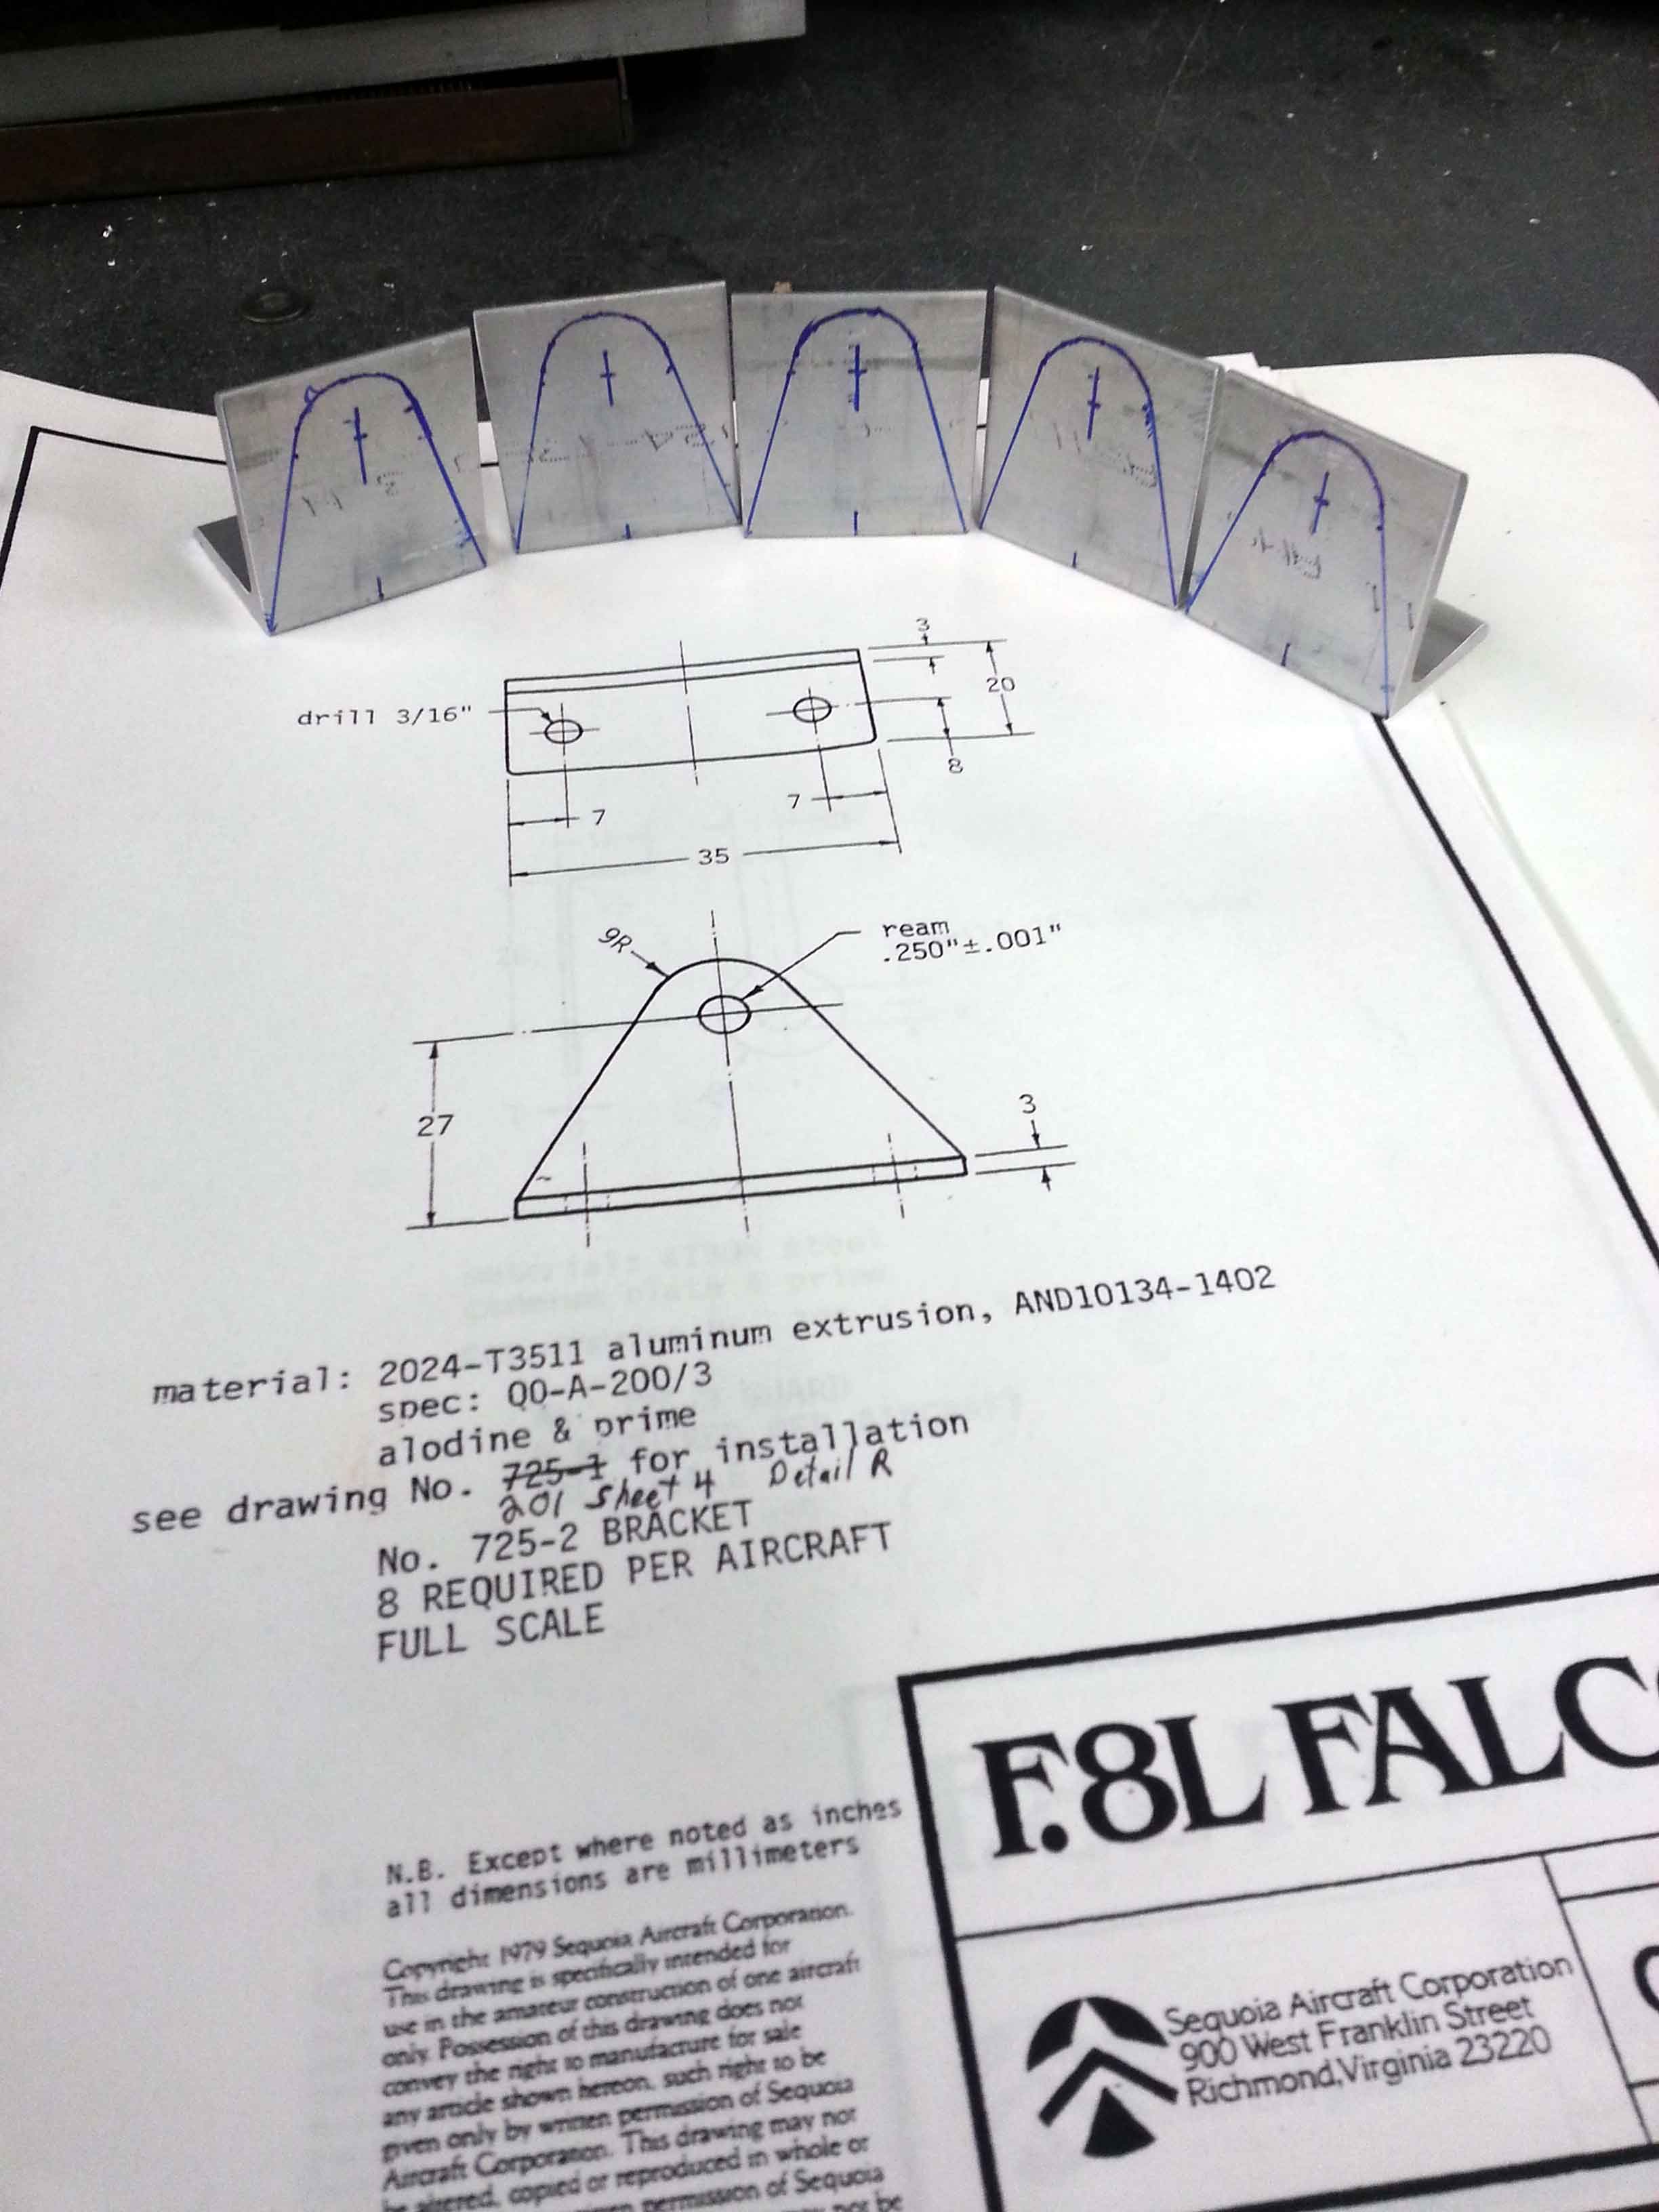
The metal wing hinges were made in a very similar way to the last time I did it, oh so many years ago. One difference is that I had access to some more serious machinery so I took advantage.


It is interesting to note that the hinges that require rivets place them too low on the angle bracket such that it does not sit flush against the side. I had to move them up by 3 mm. This should not affect the strength of the joint with all those beefy rivets.


I used a mill to get the curve at the joint between the two sides to be smooth in both directions.


Another interesting note is that the drawing for these pulley brackets shows a dimension but is really far out of scale. I checked where some of these pulleys go and it looks like the dimension is the correct number. Probably a good assumption in general.


Last time I riveted these big AD5 rivets for hinges, I borrowed a C-frame dimpler and used a 3x rivet gun to set the head. It worked rather well and so this time I was able to track down this beast to press these rivets in no time flat. It was pretty amazing.


So you're all caught up. Sorry for the prolonged absence. Hopefully everyone who used to read this journal has finished their falcos by now and are enjoying flying them… I'll get there, someday.
| Empennage Assembly Menu | Home