
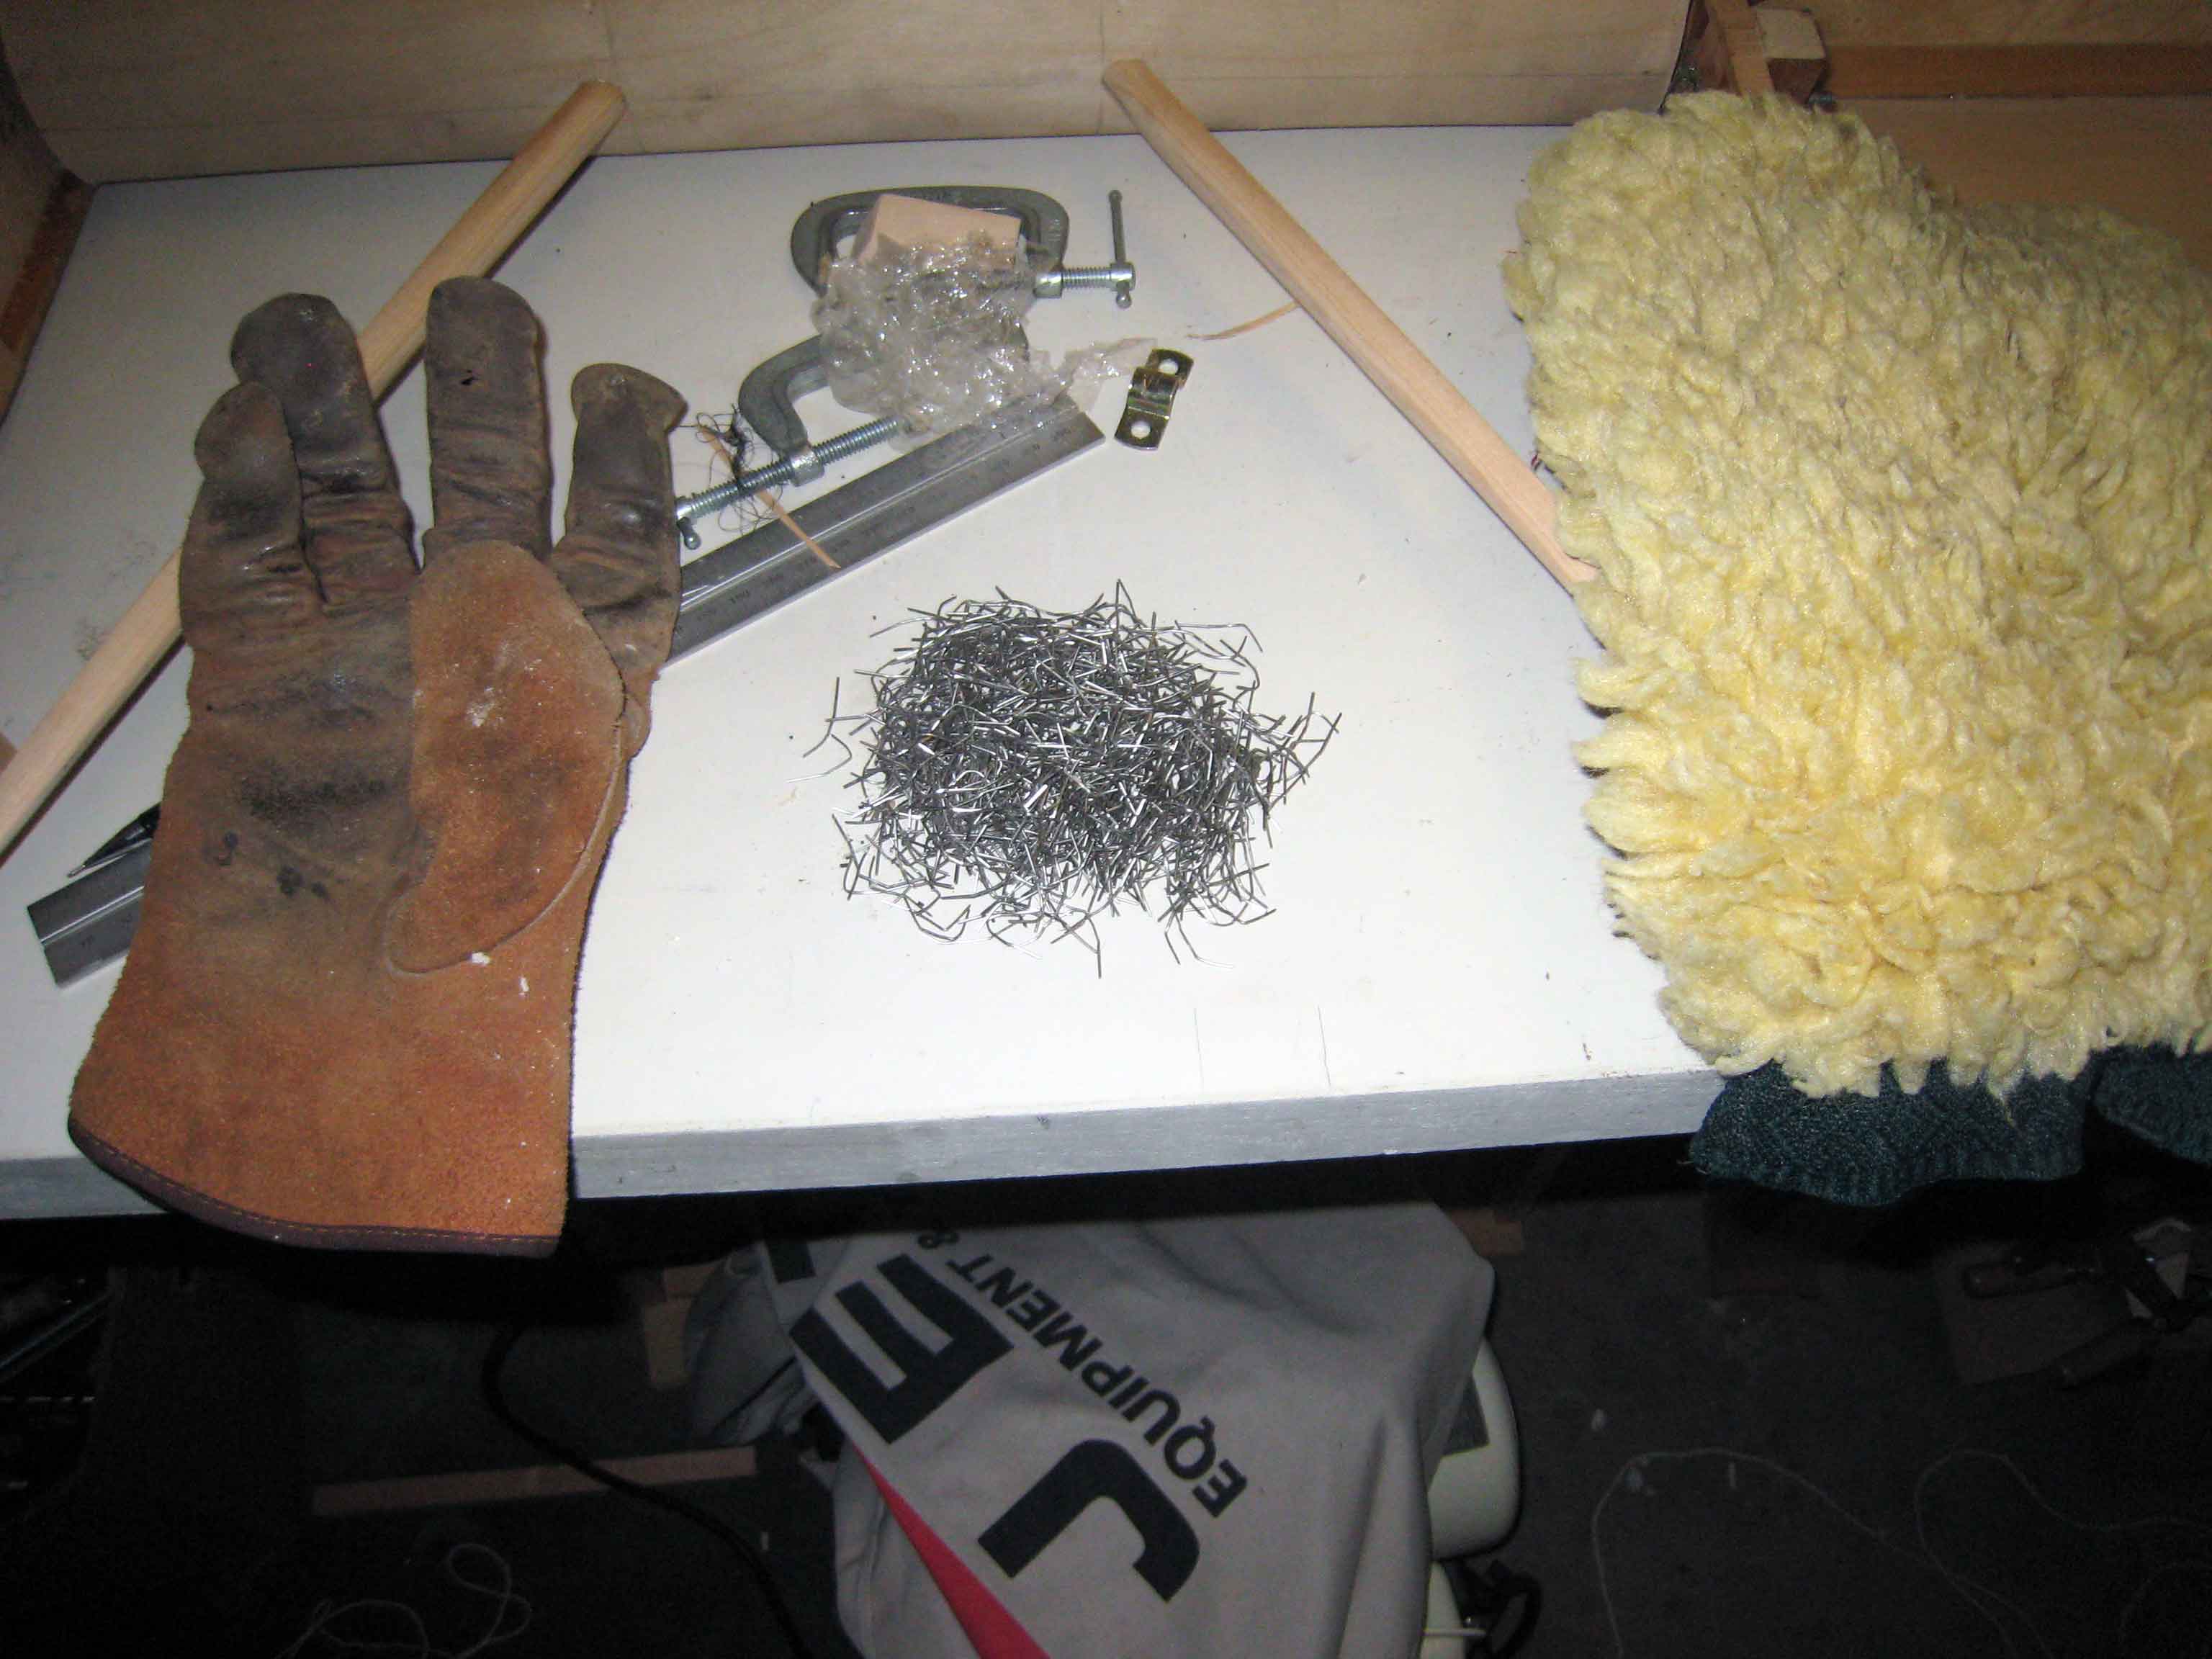
Here's the giant pile of staples I just pulled out one by one... The car wash glove on the right was the extra padding I used for pulling the string.
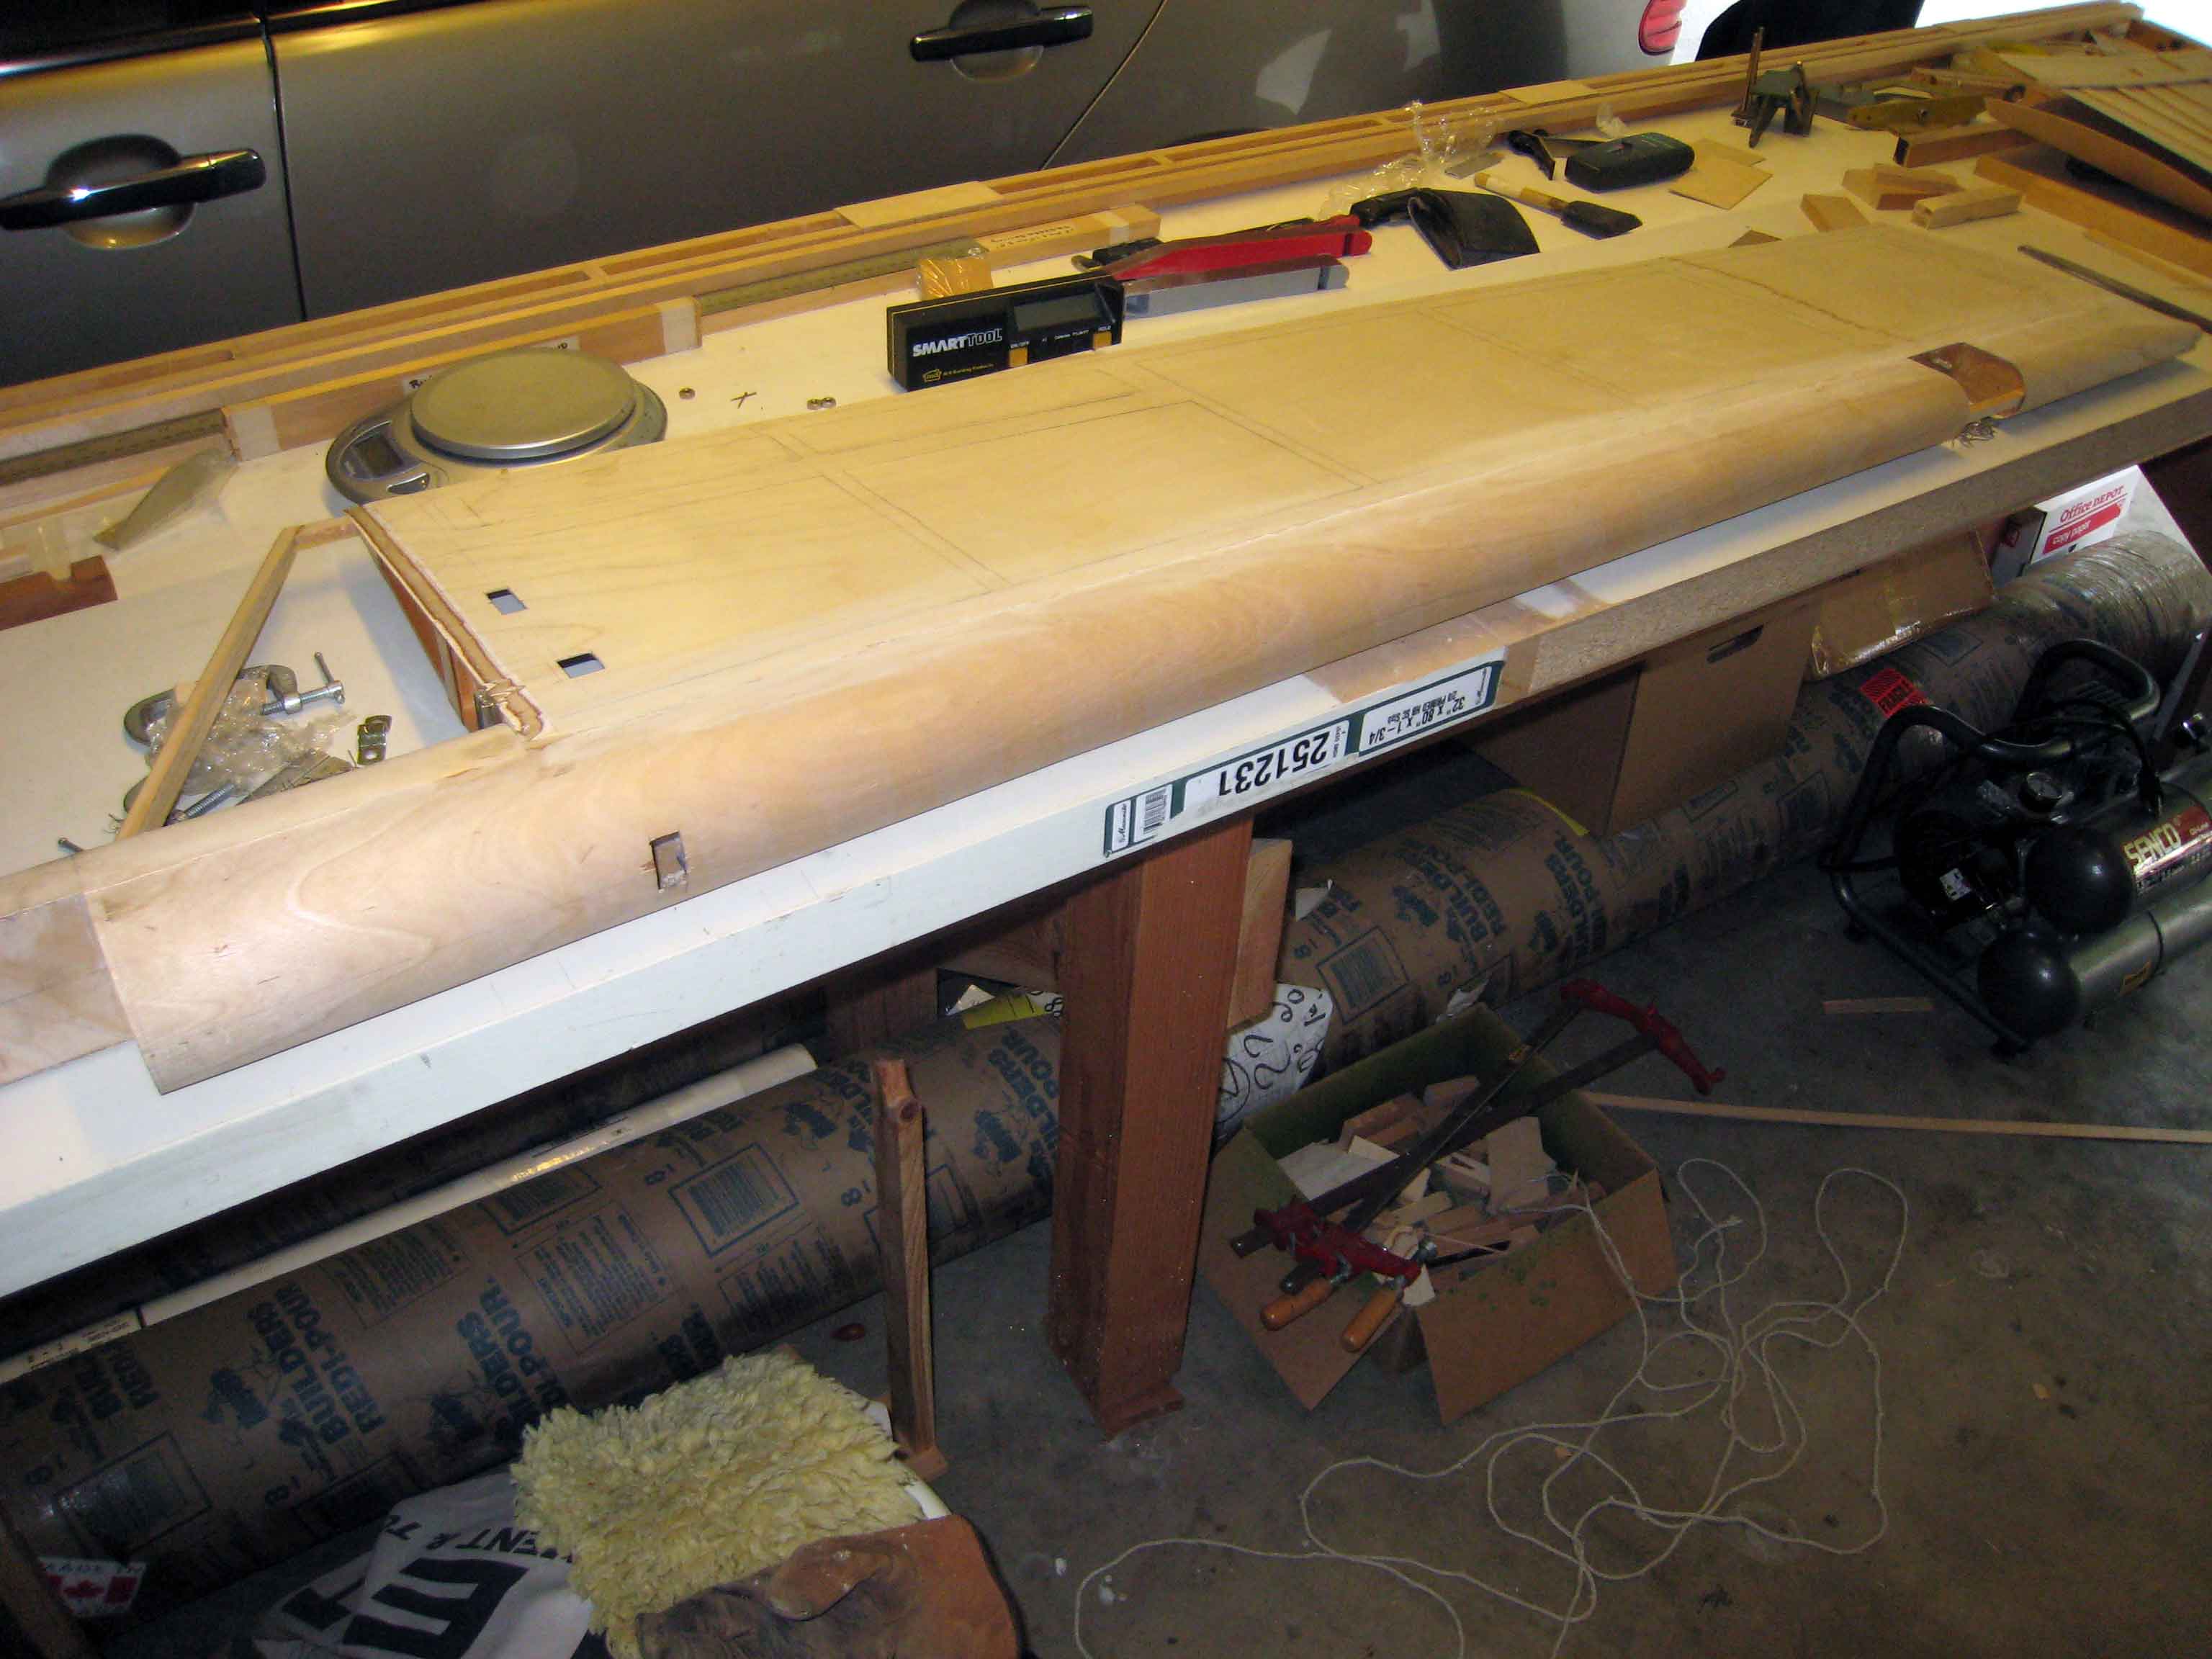
Moving on, I drilled all the drain holes in the bottom skin, now attached to the elevator. To get the cut for the trim tab started, I made 7 tiny holes from the open side down, so I could see the structure better. Then, I flipped the elevator over and drew a line to connect them. Using a cut-off wheel in a dremel, I cut along the lines. I didn't cut all the way but I made a good start. I'll use the hole method again to mark the cuts on the upper skin once they are glued on there.


And finally, I glued in the extra block of wood on the trim tab to support the backwards trim tab control arm.

| Empennage Assembly Menu | Home